The Offline Scan feature in Driver Easy allows you to update your network driver when your computer doesn’t have Internet connection. This tool is available for the Free and the Pro versions, and it’s simple to use with three steps.
- Step 1: Perform an offline scan on the computer without Internet connection
- Step 2: Upload the offline scan file on the computer with Internet access
- Step 3: Install the network driver on the computer without Internet access
If you already activated Driver Easy Pro on your computer, the one without Internet access, you can also get faster speeds when downloading the network driver on another PC like a Pro user. There’s no need to upgrade that computer with Internet access to Pro.
Conversely, if the computer intended for offline scanning is using Driver Easy Free, you’ll be downloading as a free user on another computer, with slower speeds.
To use the Offline Scan feature:
Step 1: Perform an offline scan on the computer without Internet access
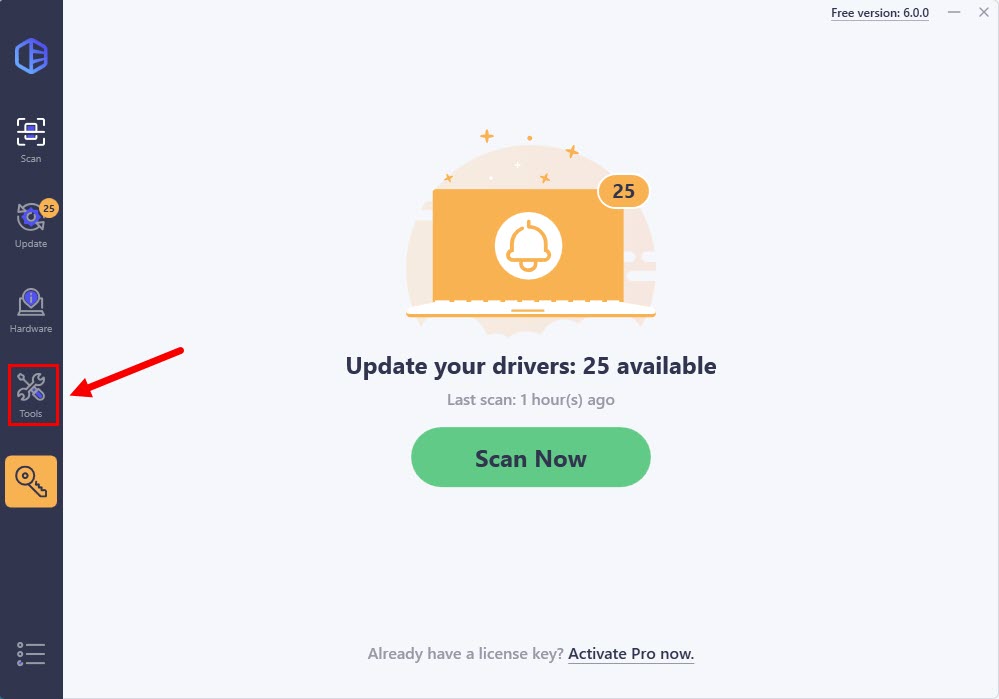
1) Install Driver Easy on the offline computer. In Driver Easy, Click Tools.
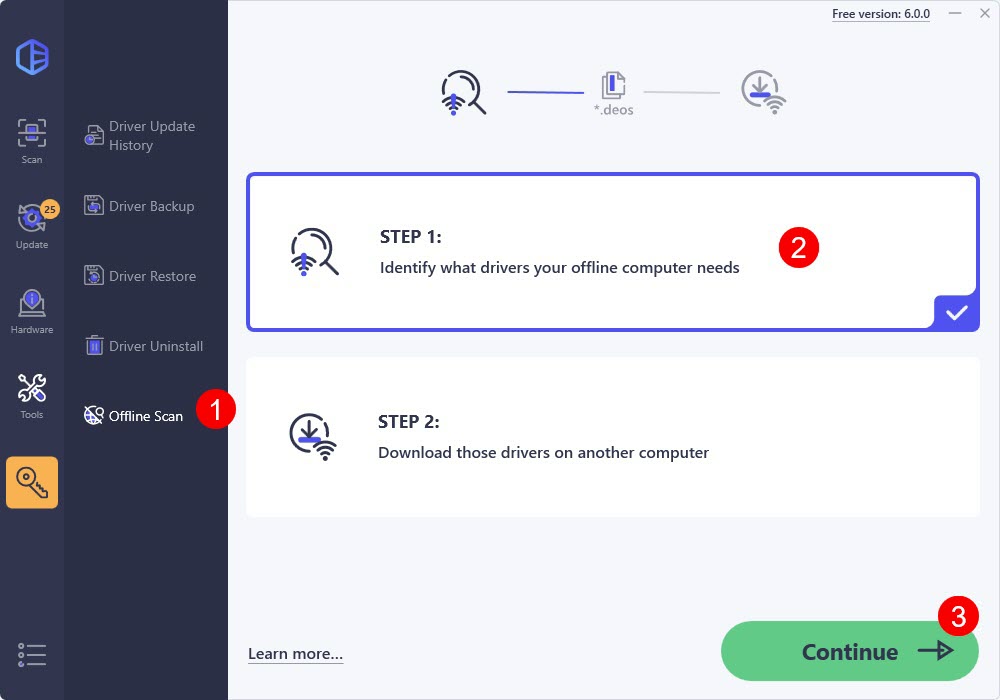
2) Click Offline Scan from the left pane. Then select Step 1 and click Continue.
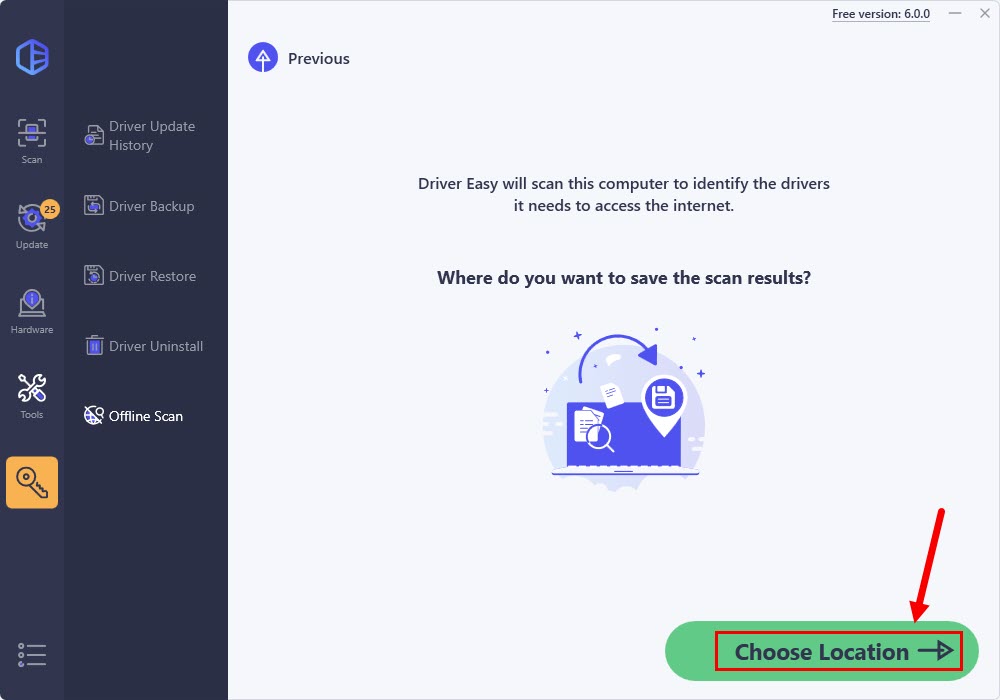
3) Click Choose Location to choose where you want to save your offline scan result.
4) Click Go to file when the offline scan file has been saved.
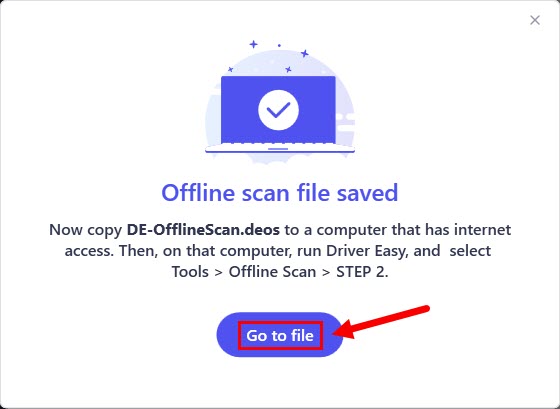
5) In the window that pops up, copy the offline scan file and paste it to another computer that has Internet access.

Step 2: Upload the offline scan file on the computer with Internet access
1) Download and install Driver Easy.
2) Run Driver Easy and click Tools.

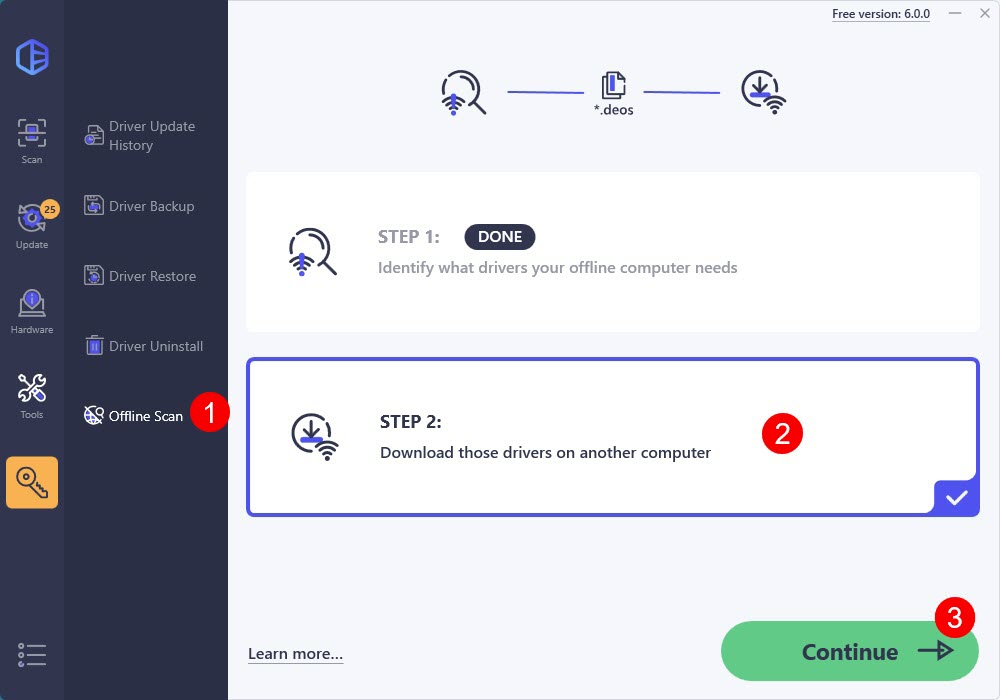
3) Click Offline Scan, select Step 2 and click Continue.
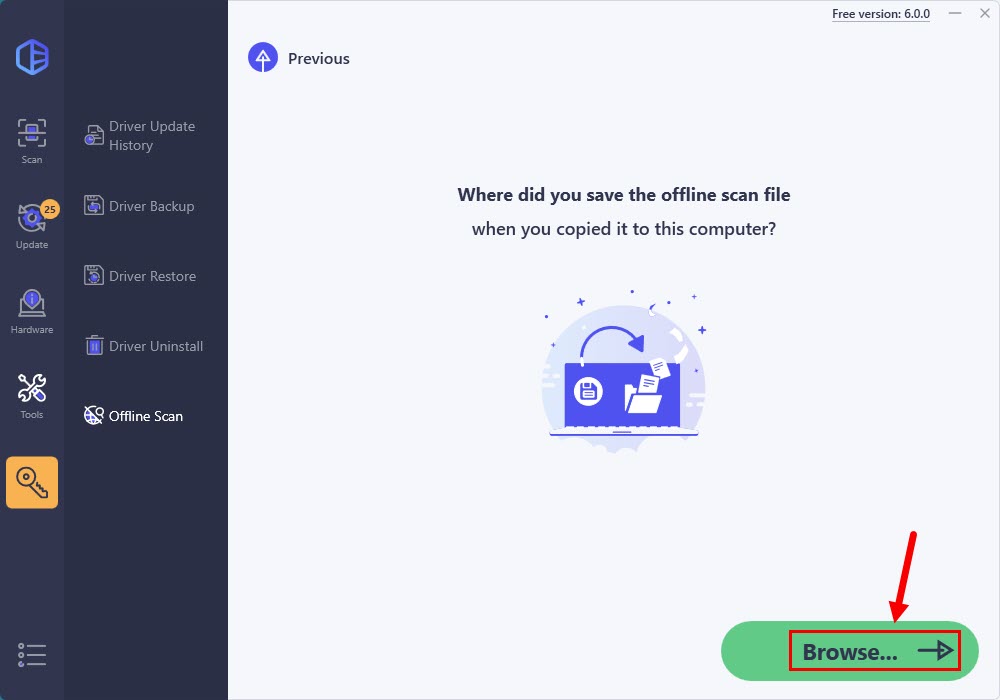
4) Click Browse… to locate your offline scan file. Once you find it, click it and click Open.
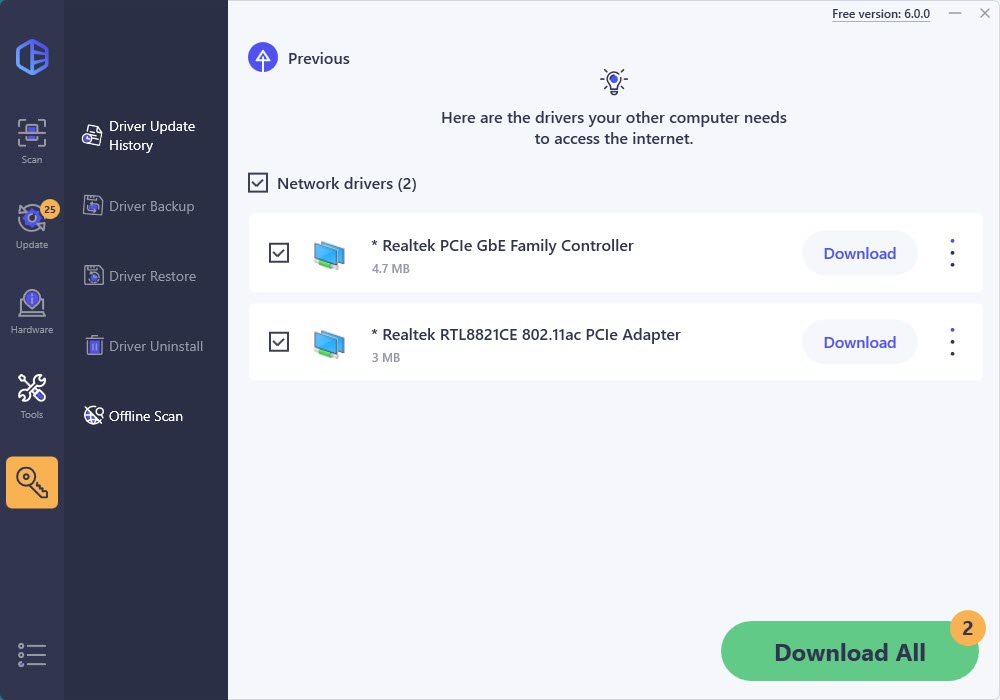
5) Click Download next to the network driver to start downloading.
6) Choose where you want to save your network driver, then click OK.
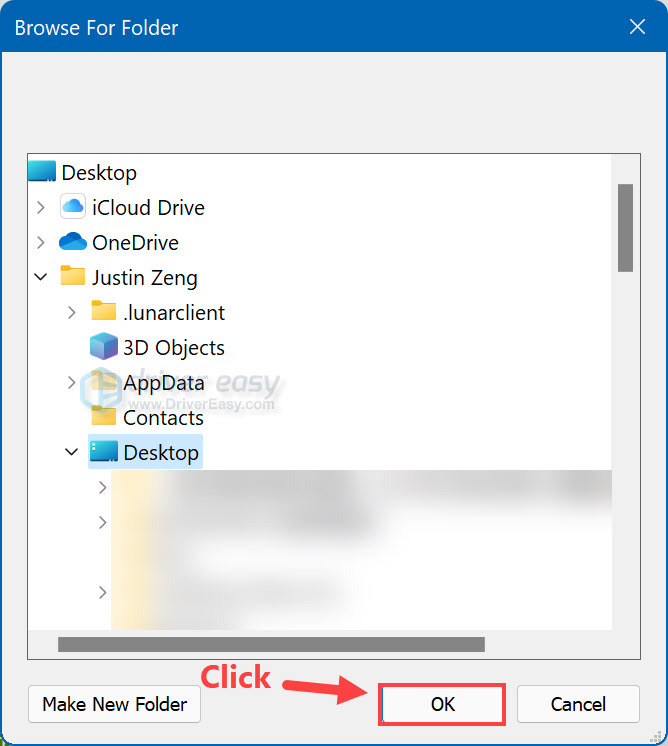
7) Wait for the download process to complete.
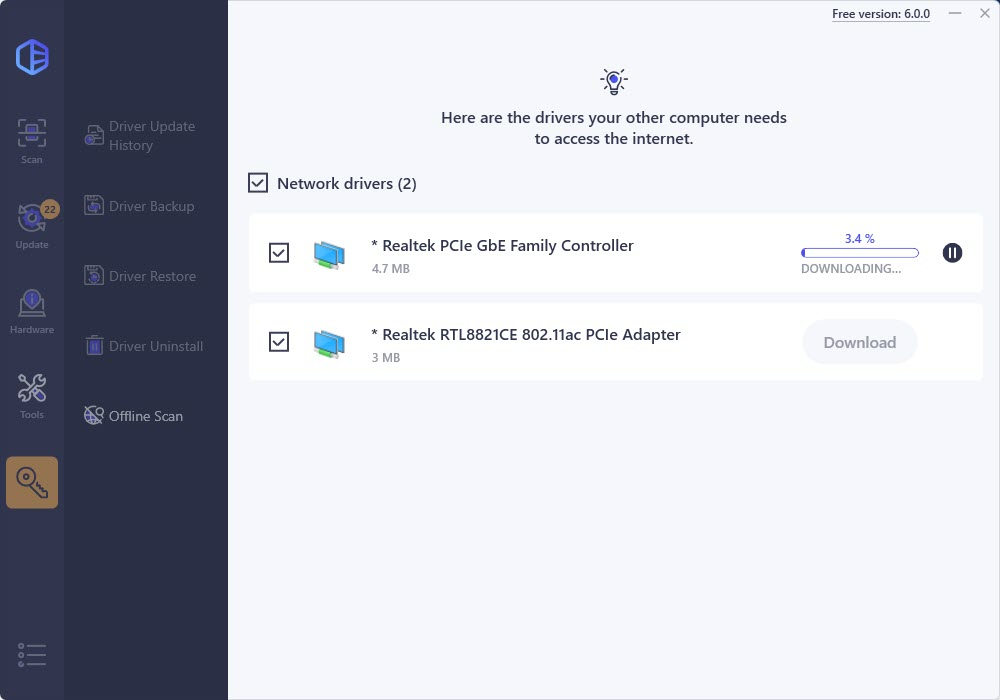
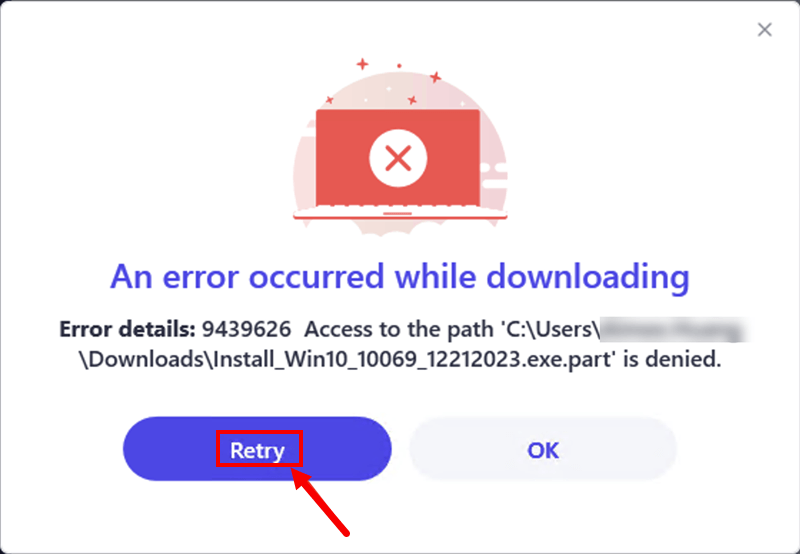
If you see the message “An error occurred while downloading”, it suggests the downloaded file already exists in the specified location. Simply click Retry and it will be deleted and redownloaded.
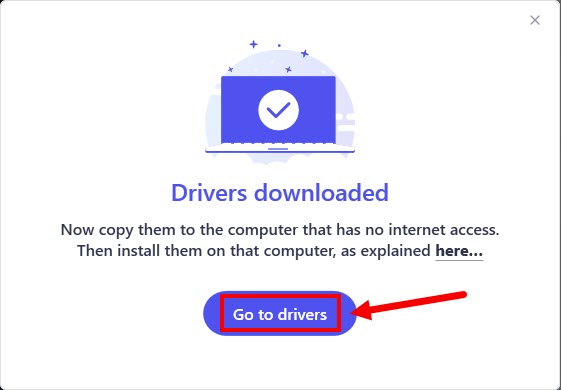
After the download completes, click Go to drivers to locate the downloaded files.
Step 3: Install the network driver on the computer without Internet access
If the network driver you downloaded is a .exe file:
1) Move the driver file to your own computer that needs the network driver.
2) Double-click the driver file to open it on your computer. Then follow the on-screen instructions to install the network driver.
If the network driver you downloaded is a .zip file:
1) Move the driver file to your own computer that needs the network driver and extract the .zip file.
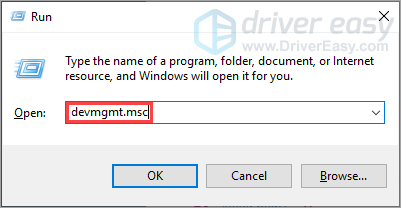
2) On your keyboard, press the Windows logo key and R at the same time to open the Run dialog. Then type devmgmt.msc and press Enter to open Device Manager.
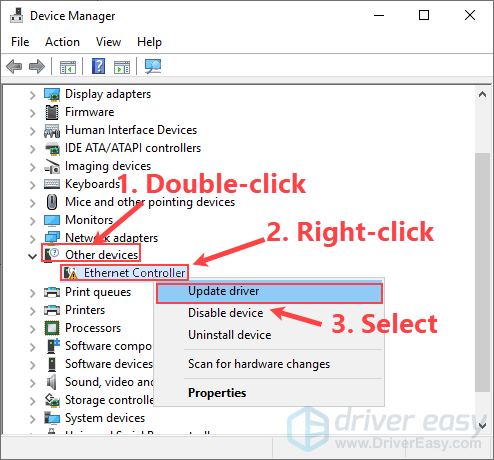
3) In Device Manager, double-click the Other devices category, right-click on the network adapter you’re going to update the driver for and select Update driver (in your case, this may be Update Driver Software…).
In this example, we’ve downloaded the network driver for “Realtek PCIe GbE Family Controller“, which is an Ethernet controller, so we should right-click on “Ethernet Controller” under the Other devices category and select “Update driver“.
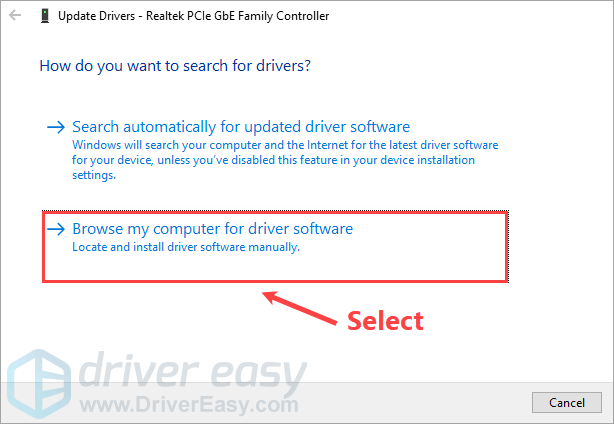
4) Select Browse my computer for driver software.
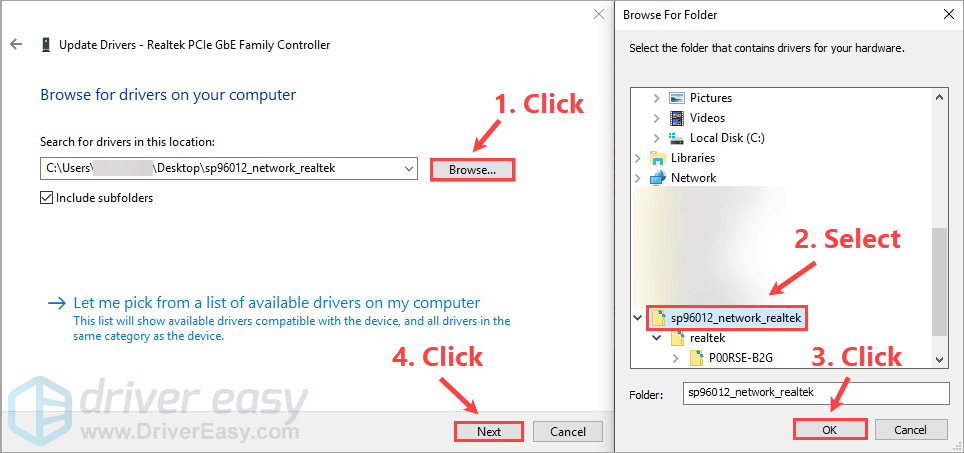
5) Click Browser… to locate the extracted driver folder, then click Next.
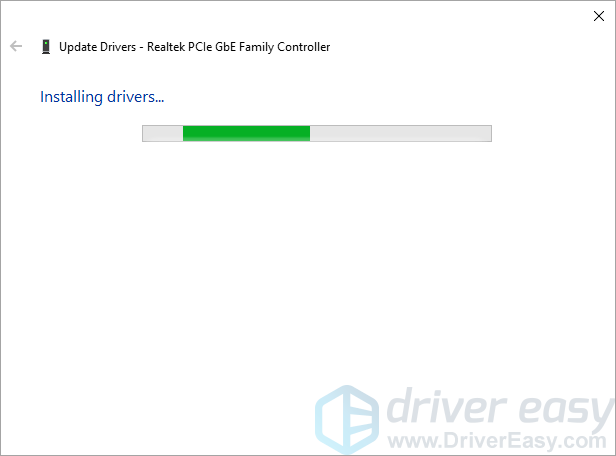
6) Wait for the driver installation completes.
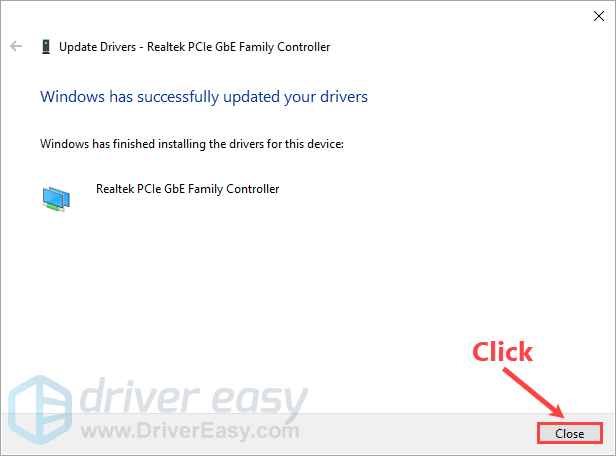
7) Click Close when Windows has successfully updated this driver. Now you can test the Internet connection.
