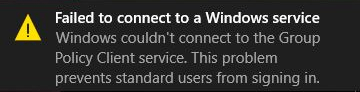
It may have happened to you as well: you saw a
Failed to connect to a Windows service error popping up on the bottom-right corner. You know that the black exclamation mark with the yellow background is usually not about something good.
But don’t fret over too much about this problem, there are some effective options that are going to help you with this error.
NOTE:
Group Policy Client service is used only as an example. If the service on your PC is having a different name, then you should choose accordingly, such as
System Event Notification Service or other services.
Warning: Before you proceed with the methods below, please make a system
restore point first, just in case of any unwanted error.
Step 1: Use netsh winsock reset command
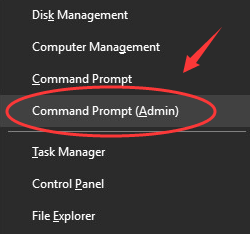
1) On your keyboard, press
Windows key and
X at the same time, then choose
Command Prompt (Admin).
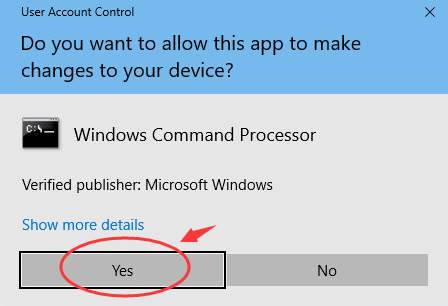
When prompted for administrator permission, hit
Yes to continue.
2) In the command prompt window, type in the following command and hit Enter after each one.
netsh
winsock reset
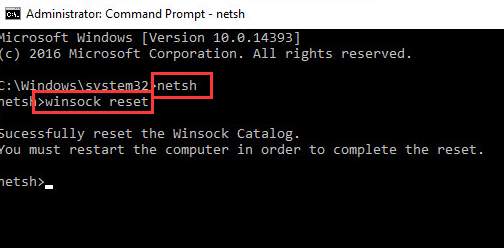
3) Restart your computer now.
The problem should be gone now.
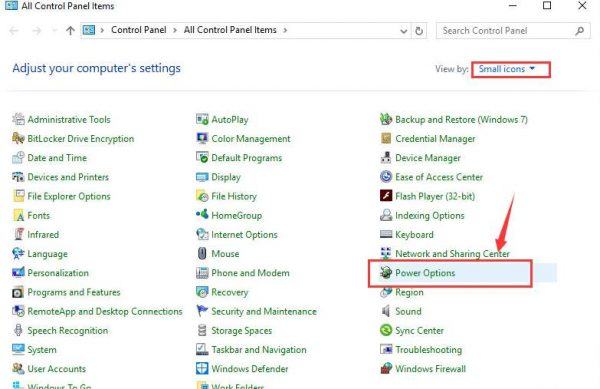
Step 2: Disable Fast Startup
1) Press the Start button, then choose Control Panel. In the view of Small icons, select Power Options.
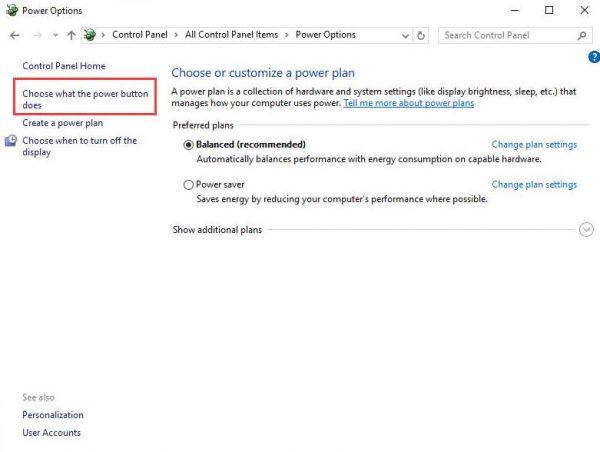
 2) On the left side of the pane, select Choose what the power button does.
 3) Then click Change settings that are currently unavailable. You might need to type in your username and password to get the administrator permission.
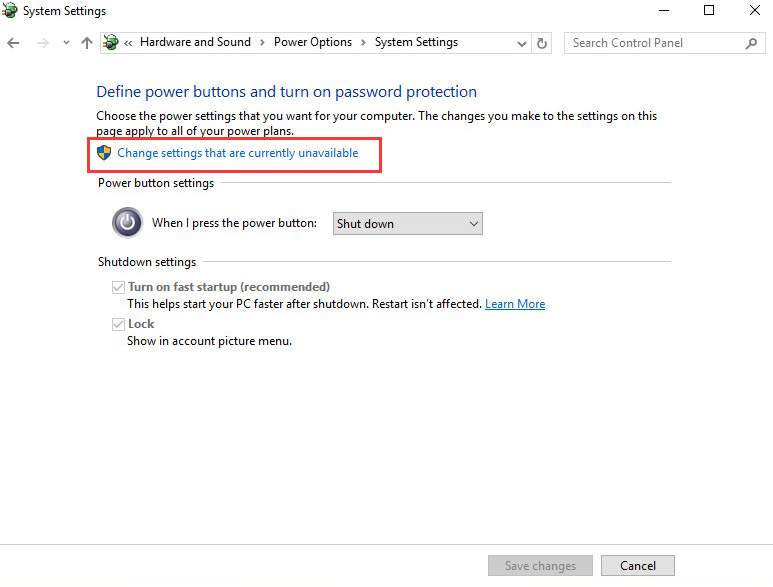 4) Scroll down a little bit and unckeck the option Turn on fast startup (recommended). Then press Save changes and exit.

Step 3: Use Registry Editor
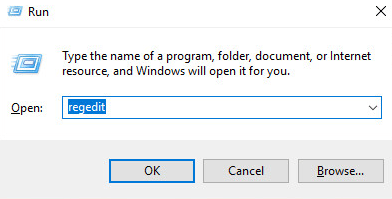
1) On your keyboard, press
Windows key and
R at the same time, then type in
regedit and hit
Enter.
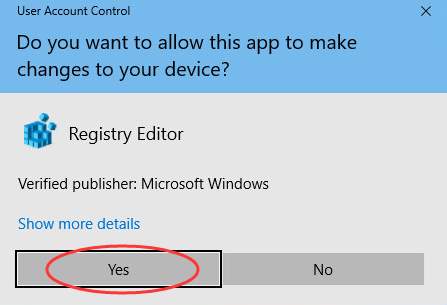
When asked for administrator permission, hit
Yes to continue.
2) Navigate to:
HKEY_LOCAL_MACHINE\SYSTEM\CurrentControlSet\Services\gpsvc
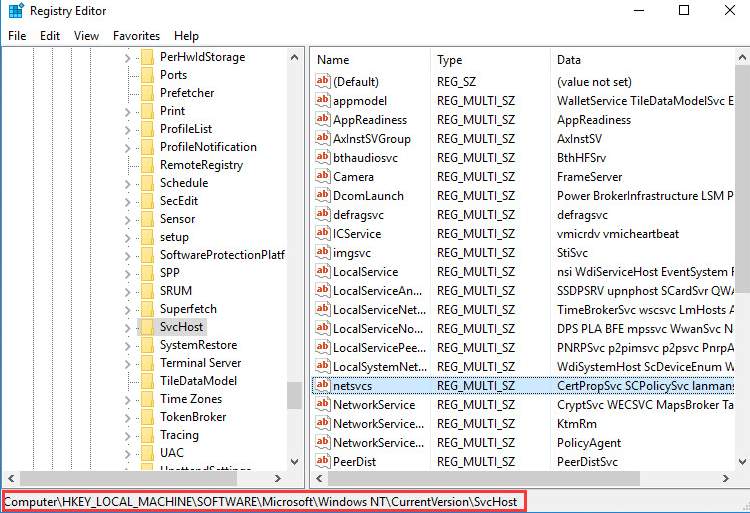
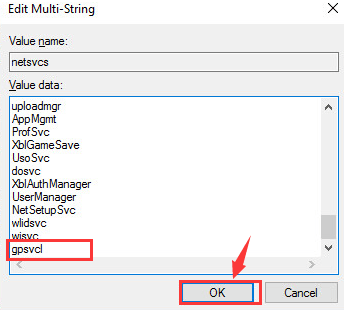
3) On the right side of the pane, double click
netsvcs option, then check to see if
gpsvcl is listed in the new opened window. (Click
here if you cannot see netsvcs option.)
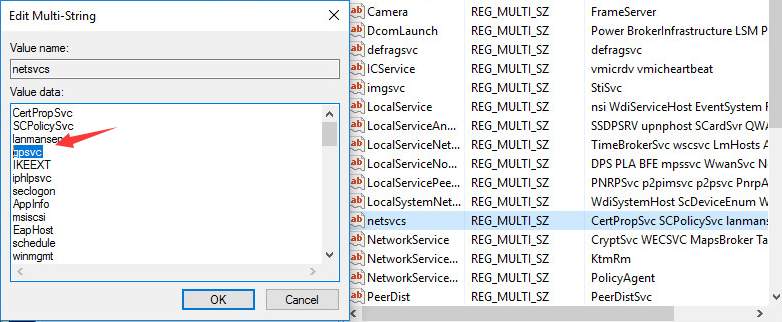
If gpsvcl option is
missing, scroll down to the bottom and type
gpsvcl in and hit
OK to add it back.
If you
CANNOT see netsvcs option:
a) Right click on
SvcHost and choose
New > Key.
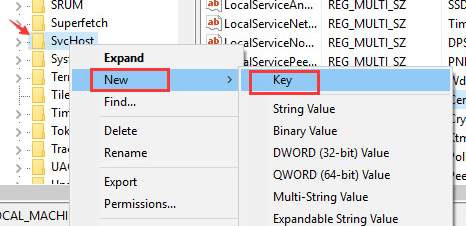
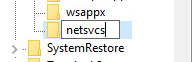
b) Then change the newly created key to
netsvcs.
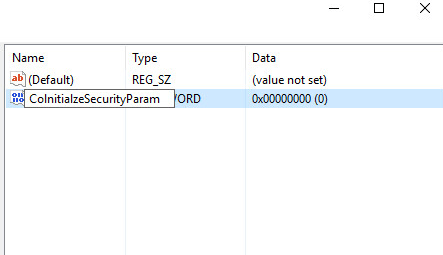
c) On the right side of the pane, right click the empty space and choose
New > DWORD (32-bit) Value.
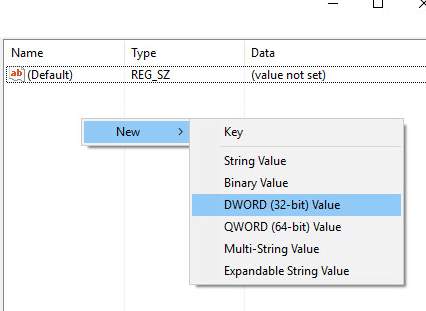
d) Change the name of the newly created key to
CoInitializeSecurityParam.
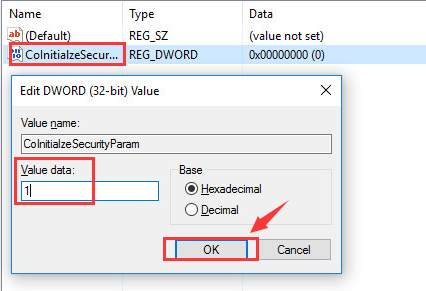
e) Double click the newly-created
CoInitializeSecurityParam and change its value to
1. Click
OK to save the change.
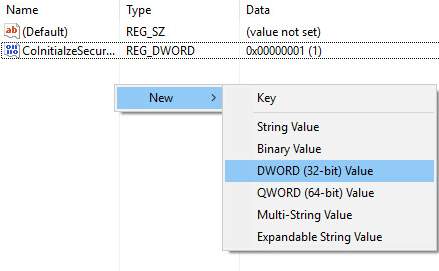
f) Now right click the empty space of the right panel of
netsvcs key and choose
New > DWORD (32-bit) Value.
g) Change the name of the value to
CoInitializeSecurityAllowLowBox.
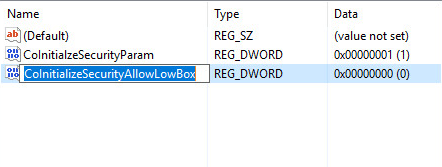
h) Double click
CoInitializeSecurityAllowLowBox and change its value to
1. Hit
OK to save the change.

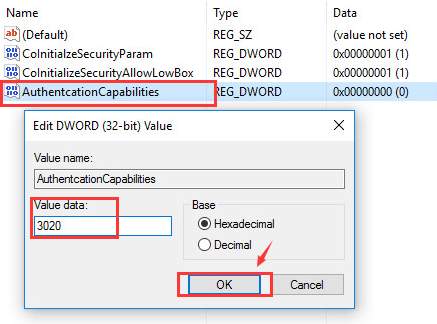
i) Create a new 32-bit DWORD and name it AuthenticationCapabilities. Set its value to 3020 and click OK to save it.
j) Close the Registry Editor and restart your computer.
Step 4: Disable Windows Font Cache Service
According to some, Windows Font Cache Service can cause conflicts with other services. Hence, you can try to disable this service and see if it helps.
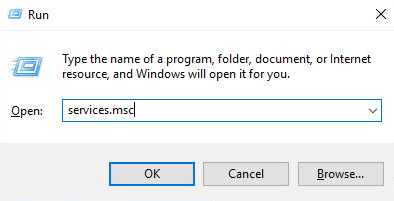
1) On your keyboard, press
Windows key and
R at the same time, then type in
services.msc and hit
Enter.
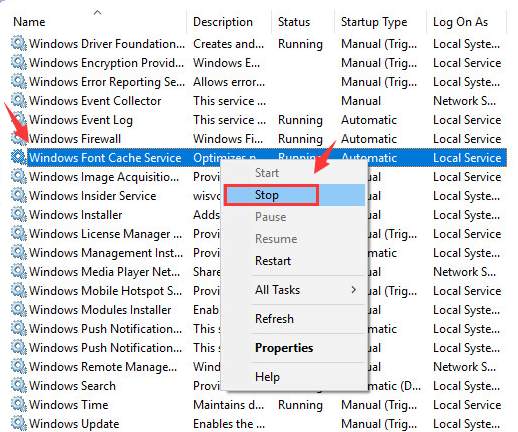
2) When Service window opens, press
W key on your keyboard to fast locate
Windows Font Cache Service. Right click it and choose
Stop.
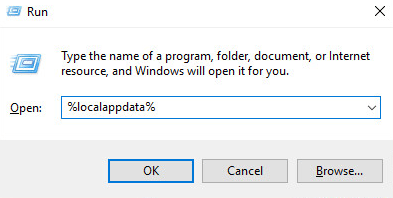
3) Now press
Windows key and
R at the same time and type
%localappdata% in and hit
Enter.
4) If you can see
FontCache data files, just delete them.
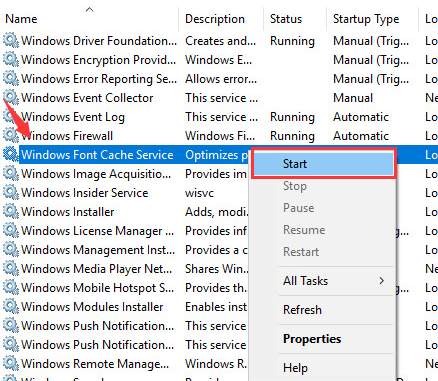
5) Go back to Service window, right click
Windows Font Cache Service, this time, choose
Start.
Step 5: Disable User Account Control (UAC)
NOTE: Turning off user account control is a bit risky for novice users. If you are not sure what you are to do, please skip this part.
Some users mentioned that the
Failed to connect to a Windows service error could be due to over sensitive UAC, which is a built-in feature that will ask for your permission when you are to do any changes to your PC. We can disable it for the time being and see if this problem is gone.
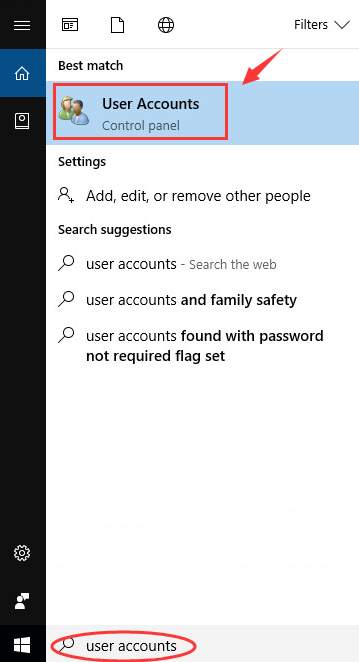
1) On your keyboard, press
Windows key and
S at the same time, then type in
user accounts and choose
User Accounts.
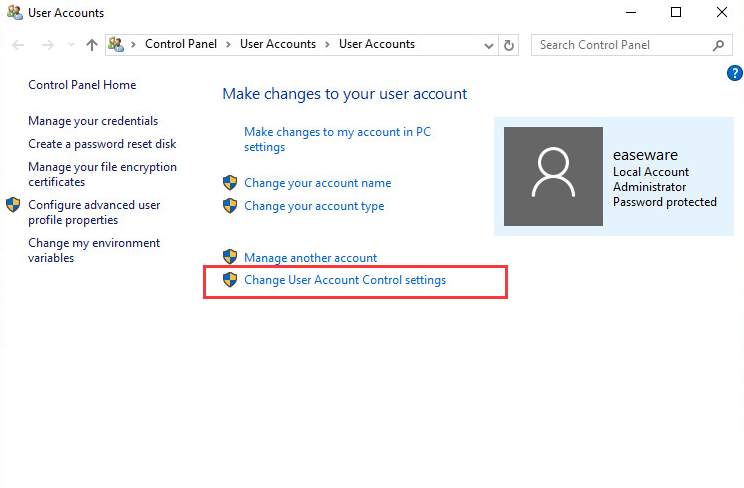
2) On the right side of the pane, choose
Change User Account Control settings.
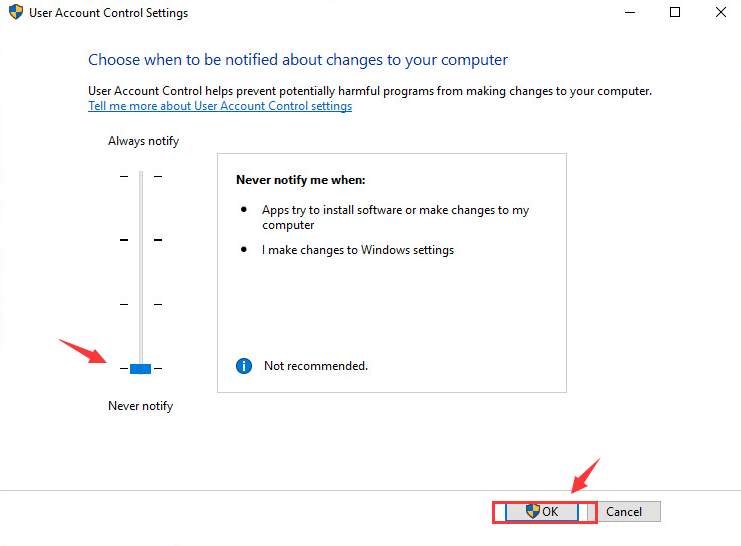
3) Toggle the slider to
Never notify position. Then click
OK to save the change.
PRO TIP: We recommend
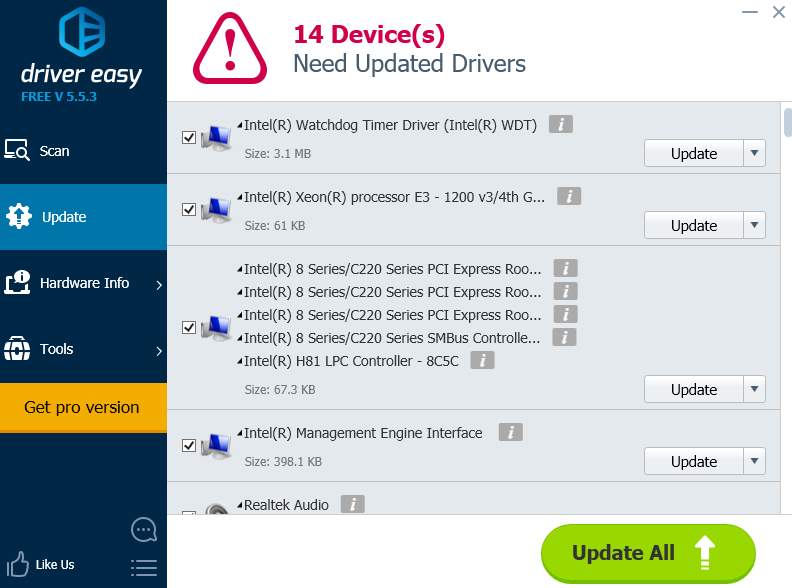
target=”_blank” rel=”noopener noreferrer”>Driver Easy to help you with the driver detect and download automatically.
Driver Easy will automatically recognize your system and find the correct drivers for it. You don’t need to know exactly what system your computer is running, you don’t need to risk downloading and installing the wrong driver, and you don’t need to worry about making a mistake when installing.
You can update your drivers automatically with either the FREE or the Pro version of Driver Easy. But with the Pro version it takes just 2 clicks (and you get full support and a 30-day money back guarantee):
1)
target=”_blank” rel=”noopener”>Download and install Driver Easy.
2) Run Driver Easy and click
Scan Now button. Driver Easy will then scan your computer and detect any problem drivers.

3) Click the
Update button next to any flagged driver to automatically download and install the correct version of this driver (you can do this with the FREE version).
Or click
Update All to automatically download and install the correct version of all the drivers that are missing or out of date on your system (this requires the
> Pro version – you’ll be prompted to upgrade when you click
Update All).