


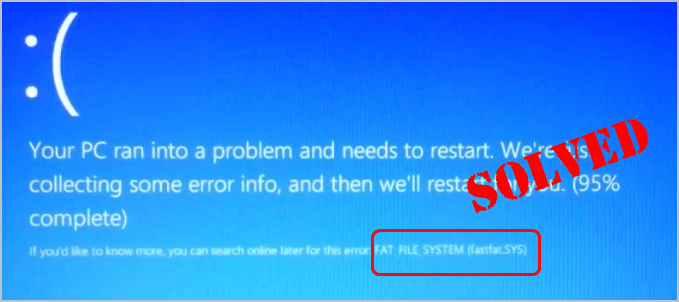
If you’re on Windows 10, and you’re seeing the blue screen error above, you’re certainly not the only one. There’s nothing scarier. We’ve seen many users are reporting this FAT_File_System error. Luckily, it’s usually easy to fix. Read on and find how…
4 Fixes for FAT_File_System error:
- Unplug all your removable devices from your computer
- Update all your available drivers
- Run System File Checker to recover any corrupted system file
- Run CHKDSK to detect and repair any bad sectors of your hard disks
Solution 1: Unplug all your removable devices from your computer
A faulty hardware may cause your computer to the blue screen error. Follow these steps to troubleshoot if your any hardware is faulty.
- Unplug all your removable device except your boot drive, mouse and keyboard from your computer.
- Restart your computer to see if the blue screen error still exists.
a) If the error still occurs, move onto Solution 2;
b) If the error doesn’t occur, you might have connected a faulty hardware to your computer. You can go on with the steps below to figure out your faulty hardware. - Connect one device you just unplugged. (If you just remove one device, skip to step 4. Then restart your computer to see if the error still exists. Repeat this operation until you find the faulty device.(When the faulty device is plugged back to your computer, the error will appear.)
- Add the faulty device to another computer to test if it’s damaged. If yes, then replace it with a new one.
Solution 2: Update all your available drivers
The FAT_File_System error could be caused by an old, missing or corrupted driver. You need to verify that all your devices have the right driver, and update those that don’t. If you’re not comfortable playing around with drivers manually, you can do it automatically with Driver Easy.
Driver Easy will automatically recognize your system and find the correct drivers for it. You don’t need to know exactly what system your computer is running, you don’t need to risk downloading and installing the wrong driver, and you don’t need to worry about making a mistake when installing.
You can update your drivers automatically with either the FREE or the Pro version of Driver Easy. But with the Pro version it takes just 2 clicks (and you get full support and a 30-day money back guarantee):
- Download and install Driver Easy.
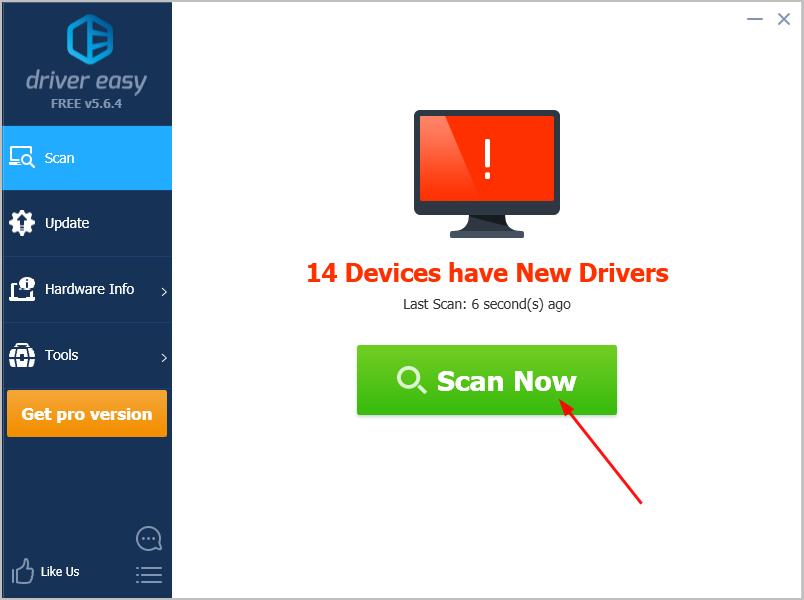
- Run Driver Easy and click Scan Now. Driver Easy will then scan your computer and detect any problem drivers.
- Click Update All to automatically download and install the correct version of all the drivers that are missing or out of date on your system (this requires the Pro version – you’ll be prompted to upgrade when you click Update All).
Note: You can do it for free if you like, but it’s partly manual.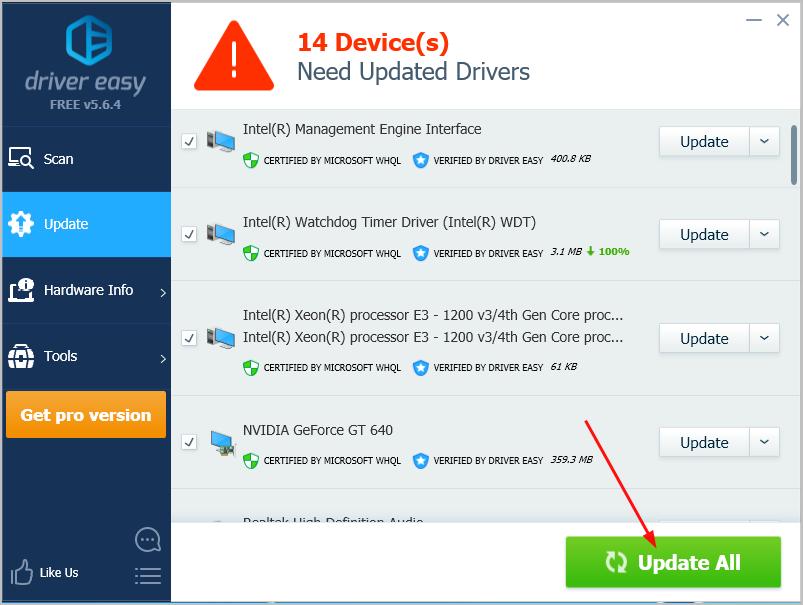
Reboot your computer to see if the error disappear. If yes, so great! If you still see the error, don’t give up hope, you have something else to try…
Solution 3: Run System File Checker to recover any corrupted system file
This problem could be also caused by the corrupted system files. If this is the case, you can run System File Checker to recover ant corrupted system file.
To do so:
- On your keyboard, press the Windows logo key.
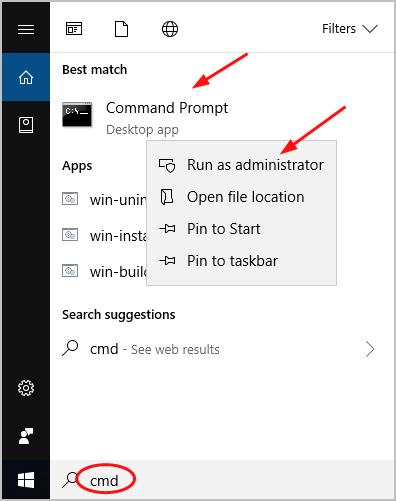
- Type cmd in the search box. Then right click on Command Prompt to select Run as Administrator.
- Click Yes when prompted by User Account Control.
- Type sfc /scannow and press Enter.
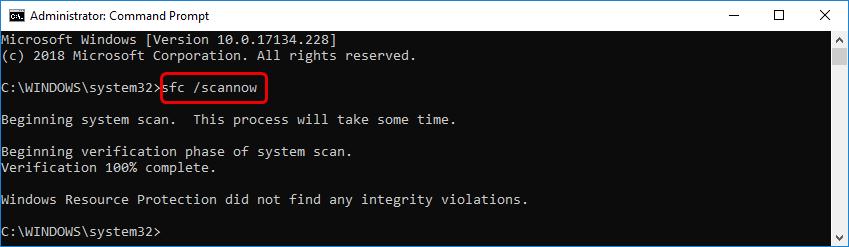
Wait for the command to complete. Windows should then scan all your system file and recover any corrupted one if detects. Once it’s done, reboot your computer to see if the error disappear.
Solution 4: Run CHKDSK to detect and repair any bad sectors of your hard disks
If there’s any file system structural corruption of your disks, the FAT_File_System error might also occur. You can run CHKDSK for help. The CHKDSK utility will try to repair bad sectors it found.
- On your keyboard, press the Windows logo key.
- Type cmd in the search box. Then right click on Command Prompt to select Run as Administrator.
- Click Yes when prompted by User Account Control.
- On the open black window, type chkdsk /f /r and press Enter. Then press Y on your keyboard to enable this volume be checked next time when your computer restarts.

- Press Enter. Then restart your computer to start the process. Once the process completes, your computer will boot into Windows, see if the blue screen error disappears.
Hope this helps. Feel free to leave comment below with your own experiences and share it with your friends if they’re experiencing the same problem.