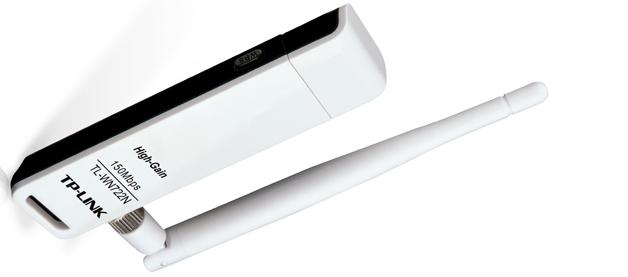
TP-LINK TL-WN722N not detected by your Windows PC? This may happen due to a faulty or outdated TL-WN722N driver. To fix the problem, you need to install the latest driver for your adapter.
In this guide, you’ll learn two easy ways to download and install the TP-LINK TL-WN722N driver: manually or automatically.
Option 1: Download TP-LINK TL-WN722N driver manually
You can directly download the TL-WN722N driver from the official TP-LINK website.
Follow these steps:
1) Go to the TP-LINK Download Center.
2) Under Model Number, type tl-wn722n and then select it from the results.
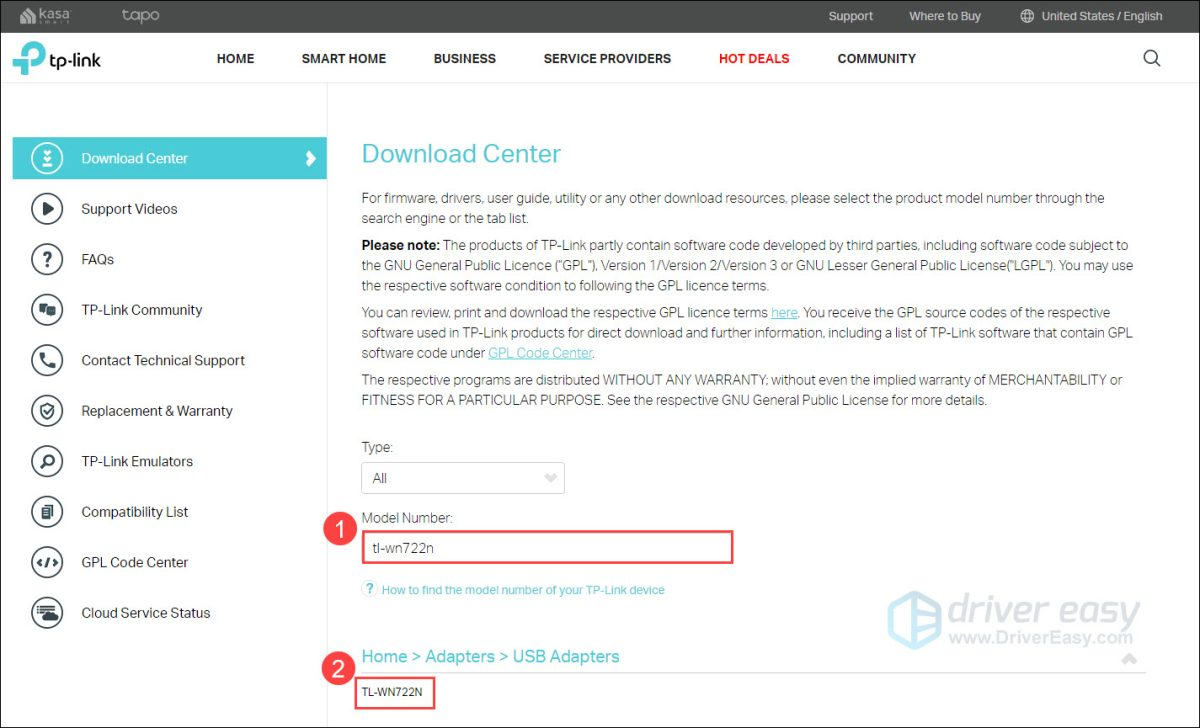
3) Select your hardware version and find the latest driver for your Windows version to download.
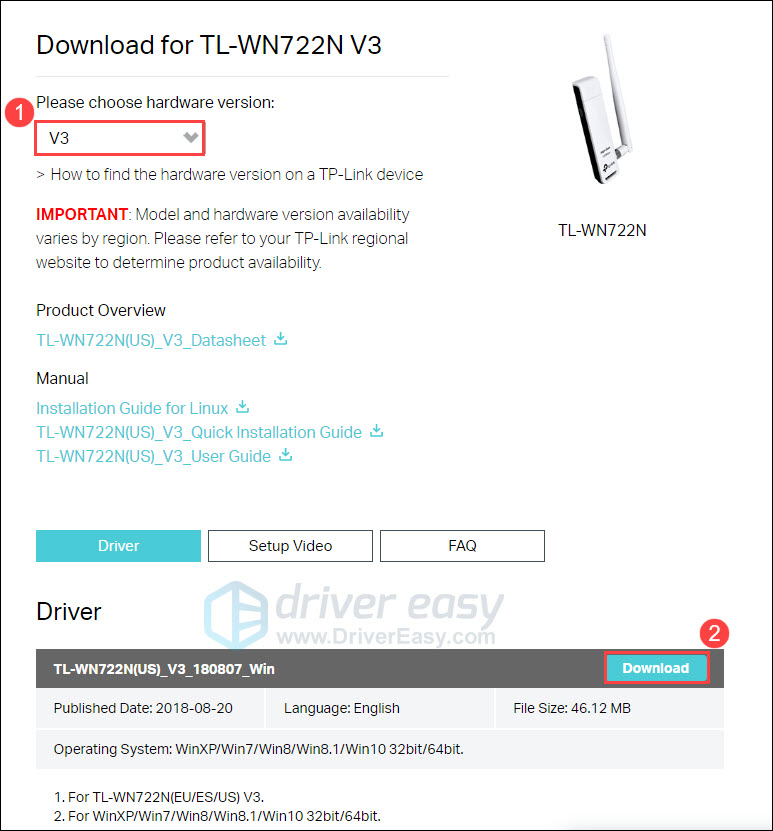
4) Double-click the downloaded file and follow the on-screen instructions to complete the installation.
After installing the driver, restart your PC and check if TL-WN722N works properly.
If you don’t have the time, patience or computer skill to download the driver manually, you can do it automatically with Driver Easy.
Option 2: Download TP-LINK TL-WN722N driver automatically
Driver Easy is a driver update tool that can automatically recognize your system and find the correct drivers for it. You don’t need to know exactly what system your computer is running, you don’t need to risk downloading and installing the wrong driver, and you don’t need to worry about making a mistake when installing.
You can update your drivers automatically with either the FREE or the Pro version of Driver Easy. But with the Pro version, it takes just 2 clicks (and you get full support and a 30-day money-back guarantee):
1) Download and install Driver Easy.
2) Run Driver Easy and click Scan Now. Driver Easy will then scan your computer and detect any problem drivers.
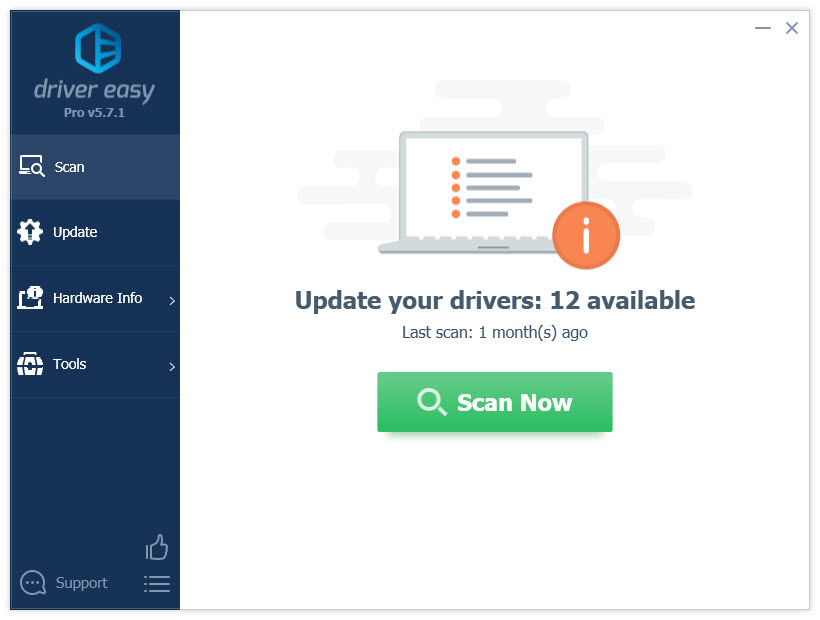
3) Click the Update button next to a flagged TP-LINK driver to automatically download and install the correct version of this driver (you can do this with the FREE version).
Or click Update All to automatically download and install the correct version of all the drivers that are missing or out of date on your system (this requires the Pro version – you’ll be prompted to upgrade when you click Update All).
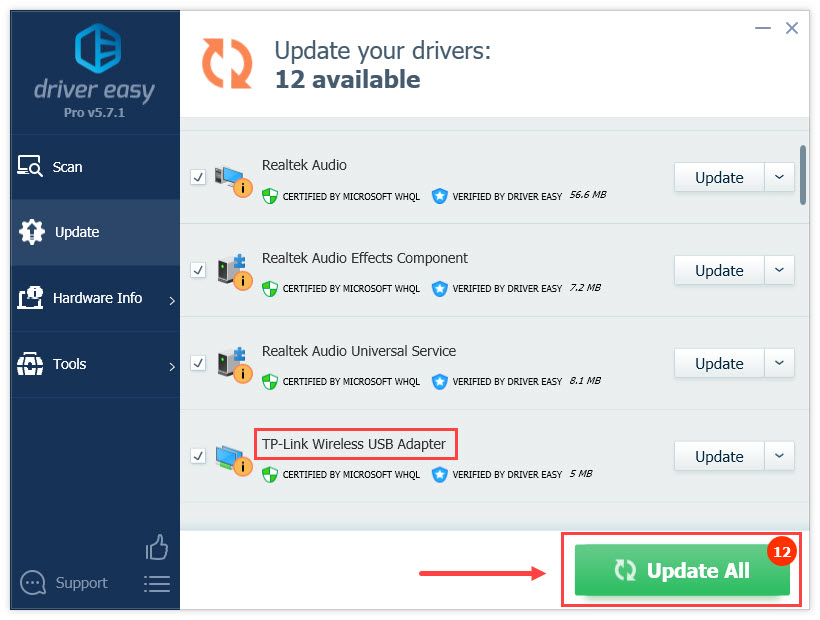
4) Restart your computer and check if your problem has been resolved.


