When you open a certain program on your computer, you receive an error message notification like the following scree shot saying Font ‘Verdna’ does not support style ‘Regular’.

Sometimes, the font could be different like this:
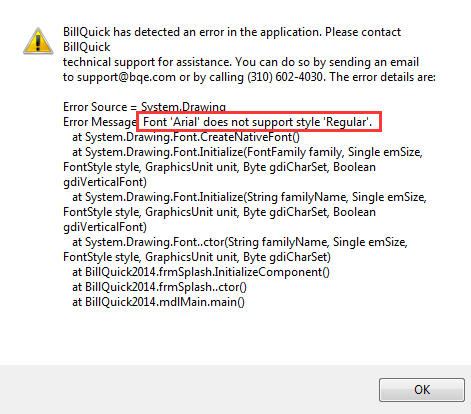
The notification could be different as well like this: 
And this:
When error message like this pops up, there is no way for you to use the program that you intend to open. Then, what should you do to get this error fixed?
This post mainly shows you two ways to get this problem fixed when the error message Font ‘Verdana’ does not support style ‘Regular’ shows up.
Before We Start
This is a tutorial done on Windows 7 and with the problematic font Verdana. You might need to replace the problematic font and the operations on your operating system accordingly.
Method One: Reinstall the Font
The possible reason for this error message could be that the font is presented on your system but incorrectly registered. To fix the error, you just need to uninstall and then install the font that causes this error back on again.
Step One
Make sure that you have Verdana Regular\Bold font listed on your computer.
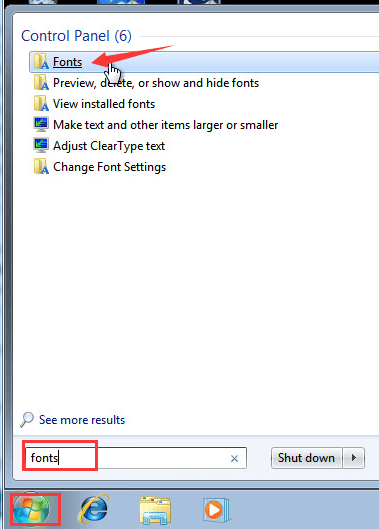
1) Click Start button. Type in fonts in the search box. Then choose the Fonts option.
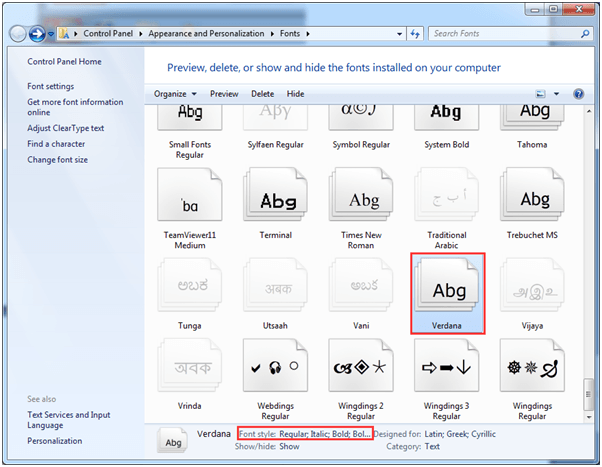
2) Find the problematic font Verdana. Check the Font Style of it on the bottom. See if you can find Regular and Bold in the description.
Step Two
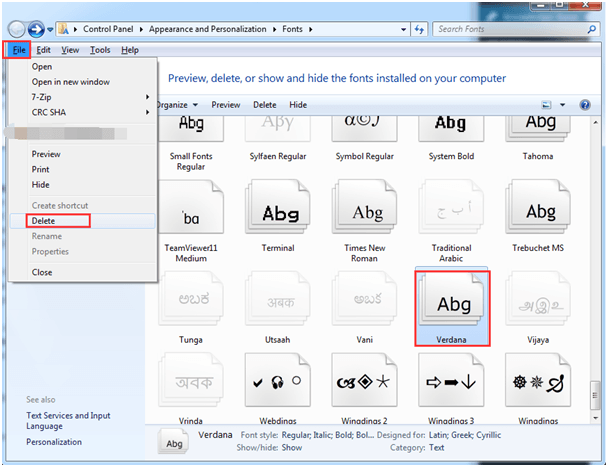
Select the font which is causing the problem. On the File menu, click Delete.
If you don’t see the File menu, please press ALT key on your keyboard.
Step Three
1) Search online the font that you just deleted and then download it on your computer. We re-download Verdana regular and Verdana Bold from the Internet. You could choose to download the regular font only since the notification only mentioned “style regular”.
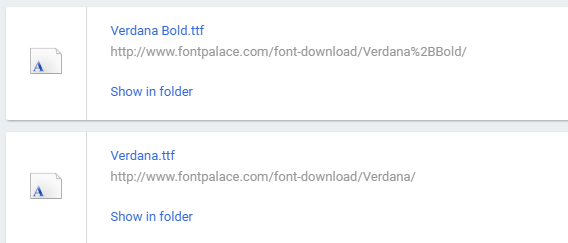
2) Copy the downloaded files and then paste them onto the Fonts panel.
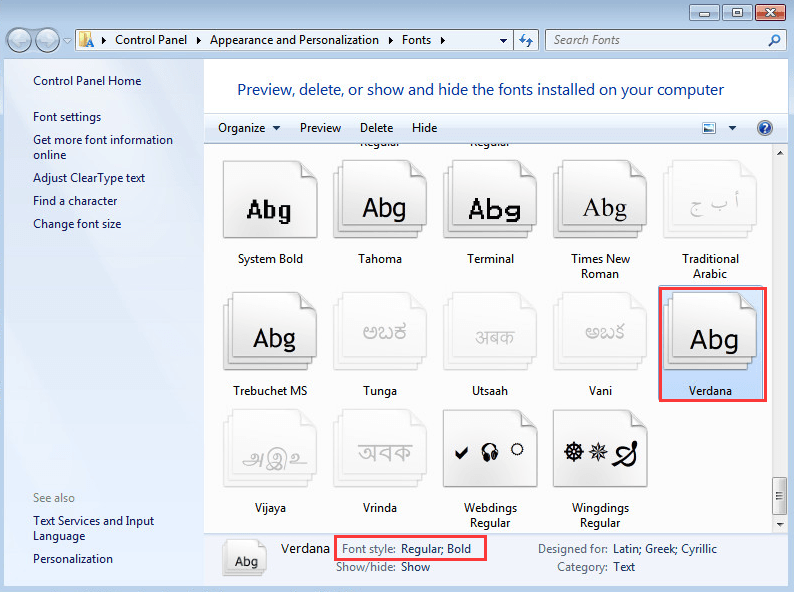
I copied two font files, one is regular, the other is bold. As you can see, they are now listed under Verdana with different font style descriptions.
Note: Before you download the font, please make sure that you trust the source.
Method Two: Run SFC Scan
If the first method doesn’t work, please try to run the system file checker command for the problem to be fixed by your system automatically.
1) Open Command Prompt as Administrator.
2) At the command prompt, type in sfc /scannow and then press Enter. Wait for a few minutes for the process to complete.
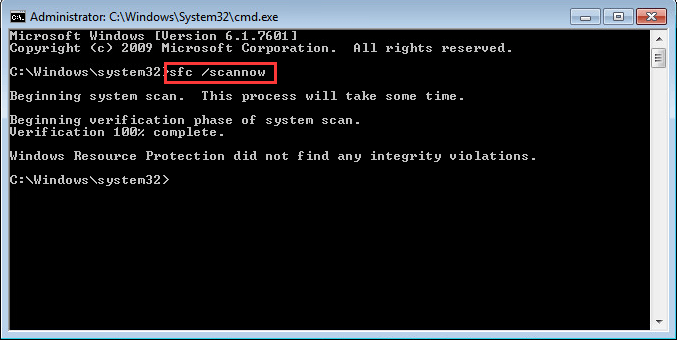
3) The system file checker utility allows you to perform a scan of all protected resources to verify whether they are the correct version. So if it find any incorrect versions, it will replace them with the correct ones.


