
If you accidentally disable your graphics device, or your system for some unknown reason causes it to be disabled, it seems mission impossible to enable your device again, because you see nothing but a black screen, having no idea how to navigate to Device Manager to enable your display adapter. But don’t worry, all you need to do now is try Fix 1, which is kind of a trial-and-error approach but can also be a real fix.
Two fixes for graphics device driver error code 22
Fix 1: Use your keyboard to navigate to Device Manager
- Restart your PC.
- If you log in automatically, skip to step 3; otherwise, wait some time until you think the login screen appears, then (enter the password and) login.
- On your keyboard, press Alt and F4 keys together a few times to make sure any startup programs get closed.
- Hold down the Windows logo key and press R to open the Run box.
- Type devmgmt.msc and press Enter to open Device Manager.
- Wait a few seconds to make sure Device Manager is open, then press the Tab key once to bring the selection onto the device list.
- Press D twice to go to the Display adapters category.
- Tab the right arrow key to expand the category, and tab the right arrow again to go to the first device under the category.
- Press Alt+A together to open the Action menu.
- Tab the down arrow key once to select Enable device (note, if you’ve got the wrong device, this will select Disable for that device). Then, press Enter to enable it.
- Voila! Your screen should appear normally now. If it isn’t working, you can press the power button to shut down and restart your computer, then carefully repeat the above steps to better troubleshoot the issue.
Fix 2: Reset BIOS by removing the CMOS battery
If attempts with Fix 1 produce no results, to fix your disabled graphics device, you may need to remove the CMOS battery to reset BIOS to its default settings. It requires some skills. You can follow the instructions below:
- Shut down your computer.
- Disconnect all power sources (remove all cables).
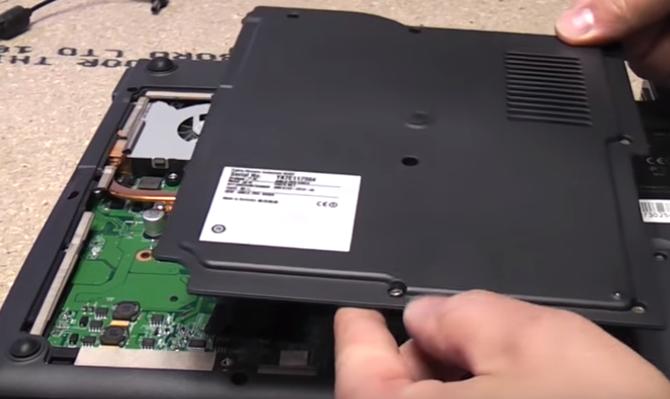
- Open up your computer’s case to reveal the hardware inside.
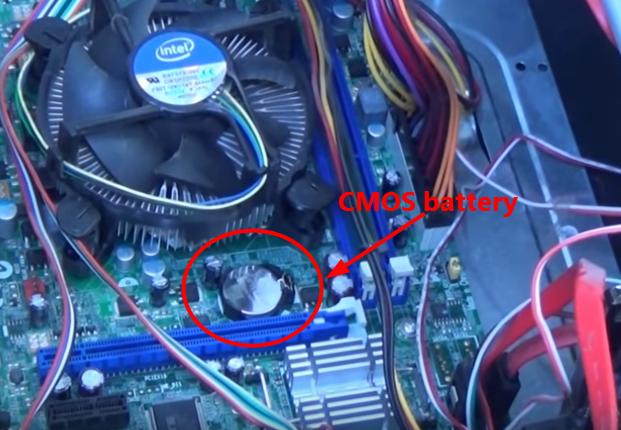
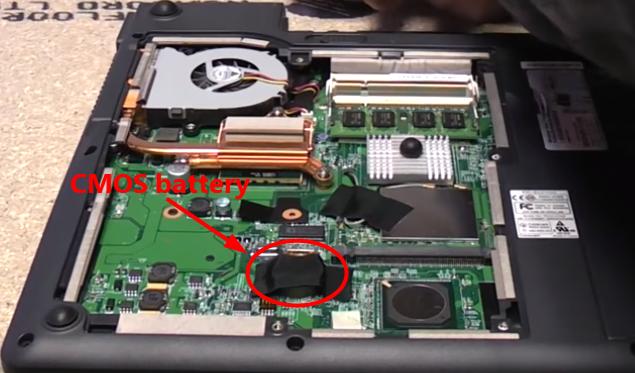
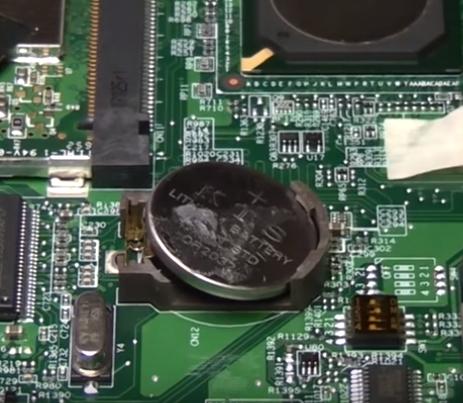
- Find the CMOS battery.
On desktop PCs, the CMOS battery is usually located in an exposed housing on the motherboard (see an example below).
Bonus tip
Driver error code 22 can also occur if your graphics driver is faulty or outdated.
There are two ways to update your graphics driver — manually and automatically.
Manual driver update — You can update your graphics driver manually by going to the manufacturer’s website and searching for the most recent correct driver. Be sure to choose the driver that’s compatible with your exact graphics card model and your version of Windows.
Automatic driver update — If you don’t have the time, patience, or computer skills to update your graphics driver manually, you can, instead, do it automatically with Driver Easy.
Driver Easy will automatically recognize your system and find the correct drivers for it. You don’t need to know exactly what system your computer is running, you don’t need to be troubled by the wrong driver you would be downloading, and you don’t need to worry about making a mistake when installing. Driver Easy handles it all.
You can update your drivers automatically with either the 7 days free trial or the Pro version of Driver Easy. It takes just 2 clicks, and you get full support and a 30-day money-back guarantee with the Pro version:
- Download and install Driver Easy.
- Run Driver Easy and click the Scan Now button. Driver Easy will then scan your computer and detect any problem drivers.

- Click the Activate & Update button next to the flagged device to automatically download and install the correct version of this driver.
Or click Update All to automatically download and install the correct version of all the drivers that are missing or out of date on your system (You’ll need the Pro version for this – when you select Update All, you’ll get a prompt to upgrade. If you’re not prepared to purchase the Pro version yet, Driver Easy provides a 7-day trial at no cost, granting access to all Pro features like fast downloads and easy installation. No charges will occur until after your 7-day trial period ends.)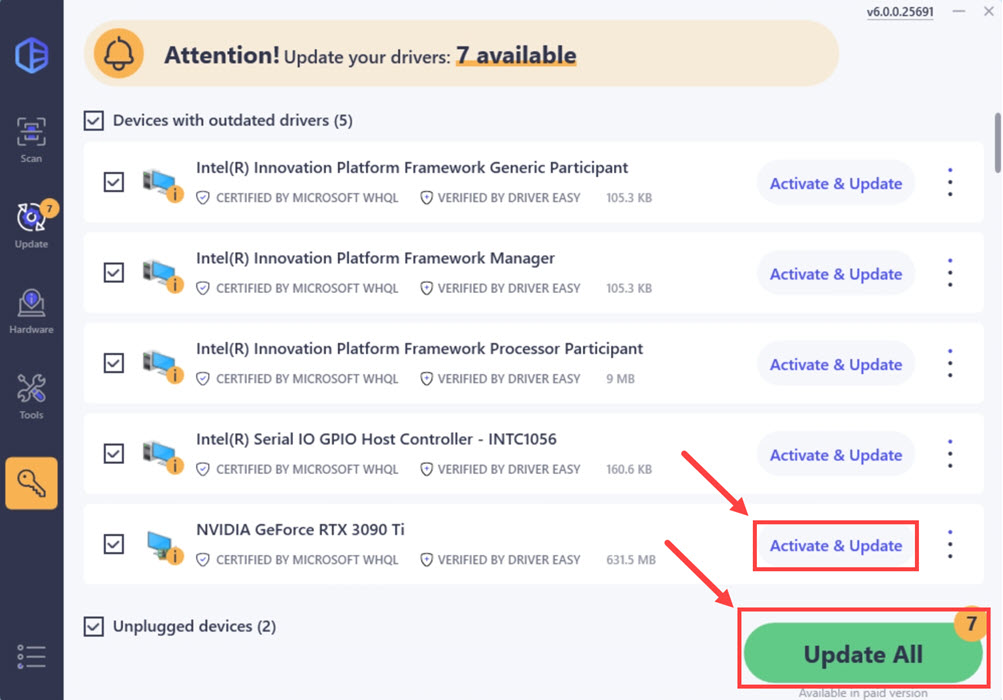
- After updating, restart your computer to take effect.
You’re welcome to leave a comment below to share your results or any other suggestions.


