If you need to modify the registry to fix some problems, it is recommended that you back up the registry in case serious problems occur after modification. If necessary, you can use the backup copy to restore the registry to previous version. Here you will learn the specific steps to back up and restore the registry.
The steps here apply to Windows 10, 7, 8, 8.1, XP & Vista.
How to Back Up the Registry
Follow these steps:
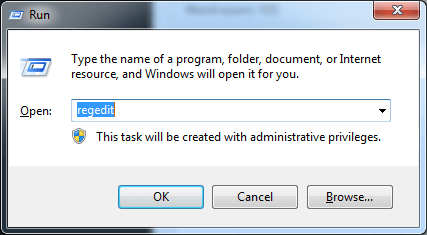
1. Press Win+R(Windows logo key and R key) at the same time. A Run dialog will appear.
2. Type regedit in the run box and click OK button. Then Registry Editor will open.
3. In Registry Editor, locate and click the registry key or subkey that you wish to back up.
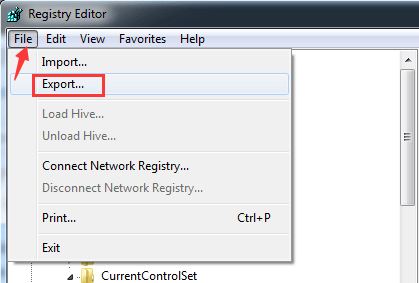
4. Click File in the tool bar. Then click Export.
5. In the Export Registry File dialog box, select the location where you want to save the registry copy to. Type a name in “File name” box.
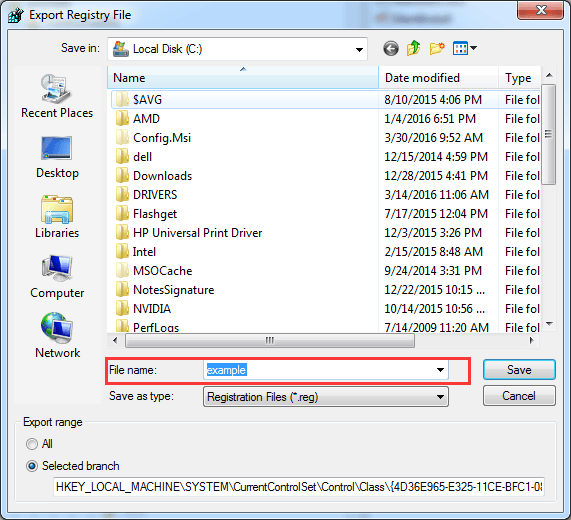
6. Click Save button.
How to Restore the Registry
Follow these steps:1. Press Win+R(Windows logo key and R key) at the same time. A Run dialog will appear.
2. Type regedit in the run box and click OK button. Then Registry Editor will open.

3. In Registry Editor, click File in the tool bar. Then click Import.
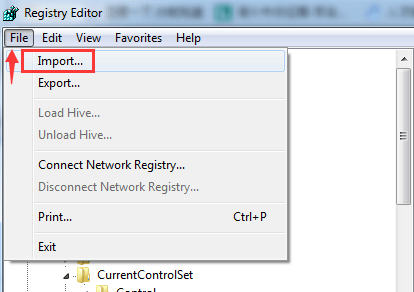
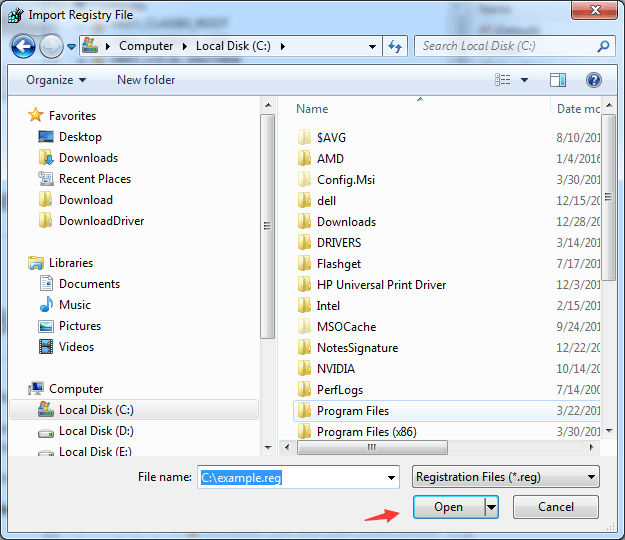
4. In the Import Registry File dialog box, select the location where you saved the backup copy to, click to select the backup file. Click Open button.
