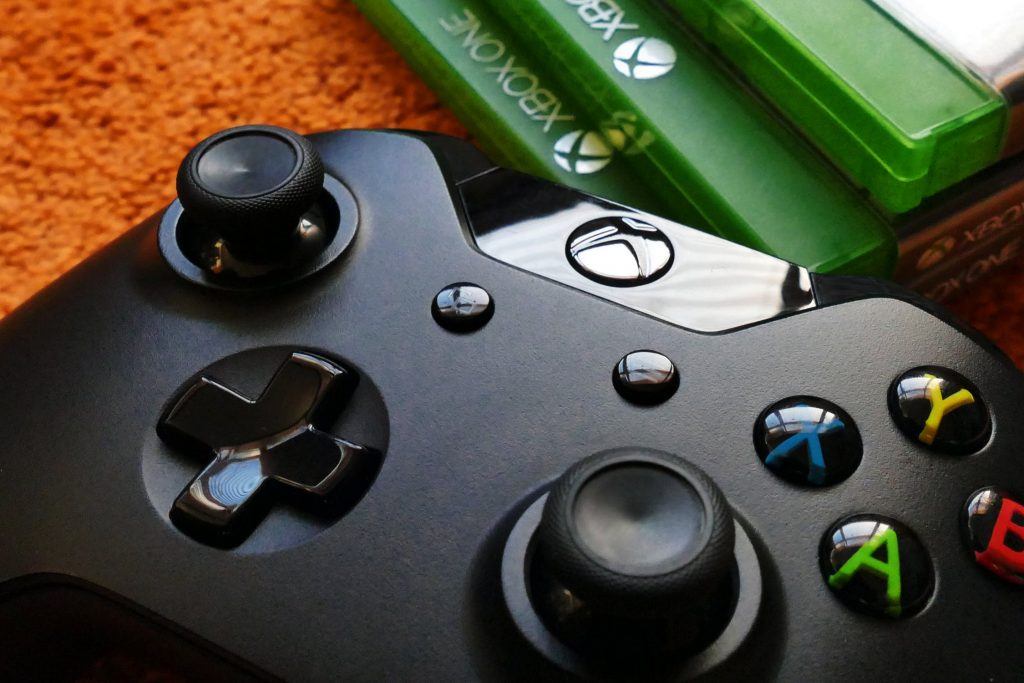
Just get your fabulous Xbox One controller? That’s amazing! I guess you cannot wait trying your new Xbox One controller to play games now! But wait, you don’t know how to connect your Xbox One controller or, you encounter some problems during the installation? Don’t worry!
This article covers three different ways to connect your Xbox One controller with your Windows: via USB cable, wireless adapter, and Bluetooth.
Read along to see how…
Ways to connect the Xbox One controller to your PC:
Note: If you use a wired Xbox One controller, choose the Way 1 please.
- Using a USB cable to connect your Xbox One controller to PC
- Using a wireless adapter to connect your Xbox One controller to PC
- Using Bluetooth to connect your Xbox One controller to PC
- Update your Xbox One controller to gain the best gaming performance
Way 1: Using a USB cable to connect your Xbox One controller to PC
Either a wired or wireless Xbox One controller, You can use a USB cable to connect it to your PC. It’s very easy.
- If your Xbox controller is wired itself, skip this step please; If your Xbox one controller is wireless, plug your USB charging cable into the front of your controller.
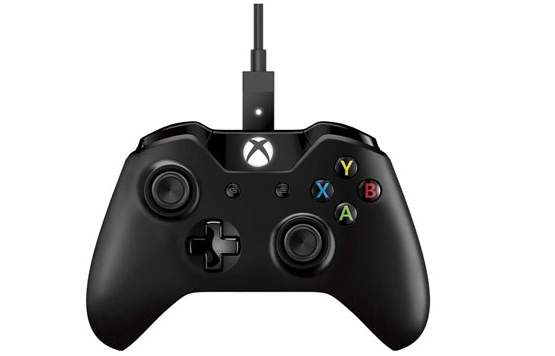
- Plug the other end into the correct USB port of your PC.
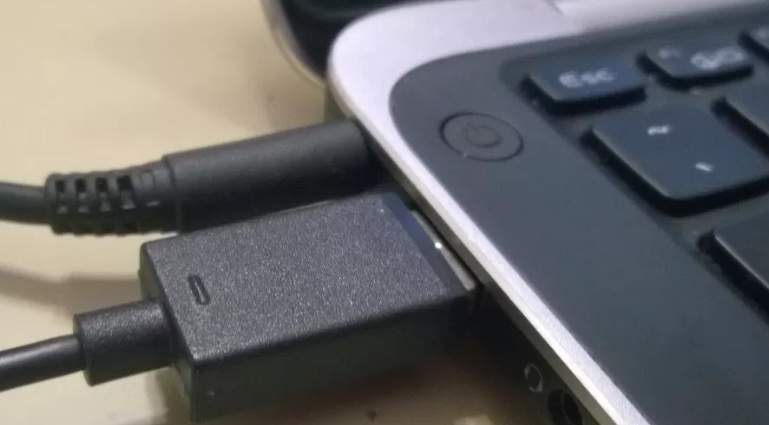
- Windows will automatically install Xbox One Controller driver for you.

Now you can enjoy video games with your controller.
If your Xbox One controller can’t work properly, or Windows doesn’t install the driver, follow How do I update my Xbox One controller? to troubleshoot the problem.
Way 2: Using a wireless adapter to connect your Xbox One controller to PC
Besides USB connection, if you use a wireless controller, you can connect the controller to your PC with a Xbox wireless adapter.
Follow these steps;
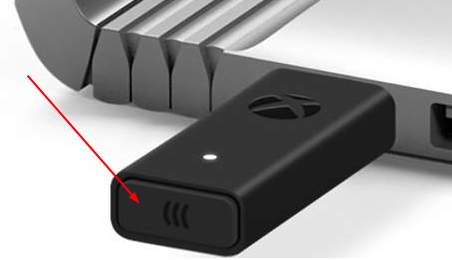
- Plug a Xbox wireless adapter into your PC. Then press the button on the edge. The Windows will install the Xbox One controller driver automatically for you.
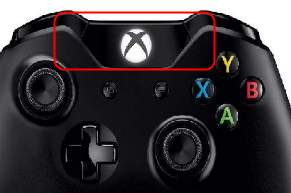
- Make sure there are batteries in your controller. Press the Xbox button
 to turn on your controller.
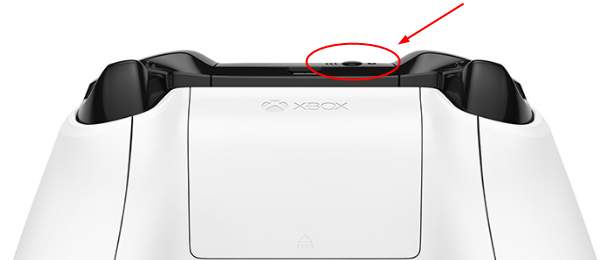
- Press the controller bind button on the top of your controller. The LED lights on your controller and adapter will blink a few times. Once the lights go solid, your controller is connecting to your Windows.
Now you can enjoy video games with your controller.
Additional tip:
If your PC has Xbox wireless built in, such as Microsoft Surface Studio, you can connect your Xbox One controller through Add a device in Settings.
See how you can do it:
- Press the Windows logo key and I (at the same time) to open the Settings window.
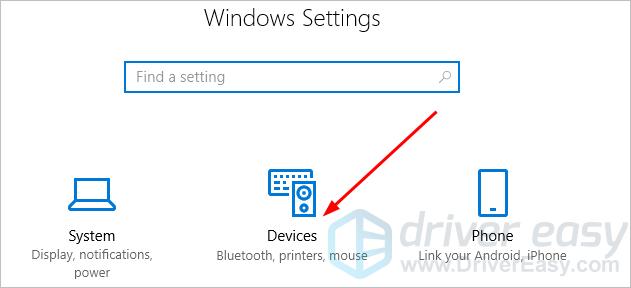
- Click Devices.
-
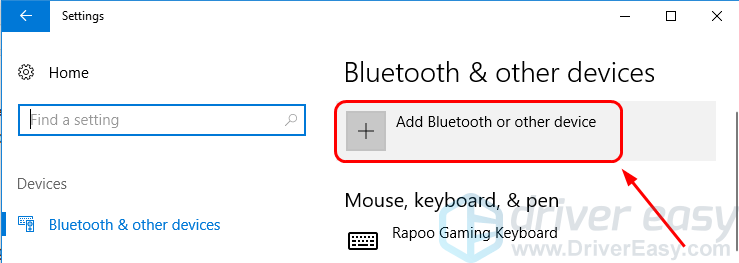
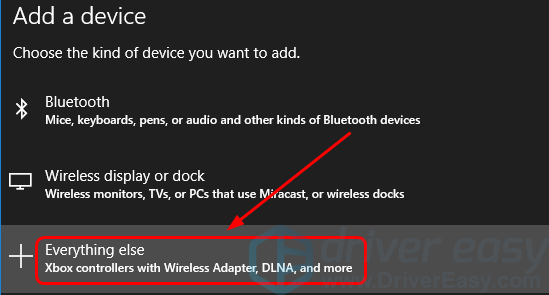
Click Add Bluetooth or other device.
-
Click Everything else.
-
Go on to select your Xbox One controller and click Done.
-
You now should be able to enjoy games with your Xbox one controller.
If your Xbox One controller can’t work properly, or Windows doesn’t install the driver, follow How do I update my Xbox One controller? to troubleshoot the problem.
Way 3: Using Bluetooth to connect your Xbox One controller to PC
If you’re using a Bluetooth supported Xbox One controller and a Bluetooth supported PC, you can connected them via Bluetooth then.
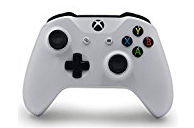
Note: On a Bluetooth-supported controller, the plastic around the Xbox button is part of the face of the controller, like this:
To connect your controller and PC via Bluetooth:
- Before we go, make sure your Windows is updated and the Bluetooth is turned on.
- Press the Xbox button on your controller to turn on it.

- Press and hold the controller bind button for three seconds, and then release.

- Press the Windows logo key and I (at the same time) to open the Settings window.
- Click Devices.

- Click Add Bluetooth or other device.

- Go on to select your Xbox One controller and click Pair.
- You should be able to enjoy games with your controller now.
How do I update my Xbox One controller?
For best performance, you need to make your Xbox One controller up-to-date. Or if the Windows doesn’t install the controller driver automatically, follow the guide here to update your Xbox One controller.
You can download the Xbox One controller online and install it on your Windows manually. Or if you’re not confident playing around with driver manually, you can do it automatically with Driver Easy to save much more time.
Driver Easy will automatically recognize your system and find the correct drivers for it. You don’t need to know exactly what system your computer is running, you don’t need to risk downloading and installing the wrong driver, and you don’t need to worry about making a mistake when installing.
You can update your drivers automatically with either the FREE or the Pro version of Driver Easy. But with the Pro version it takes just 2 clicks (and you get full support and a 30-day money back guarantee):
- Download and install Driver Easy.
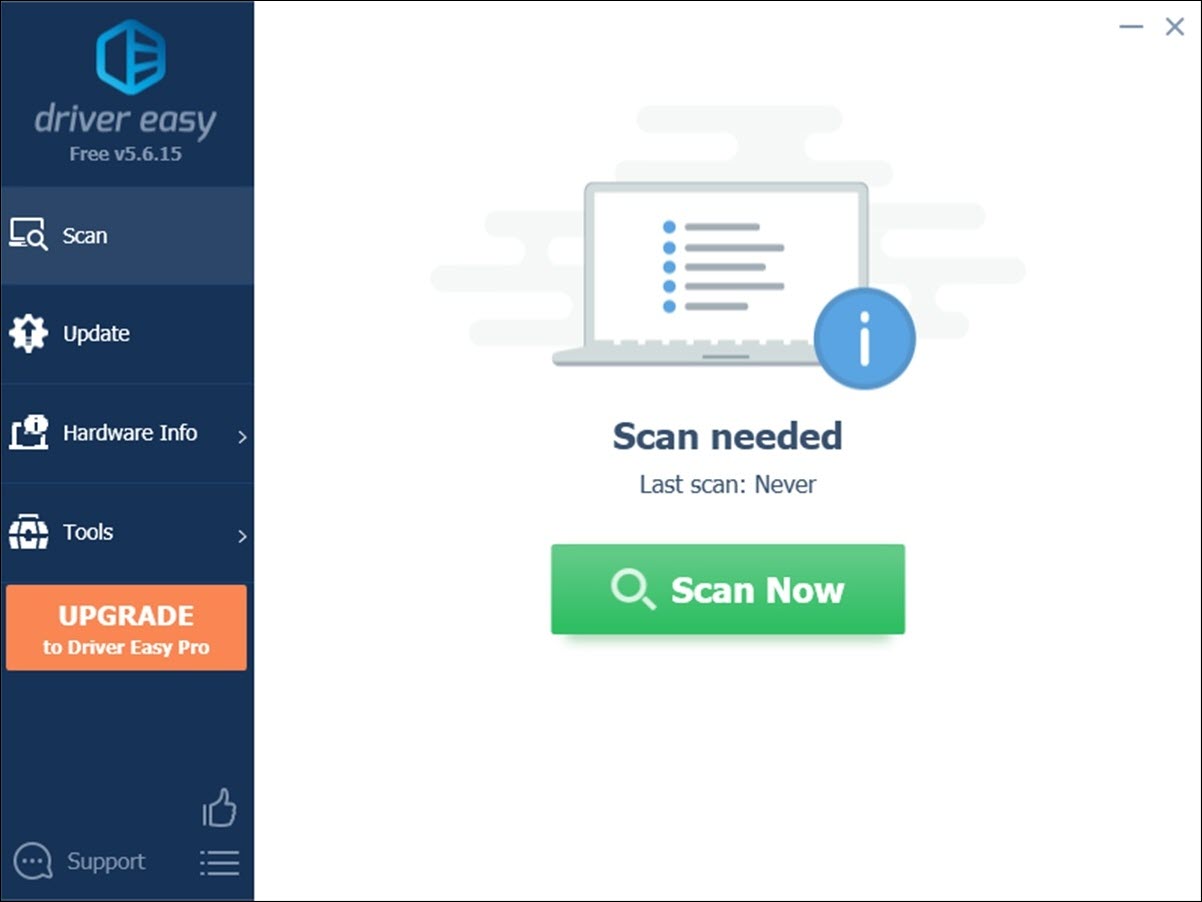
- Run Driver Easy and click the Scan Now button. Driver Easy will then scan your computer and detect any problem drivers. You controller driver is no exception.
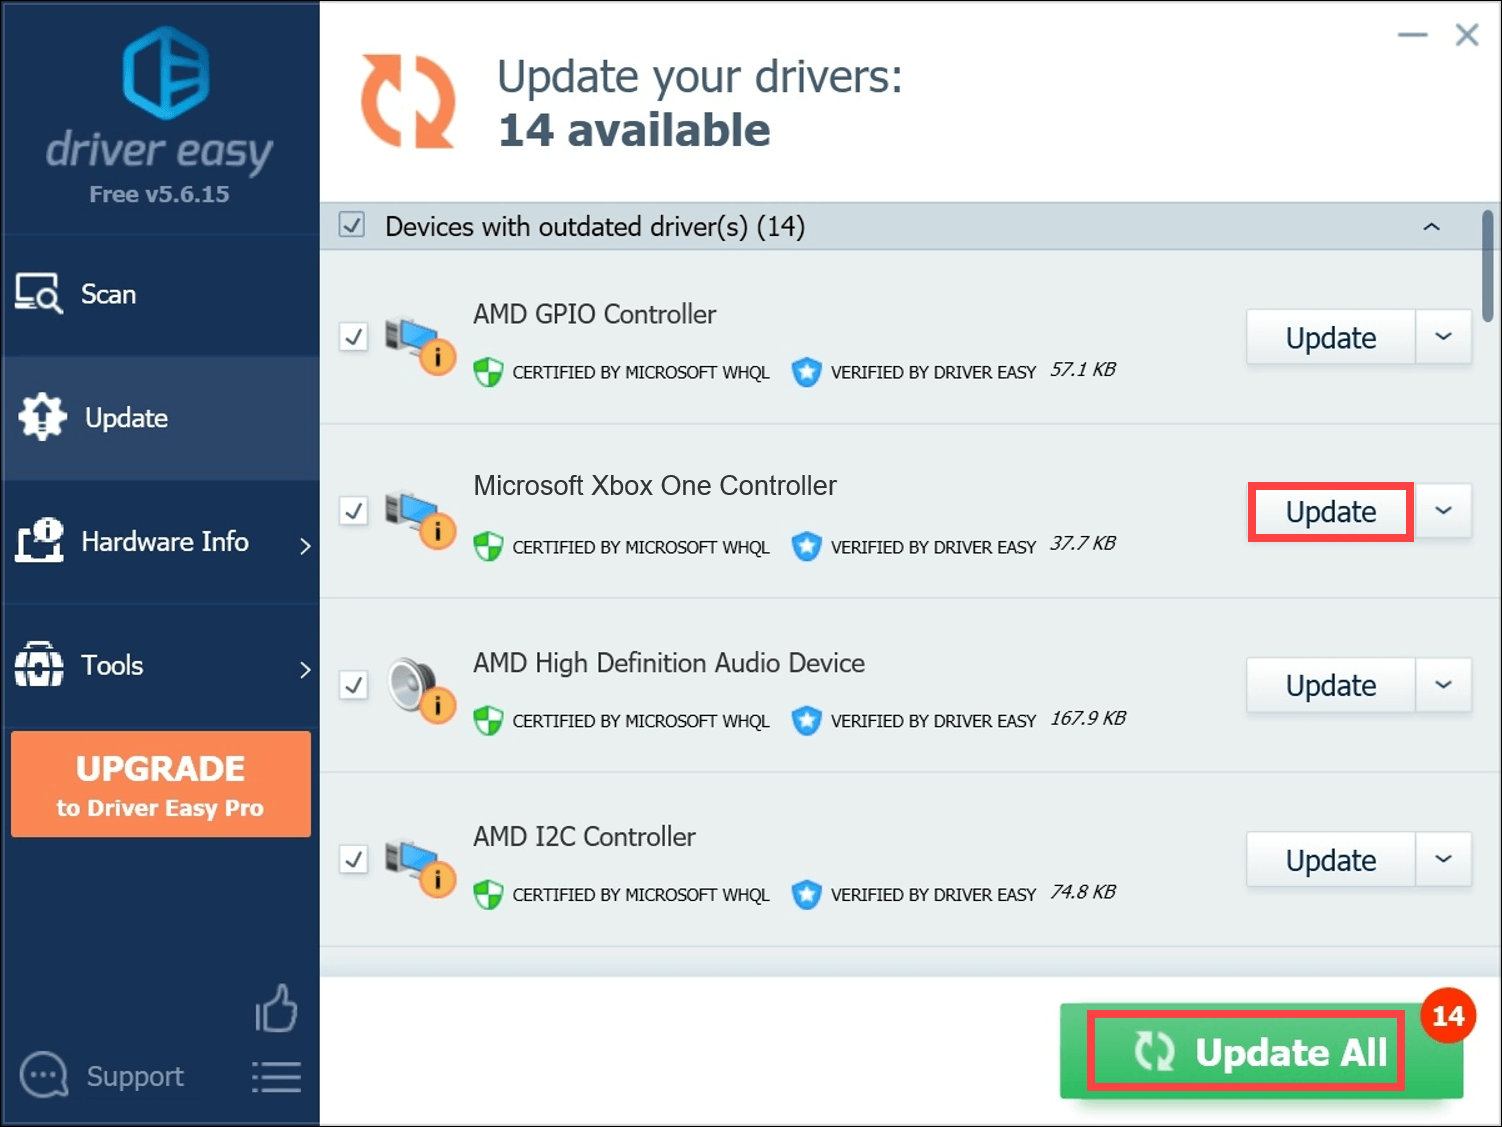
- Click the Update button next to a flagged driver to automatically download the correct version of this driver, the you can manually install it (you can do this with the FREE version).
Or click Update All to automatically download and install the correct version of all the drivers that are missing or out of date on your system (this requires the Pro version – you’ll be prompted to upgrade when you click Update All).
After updating your controller, restart your Windows and try your controller again.


