Deep down in the Windows system, Windows 10 can install driver updates automatically. But the updates it provides sometimes are incompatible ones which will cause trouble to your computer. So you may want to update drivers manually. You can follow the below methods to disable Windows 10 update driver automatically.
Try these methods:
There are the 3 Methods that can help you disable Windows 10 update drivers automatically.
1. Change Device Installation Settings
2. Change Local Group Policy Editor
Bonus: Update your driver with 2 clicks
Method 1: Change Device Installation Settings
- Press the Windows logo key + Pause together.
- Click Advanced system settings.

- Choose the Hardware tab and click Device Installation Settings.

- Click No (your device might not work as expected). Then click Save Changes.

Method 2: Change Local Group Policy Editor
- Press the Windows logo key + R together to open the Run box.
- Type “gpedit.msc” and press Enter.

- In the left path, navigate to Computer Configuration > Administrative Templates > Windows Components > Windows Update.
- Double click Do not include drivers with Windows Updates in the right pane.

- Click Enabled and click OK.

- Restart your PC to activate this effect.
Method 3: Change Registry Settings
Except the above two methods, driver updates can also be disabled by using the Registry Editor.
- Press the Windows logo key + R together to open the Run box.
- Type “regedit” and press Enter.

- Navigate to “HKEY_LOCAL_MACHINE\SOFTWARE\Policies\Microsoft\Windows“.
Note: You can paste the text into the Registry’s address bar to directly reach to the key destination. - Right-click on the Windows folder, choose New > Key to create a WindowsUpdate folder.

- Right-click in the WindowsUpdate folder and choose New > DWORD (32-bit value).

- Name it as “ExcludeWUDriversInQualityUpdate“.

- Double-click the value and change the Value Data to 1. Click OK.

- Restart your computer to activate this effect.
Bonus: Update your driver with 2 clicks
There are two ways you can update your drivers:
Option 1 – Manually – You’ll need some computer skills and patience to update your drivers this way, because you need to find exactly the right the driver online, download it and install it step by step.
OR
Option 2 – Automatically (Recommended) – This is the quickest and easiest option. It’s all done with just a couple of mouse clicks – easy even if you’re a computer newbie.
Option 1 – Download and install the driver manually
Devices keep updating drivers. To get them, you need to go to the manufacturer website, find the drivers corresponding with your specific flavor of Windows version (for example, Windows 32 bit) and download the driver manually.
Once you’ve downloaded the correct drivers for your system, double-click on the downloaded file and follow the on-screen instructions to install the driver.
Option 2 – Automatically update drivers
If you don’t have the time, patience or computer skills to update drivers manually, you can do it automatically with Driver Easy.
Driver Easy will automatically recognize your system and find the correct drivers for it. You don’t need to know exactly what system your computer is running, you don’t need to risk downloading and installing the wrong driver, and you don’t need to worry about making a mistake when installing.
You can update your drivers automatically with either the FREE or the Pro version of Driver Easy. But with the Pro version it takes just 2 clicks:
1) Download and install Driver Easy.
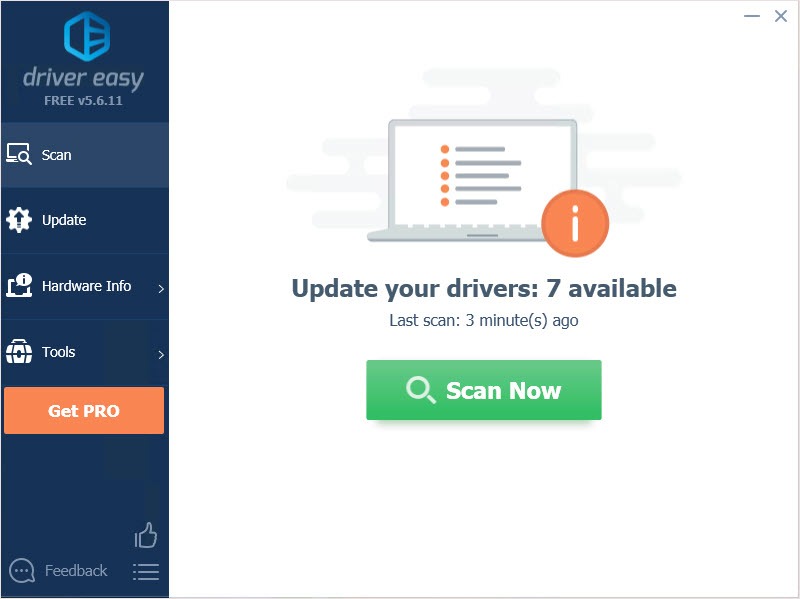
2) Run Driver Easy and click the Scan Now button. Driver Easy will then scan your computer and detect any problem drivers.

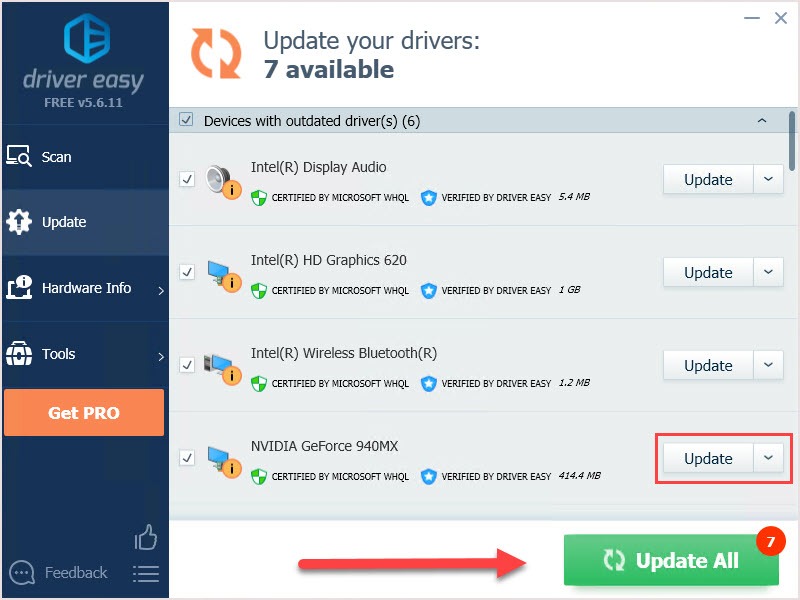
3) Click Update All to automatically download and install the correct version of all the drivers that are missing or out of date on your system (this requires the Pro version – you’ll be prompted to upgrade when you click Update All).

Note: You can do it for free if you like, but it’s partly manual.
We hope you find the above information helpful. And if you have any ideas, suggestions, or questions, feel free to leave a comment below.


