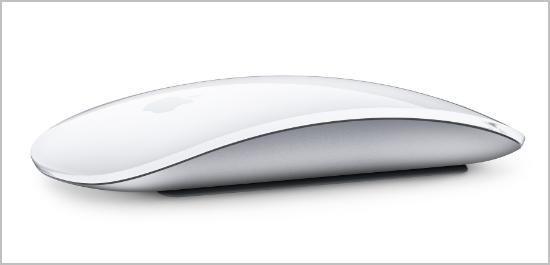
If you want to use the Apple Magic Mouse in Windows 10, you should download and install the Magic Mouse driver for Windows. And this post will show you how to download and install the Magic Mouse driver for Windows.
There are two ways you can download and install your Magic Mouse driver:
Option 1 – Manually – You’ll need some computer skills and patience to update your drivers this way because you need to find exactly the right driver online, download it, and install it step by step.
OR
Option 2 – Automatically (Recommended) – This is the quickest and easiest option. It’s all done with just a couple of mouse clicks – easy even if you’re a computer newbie.
Option 1 – Download and install the Magic Mouse driver manually
Since the mouse is offered by Apple, Apple keeps releasing updated Magic Mouse drivers for Windows 10, and you can download your driver from Apple.
Here’s what you need to do:
- Visit the Apple Support page.
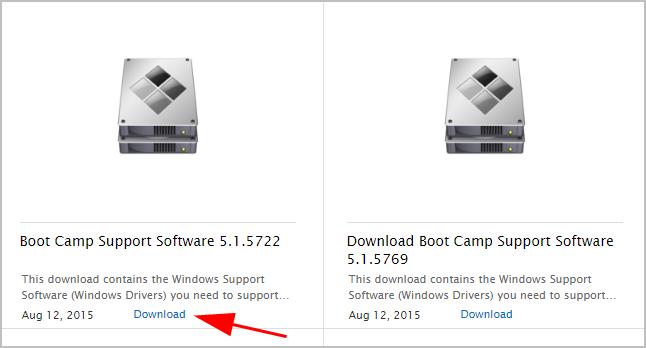
- Choose the latest version of the driver, then click Download.
- Unzip the downloaded file, then go to BootCamp > Drivers > Apple > Apple WirelessMouse64.exe.
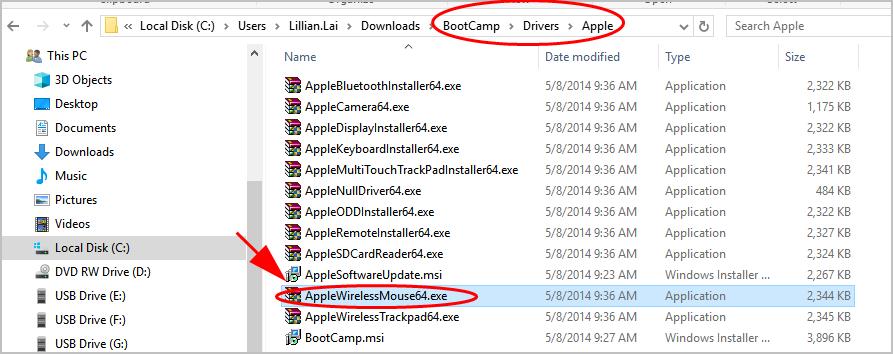
- Double-click the AppleWirelessMouse64.exe file to run.
- Follow the on-screen instructions to finish the install.
Then you can connect your Magic Mouse and it should be working in Windows 10.
Option 2 – Download and install Magic Mouse driver automatically
If you don’t have the time, patience, or computer skills to update the Magic Mouse driver manually, you can do it automatically with Driver Easy.
Driver Easy will automatically recognize your system and find the correct drivers for it. You don’t need to know exactly what system your computer is running, you don’t need to be troubled by the wrong driver you would be downloading, and you don’t need to worry about making a mistake when installing. Driver Easy handles it all.
You can update your drivers automatically with either the 7 days free trial or the Pro version of Driver Easy. It takes just 2 clicks, and you get full support and a 30-day money-back guarantee with the Pro version:
- Download and install Driver Easy.
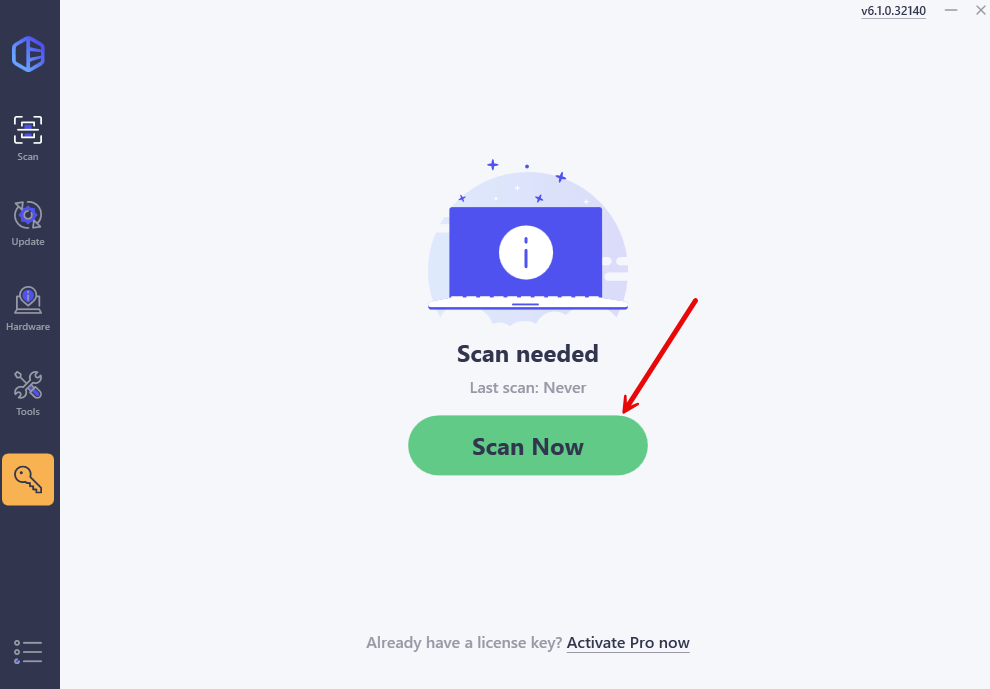
- Run Driver Easy and click the Scan Now button. Driver Easy will then scan your computer and detect any problem drivers.
- Click the Activate & Update button next to the flagged device to automatically download and install the correct version of this driver.
Or click Update All to automatically download and install the correct version of all the drivers that are missing or out of date on your system (You’ll need the Pro version for this – when you select Update All, you’ll get a prompt to upgrade. If you’re not prepared to purchase the Pro version yet, Driver Easy provides a 7-day trial at no cost, granting access to all Pro features like fast downloads and easy installation. No charges will occur until after your 7-day trial period ends.)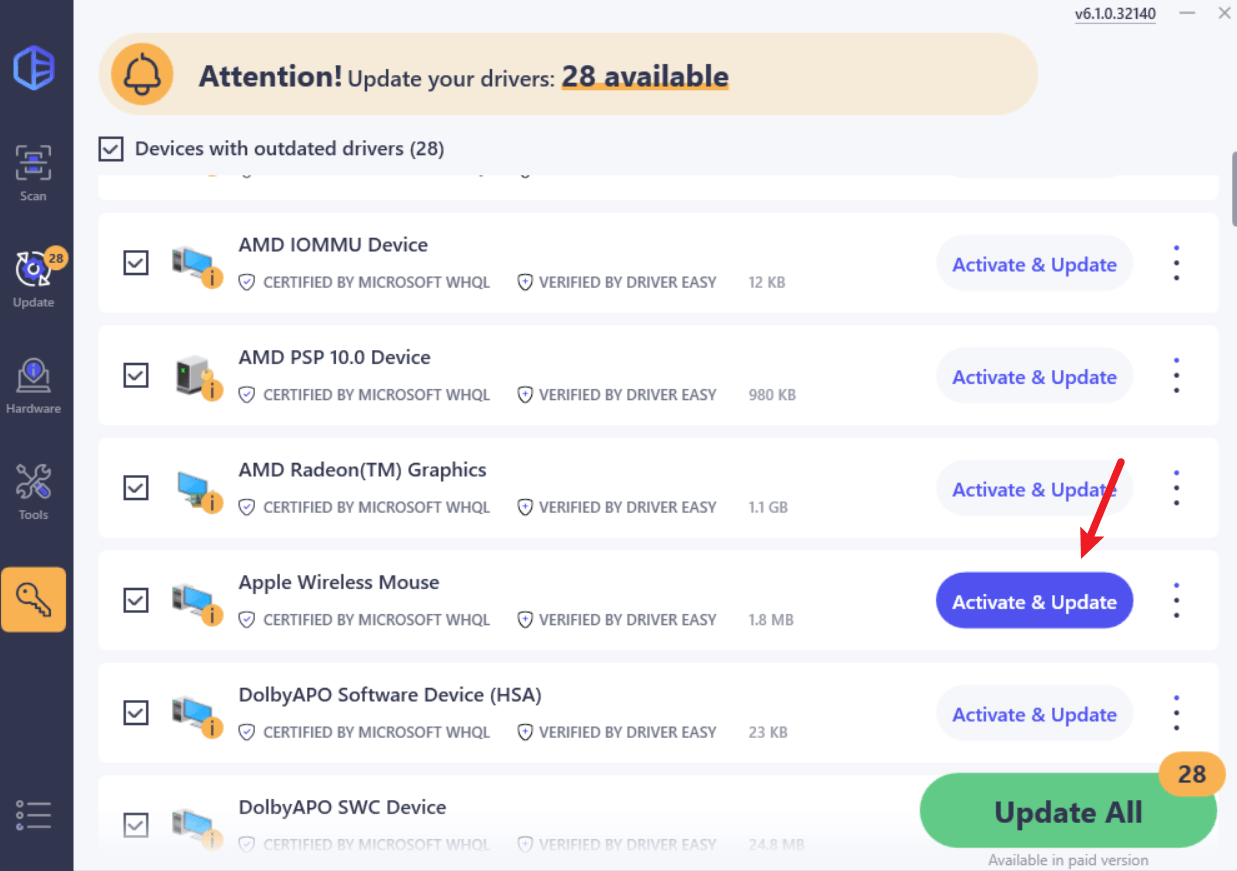
- Restart your computer for the change to take effect.


