


Your laptop suddenly refuses to play any sound — and now you’re staring at this message:
“A Conexant audio device could not be found. The application will now exit.”
Annoying, right? Especially when everything was working fine just yesterday. This error is common on HP, Lenovo, and Dell laptops, and it usually shows up after a Windows update or driver conflict. But the good news? You’re not stuck with it.
After sorting through support forums, tech threads, and user reports, we’ve gathered 5 fixes that have helped many users resolve the issue. Just work your way through the list until you find the one that works for you. Read on…
1. Update the Conexant audio Driver
The “A Conexant audio device could not be found” error is often rooted in issues with the audio driver—be it corruption, outdated versions, or compatibility problems. Without the right driver, your system can fail to recognize the Conexant audio device, causing the Conexant SmartAudio no sound Issue. In this case, you should update your Conexant driver to make sure your audio device works as it should.
While you can update the Conexant audio driver manually through through the HP, Dell, or Lenovo support website, this process can be tedious, especially if you need to track down the correct driver version. If you’d rather avoid the hassle of manual updates, you can do it automatically with Driver Easy.
Driver Easy is a convenient tool that automatically scans your system for outdated or missing drivers. It searches your system thoroughly, identifies the necessary updates, and installs them with just a few clicks. With Driver Easy, you won’t have to worry about manually hunting for drivers or dealing with complicated installation processes. It ensures that the correct driver is installed, so you can get your Conexant audio device up and running without any hassle.
All it takes is just a few clicks:
- Download and install Driver Easy.
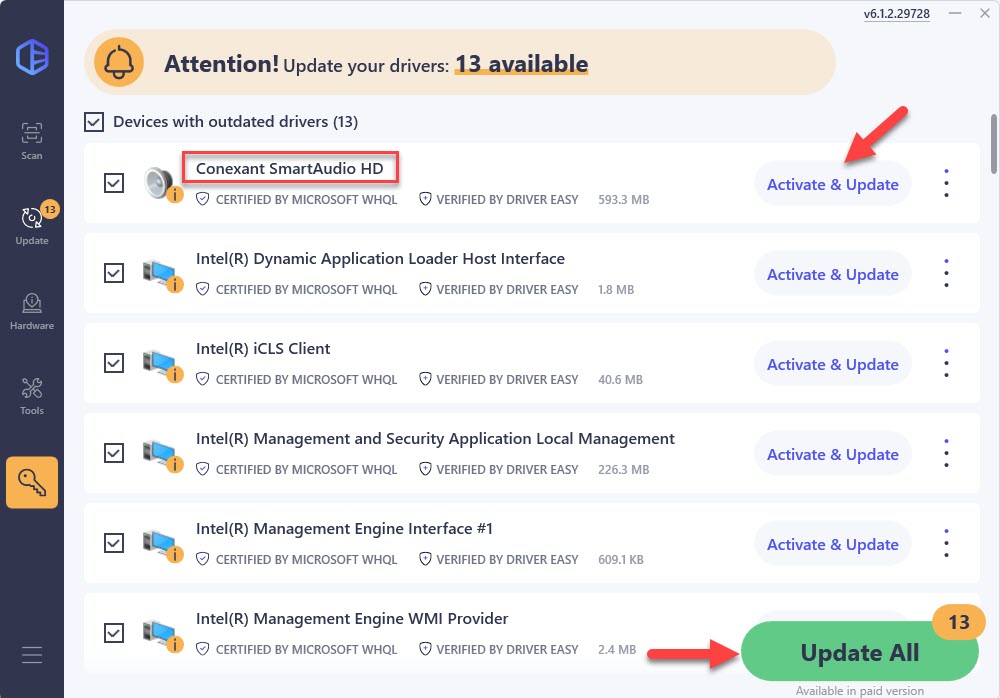
- Run Driver Easy and click the Scan Now button. Driver Easy will then scan your computer and detect any problem drivers.

- Check if your Conexant SmartAudio driver is flagged in the scan results. If it is, click Activate & Update to start a 7-day free trial or upgrade to Driver Easy Pro. Either option will automatically download and install the latest driver for you.
- Restart your computer for the changes to take effect.
- Check to see if your Conexant SmartAudio device is now recognized. If yes, then congrats! You’ve resolved the issue! If the error message persists, please try Fix 2, below.
2. Switch to generic high definition audio driver
If your Conexant audio device isn’t being recognized, you can try switching to the Generic High Definition Audio Driver. This built-in Windows driver can quickly restore basic sound functionality, even if the Conexant driver isn’t loading properly. While it won’t offer all the features of your Conexant audio driver, it’s a simple and effective fix that can get your audio back up and running.
Here’s how to switch to the generic driver:
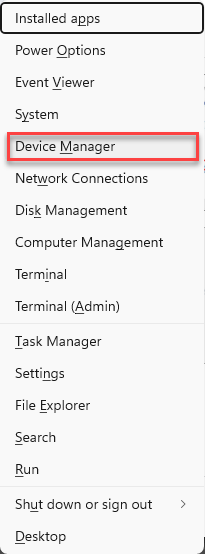
- On your keyboard, press the Windows logo key and X at the same time to open Device Manager.
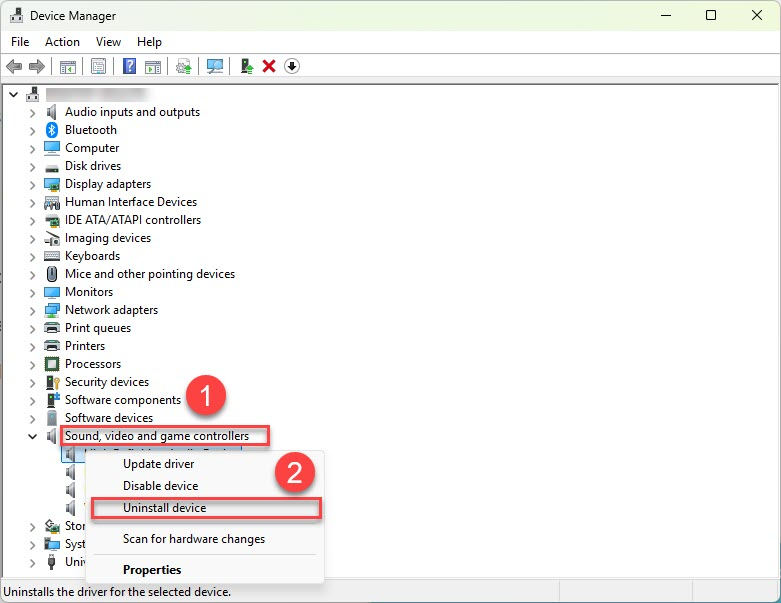
- Expand the Sound, video, and game controllers section, right-click on the Conexant audio device, and select Uninstall device.
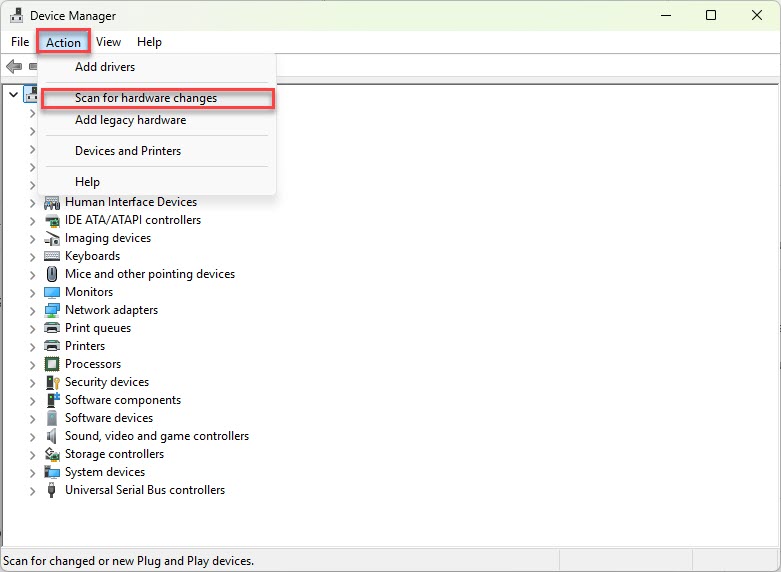
- Go to the Action menu and select Scan for hardware changes.
- Windows will automatically detect the missing driver and install a High Definition Audio Device.
- Restart your computer to apply the new driver.
- Check to see if the sound is restored and the “A Conexant audio device cannot be found” error is gone. If yes, then great! If it still pops up, please proceed to Fix 3, below.
3. Enable audio device in BIOS
If your Conexant audio device is completely missing from Device Manager, it’s possible that the audio controller is disabled in your BIOS. This can happen after a system update, reset, or even accidentally. Re-enabling it in the BIOS can bring the audio hardware back so Windows can detect it again.
Here’s how to enable the audio device in BIOS:
- Restart your computer and press the BIOS key repeatedly as it boots up.
Common keys includeF2,Del,F10, orEsc, depending on your PC or motherboard brand. If you’re not sure, check your PC’s startup screen or manufacturer’s website. - Once in the BIOS setup, use the arrow keys to navigate to the Advanced, Integrated Peripherals, or Onboard Devices tab (varies by BIOS).
- Look for an option like “Onboard Audio,” “Audio Controller,” or “HD Audio”, and make sure it’s set to Enabled.
- Save and Exit the BIOS. This is usually done by pressing
F10, but the prompt will appear on your screen. - Let your system boot into Windows normally. Then, open Device Manager and check if the Conexant SmartAudio device now appears under Sound, video, and game controllers. If yes, the issue is resolved! If not, don’t worry—there are more fixes to try.
4. Make sure ‘CxUtilSvc’ Service is running
The CxUtilSvc service is part of the Conexant audio software and is required for the Conexant SmartAudio device to function properly. If this service is disabled or not running, your system may fail to recognize the audio device, even if the driver is correctly installed.
Here’s how to check and start the CxUtilSvc service:
- On your keyboard, press Windows logo key + R simultaneously, then type
services.mscand press Enter.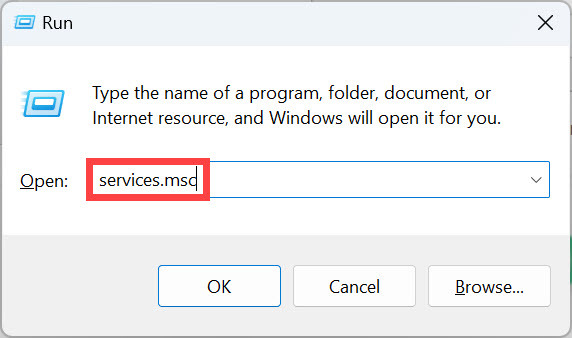
- In the Services window, scroll down and locate CxUtilSvc.
- If the service is listed as Stopped, right-click it and select Start.
- If it’s not set to run automatically, right-click it again, choose Properties, and set Startup type to Automatic.
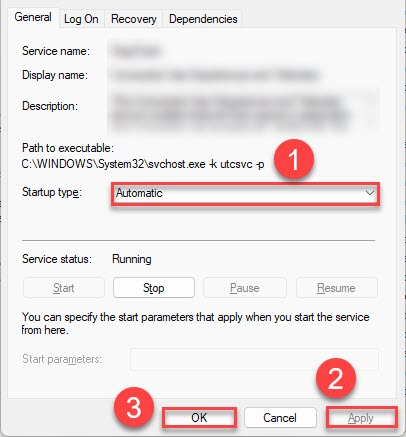
- Click Apply, then OK to save the changes.
- Go back to Device Manager and see if your Conexant SmartAudio device appears under Sound, video and game controllers, and test your audio. If the sound is working again—great! If not, please head to Fix 5 for more help.
5. Disable audio enhancements
Audio enhancements are intended to improve sound quality, but they can sometimes conflict with Conexant drivers and cause issues like no sound or device not recognized. Disabling these enhancements is a simple tweak that might help restore your audio.
Here’s how to turn them off:
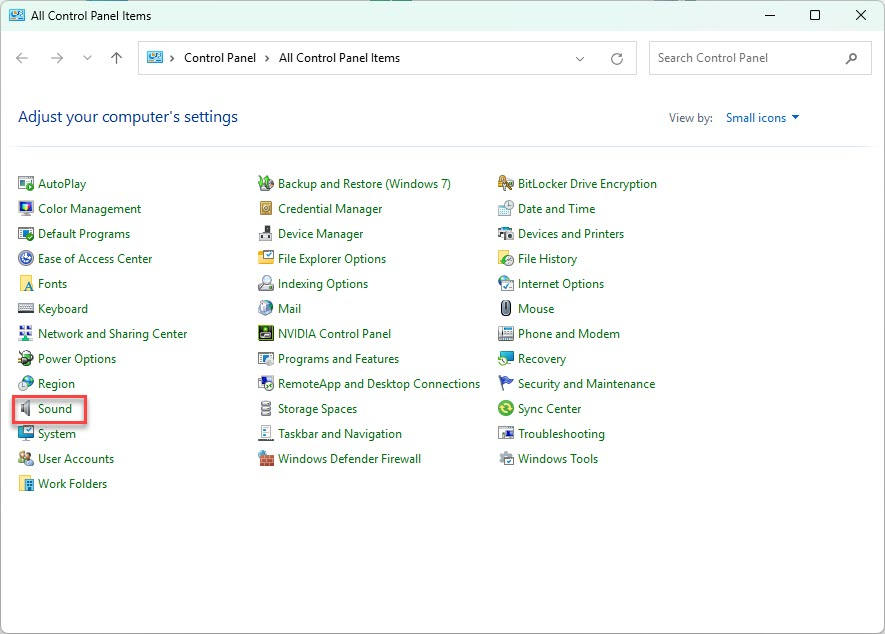
- On your keyboard, press the Windows logo key + R at the same time, then type
controland press Enter to open the Control Panel.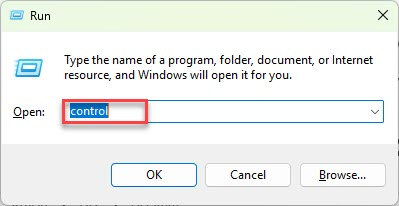
- Click Sound.
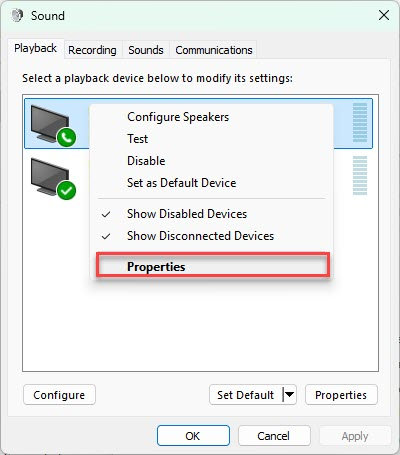
- Under the Playback tab, right-click your Conexant audio device and select Properties.
- Go to the Enhancements tab and check the box that says Disable all enhancements. Then click Apply, then OK to save the changes.

- Test your sound. If everything works fine and the Conexant error no longer appears, that’s fixed! If not, please continue with Fix 6.
6. Connect via HDMI
Some users have reported that connecting their laptop to an external display via HDMI, where the sound functions correctly, and then rebooting the system with the HDMI cable still connected, can resolve the Conexant audio device error. This process may prompt the system to reinitialize the audio drivers, restoring functionality.
Here is how to do it:
- Connect your laptop to an external display using an HDMI cable.
- Ensure the external display is powered on and set to the correct HDMI input.
- Verify that audio is working on the external display.
- Leave the HDMI cable connected and shut down your laptop.
- Restart your laptop while keeping the HDMI cable connected.
- Once the system has rebooted, check if the internal audio device is functioning correctly.
The “A Conexant audio device could not be found” error is frustrating, but it’s usually fixable with the fixes laid out in this article. Hopefully, it has helped you get your sound back. If you have any questions, ideas, or suggestions, please leave us a comment below.