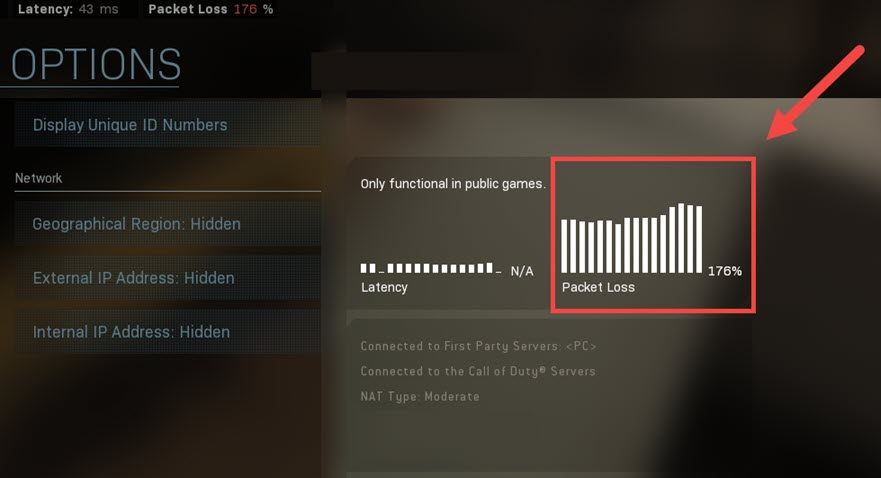
Packet loss is a critical issue, especially in online shooters like COD: Warzone. Since the release, many Warzone players have been reporting a constant packet loss issue. But don’t worry if you’re facing the same problem. According to our users’ feedback, this issue might not be so hard to fix.
Try these fixes
You might not need to try all of them. Simply work your way down until you find the one that helps you.
- Restart your modem & router
- Try different types of connection
- Update your network driver
- Install all Windows updates
- Use a VPN
Fix 1: Restart your modem & router
The packet loss could result from router or modem overheating or overloading. Restarting your network equipment is a simple and sometimes effective solution to network issues.
To reboot your modem and router, follow these steps:
- At the back of your modem and router, unplug the power cords.
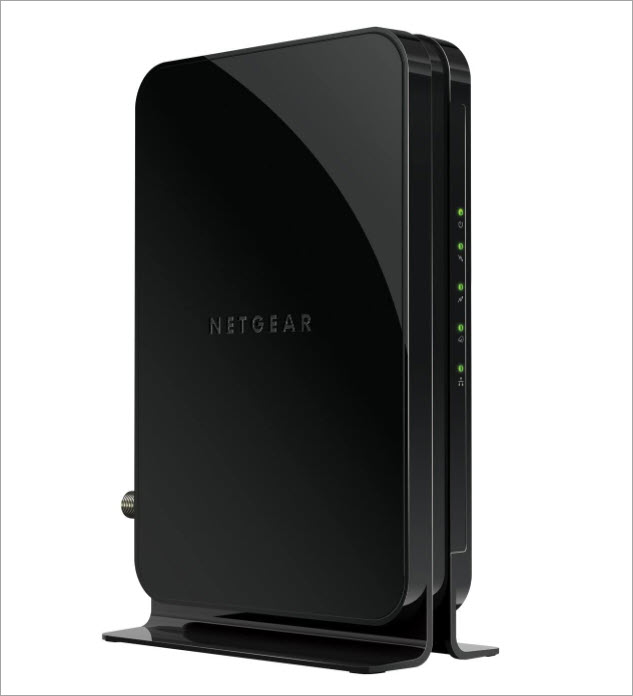
Modem 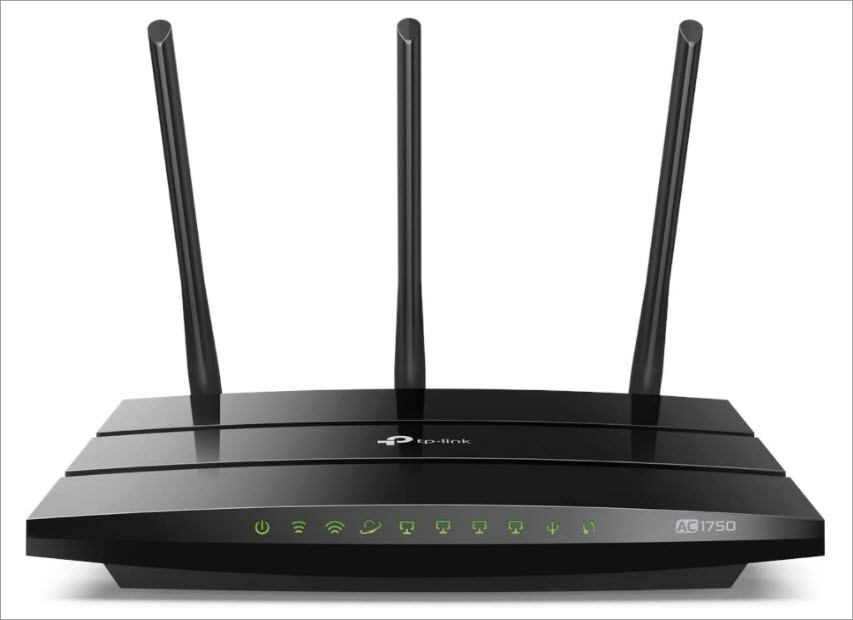
Router - Wait at least 30 seconds, then plug the cords back in. Make sure the indicators are back to their normal state.
- Open your browser and check the connection.
Once you’re reconnected, return to Warzone and check the connection.
If this trick doesn’t give you luck, simply check out the next one below.
Fix 2: Try different types of connection
Given that we all have different desktop setups, the packet loss can be avoided by switching to other types of connection. If you’re gaming on Wi-Fi, changing to a wired connection might very well solve your problem.
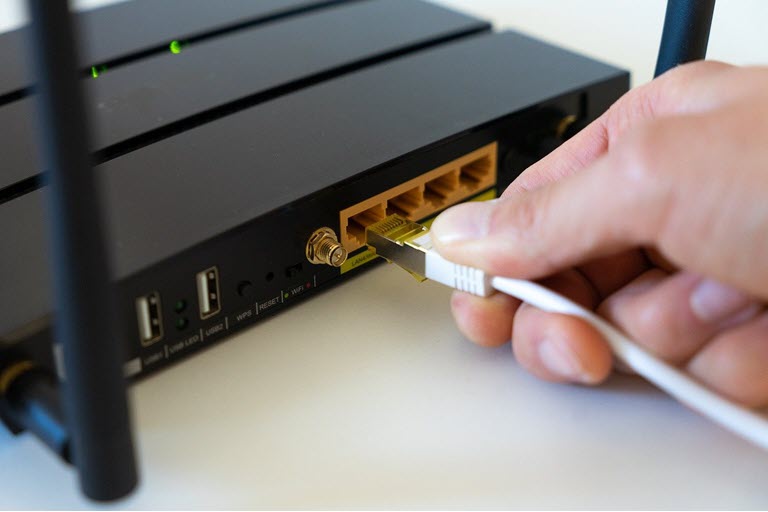
If your PC comes with a wireless adapter, you can also try playing Warzone on mobile data, using your phone as a hotspot, aka tethering. Some players reported that switching to cellular network can mitigate packet loss. If this helps you solve the problem, you should consult your ISP or consider upgrading your wireless router or modem.
If this method doesn’t help you, simply continue to the next one below.
Fix 3: Update your network driver
In most cases, the constant packet loss indicates that you’re using a broken or outdated network driver. Keeping your network driver up to date could help you address issues such as network fluctuation and lag spike.
In general, there’re 2 ways you can update your network driver: manually or automatically.
Option 1: Update your network driver manually
To update your network driver manually, first you’ll need the driver installer. To get it, visit your motherboard manufacturer’s website and navigate to the download/support page. Then find and download the latest correct installer for the network driver according to your operating system.
Option 2: Update your network driver automatically (Recommended)
If you’re not comfortable playing with device drivers, we recommend using Driver Easy. It’s a tool that detects, downloads and installs any driver updates your computer needs.
- Download and install Driver Easy.
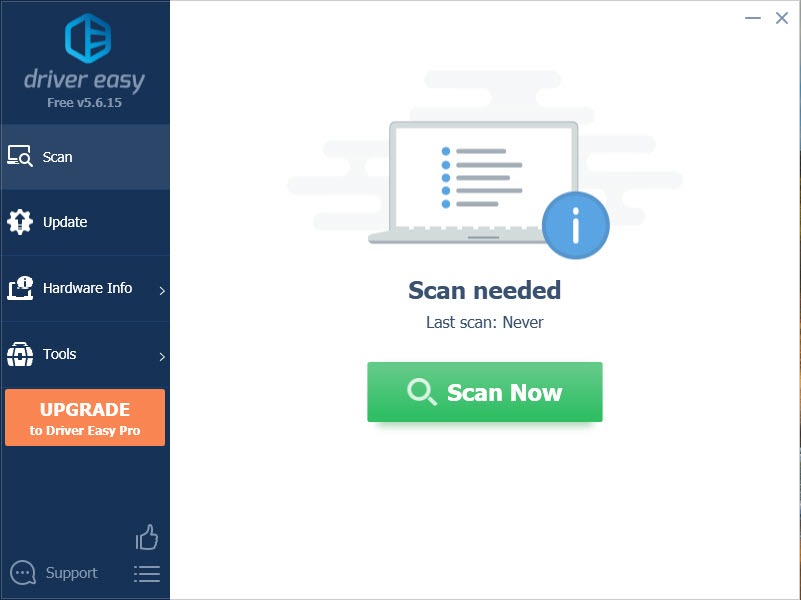
- Run Driver Easy, then click Scan Now. Driver Easy will then scan your computer and detect any problem drivers.
- Click Update All to automatically download and install the correct version of all the drivers that are missing or out of date on your system.
(This requires the Pro version – you’ll be prompted to upgrade when you click Update All. If you don’t want to pay for the Pro version, you can still download and install all the drivers you need with the free version; you just have to download them one at a time, and manually install them, the normal Windows way.)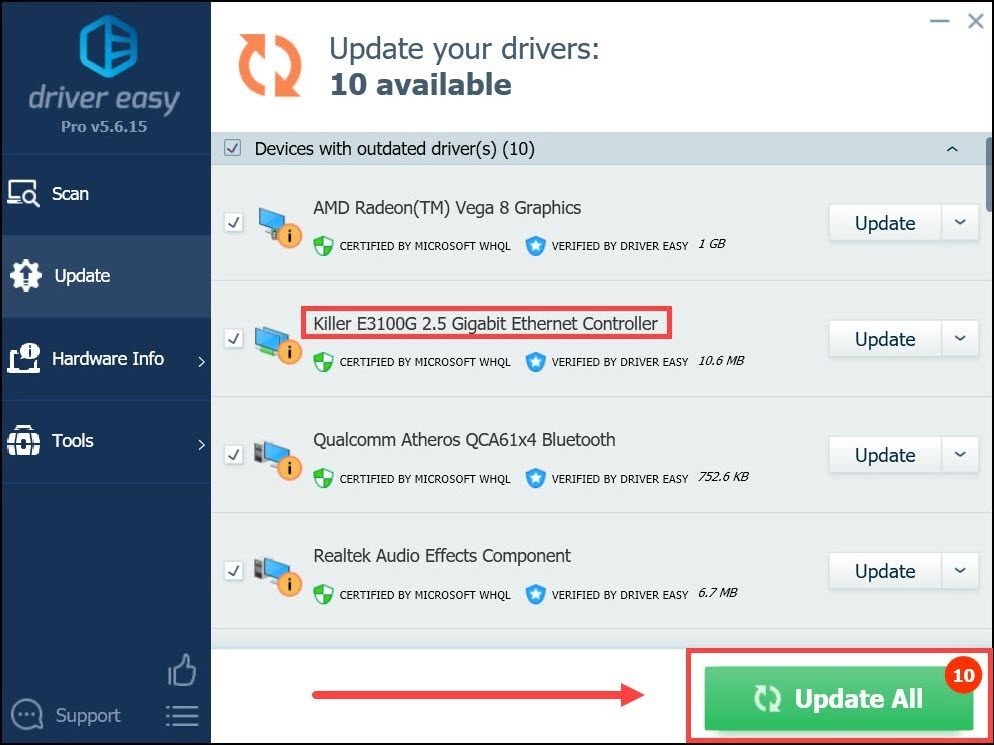
After updating your network driver, reboot your computer and test the gameplay in Warzone.
If the latest network driver doesn’t solve your problem, you can take a look at the next fix below.
Fix 4: Install all Windows updates
Windows 10 ships with long term support in the form of regular system updates, and these patches might fix compatibility issues that lead to the packet loss. Normally it’s an automatic process, but you can make it happen immediately.
Here’s how you can check for updates manually:
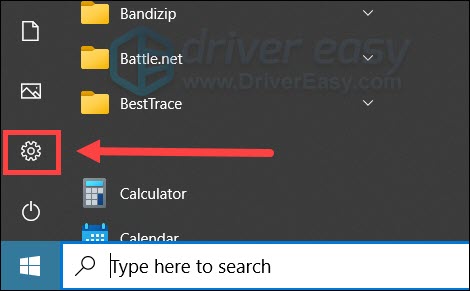
- On your keyboard, press Win (the Windows logo key). At the bottom left corner of your screen, click the gear icon to open Settings.
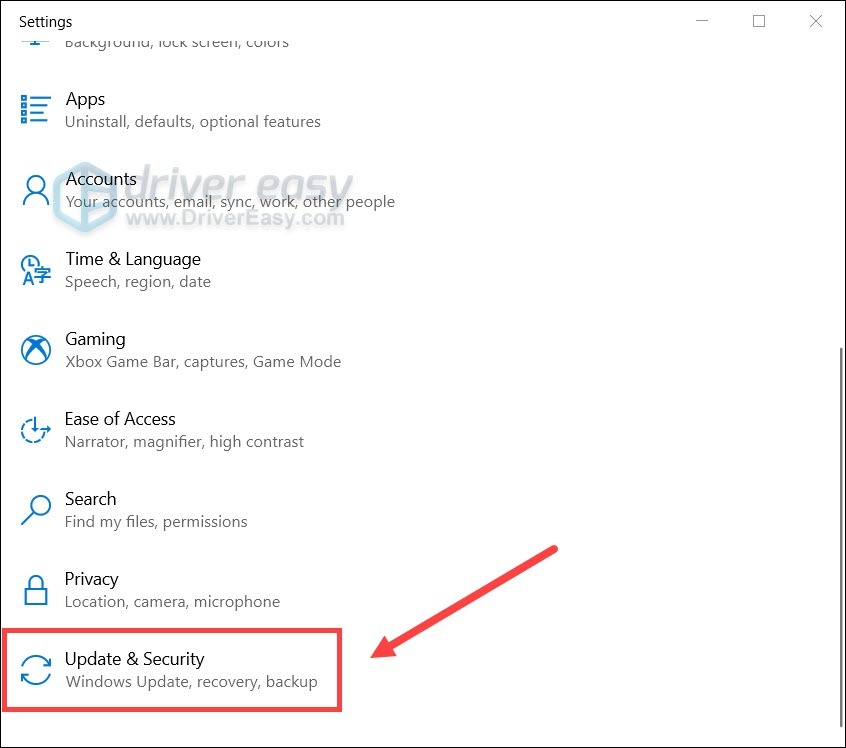
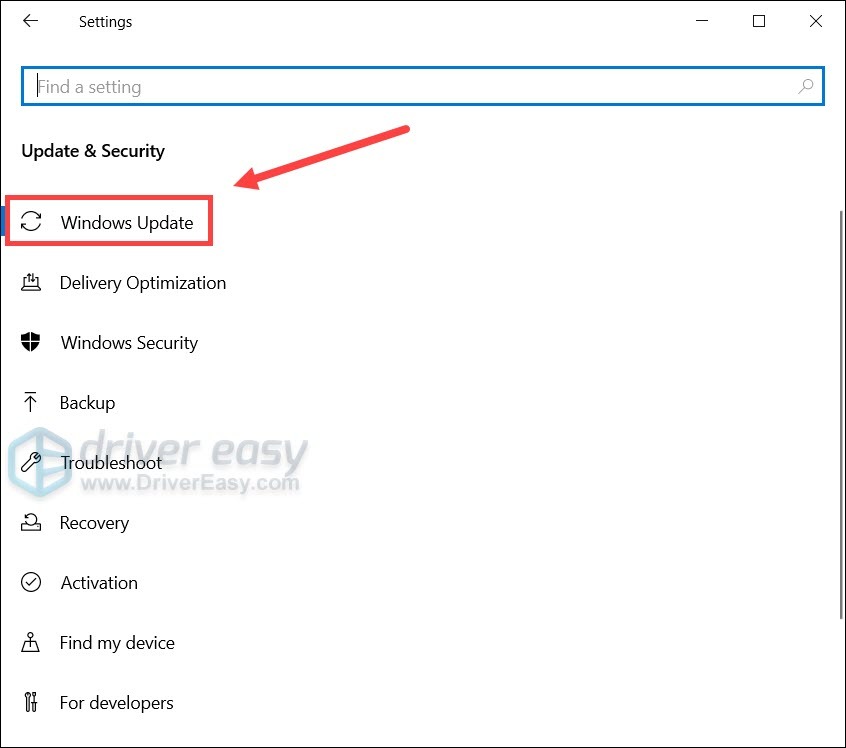
- Scroll down and select Update & Security.
- Click Windows Update.
- Click Check for updates. Then wait for the process to complete. After that, restart your PC.
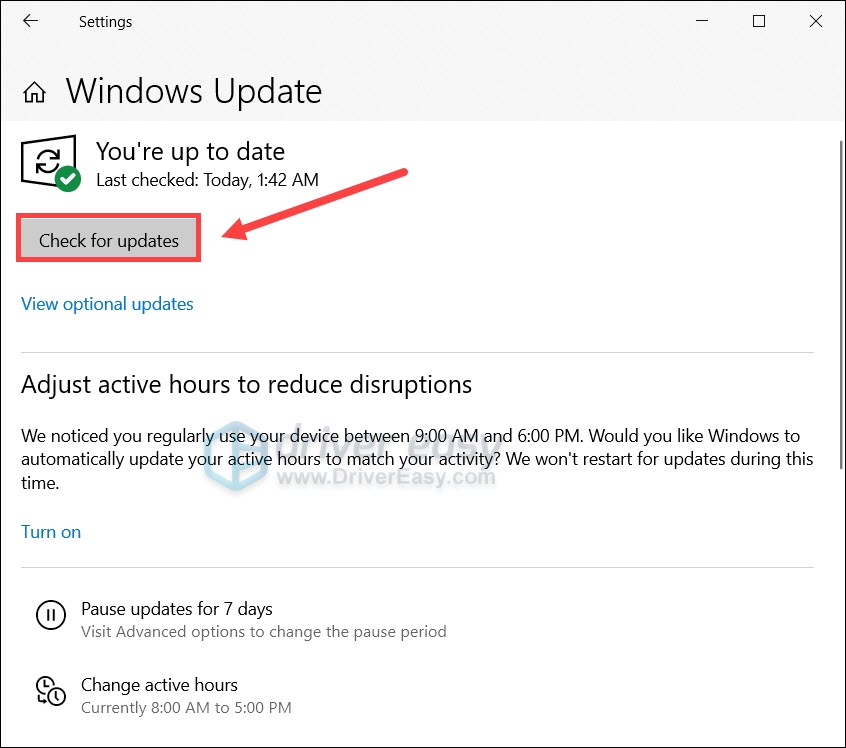
Once you’ve updated your system, do a restart and test the network stability in Warzone.
If this fix doesn’t do the charm, you can try the next one.
Fix 5: Use a VPN
When you’ve tried many troubleshooting steps and none seem to work, give VPN a try.
The hardest part in fixing network issues is you need to identify the culprit. This process could be time-consuming and impossible for regular players. VPN servers, however, take care of the misconfigurations and might fix the issue once and for all. A paid VPN guarantees smooth gaming even during the rush hours.
And here’s some gaming VPNs we recommend:
Hopefully, this post helps you fix the packet loss issue in Warzone. If you have ideas or further questions, feel free to talk to us in the comments below.


