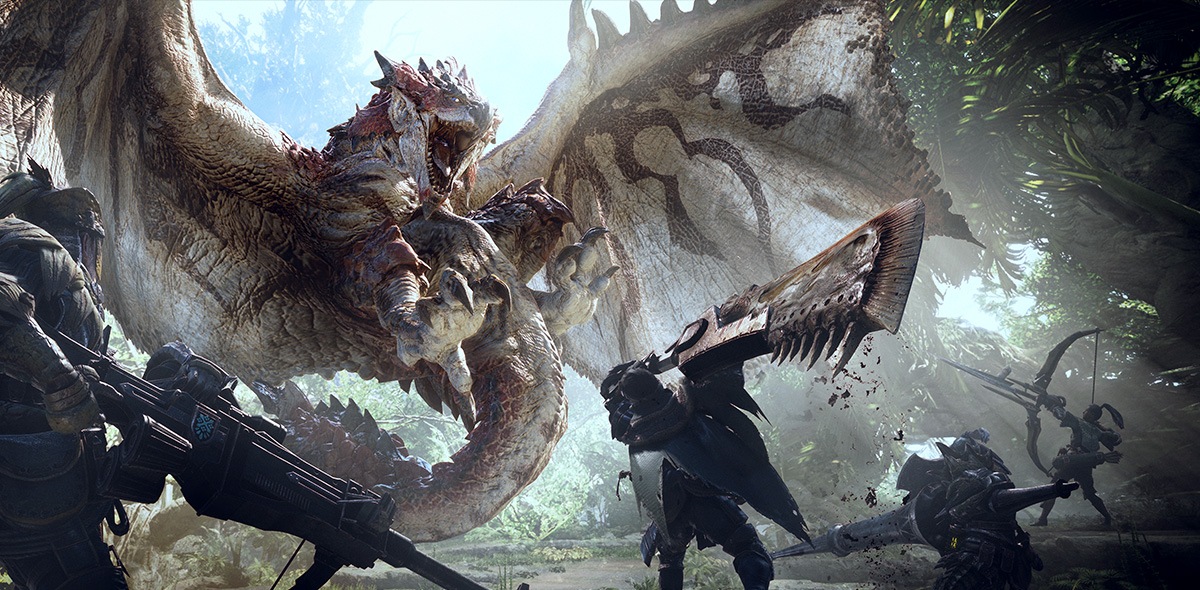
Monster Hunter: World released on August 9th, 2018, it’s a popular game around the world. You can take down beasties by yourself but playing with friends provide another way to enjoy the game.
Before you start playing with your friends, there’s some information about multiplayer you need to know.
- Hunter levels will influence whether you can team up.
If your hunter level is lower than your friends and you want to join his/her quest, it’s not going to work.
But if your hunter level is higher than your friends, you can join the quest to help out. It works the same in the story missions. Your higher-level friends can jump by to help if you leave a quest on the quest board.
- Watch out the cutscenes rule
You have to watch all the cutscenes and wait for your teammates to watch all the cutscenes before jump in the squad.
How to play online with friends in MHW
For PC players
Step 1: Get online.
The first thing is to get online. So that you can connect with your friends.
- Click Create an Online Session.
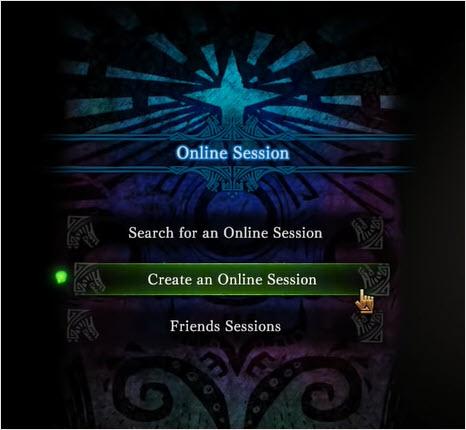
- You can edit your session preferences.
If you want to set as public, click Private Session and choose No, then anybody can join your session.
If you want it to be private, click Private Session and choose Yes. Then the session will be private and you need to send the Session ID to your friends.
Click Finish to save the change.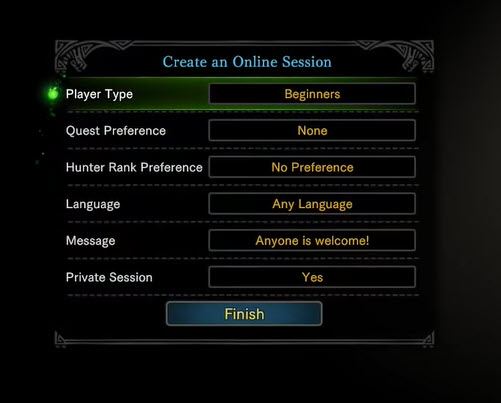
Step 2: Sent the Session ID
- Press the Esc key to evoke the menu.
- Choose Communication and click Copy session ID.
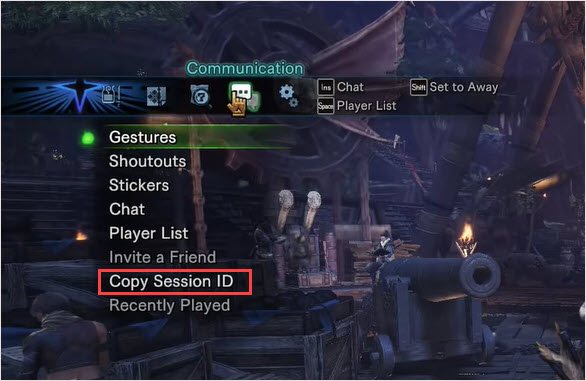 You can use the Invite A Friend option when your Online Session is PUBLIC!
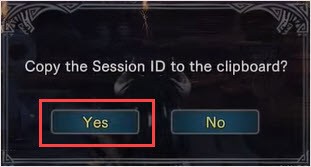
 - Click Yes and send the Session ID to your friends.
Step 3: Post a quest on the Quest board.
You can’t group with others before you see the quest scene.
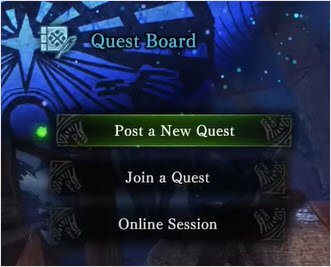
- Go to the Quest board and Post a New Quest.
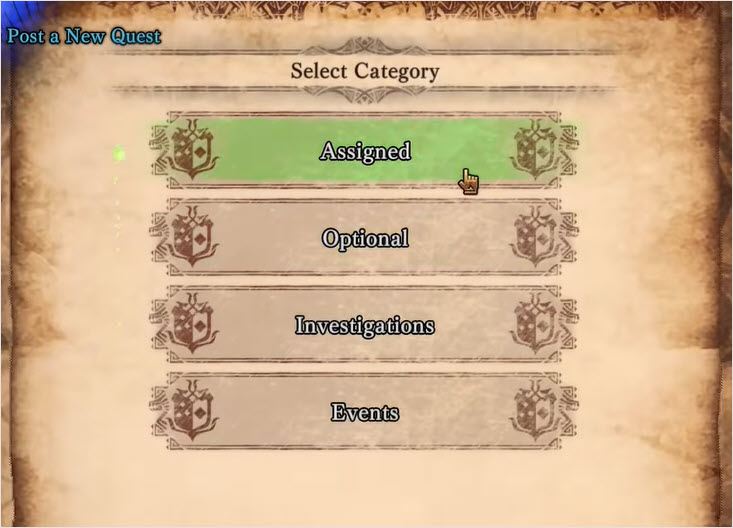
- Click Assigned.
- In the open window, you can decide how many players in a squad and set a passcode.
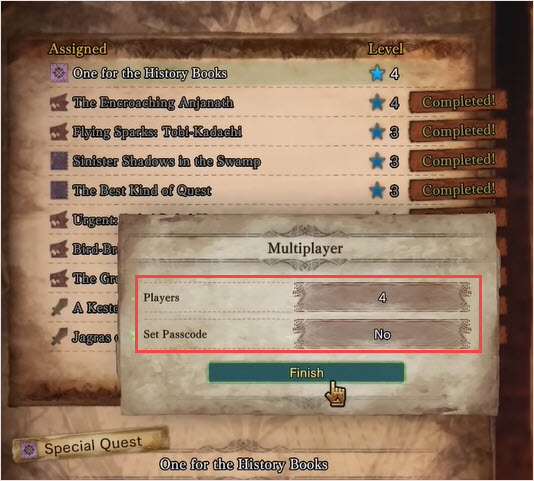
- Click Yes. You’ll see QUEST ACCEPTED on your screen.
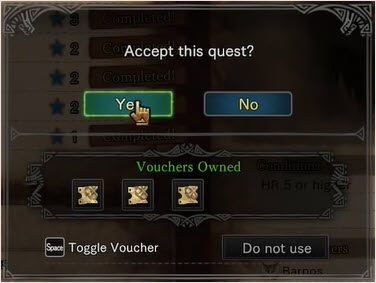
- Depart on your own first.
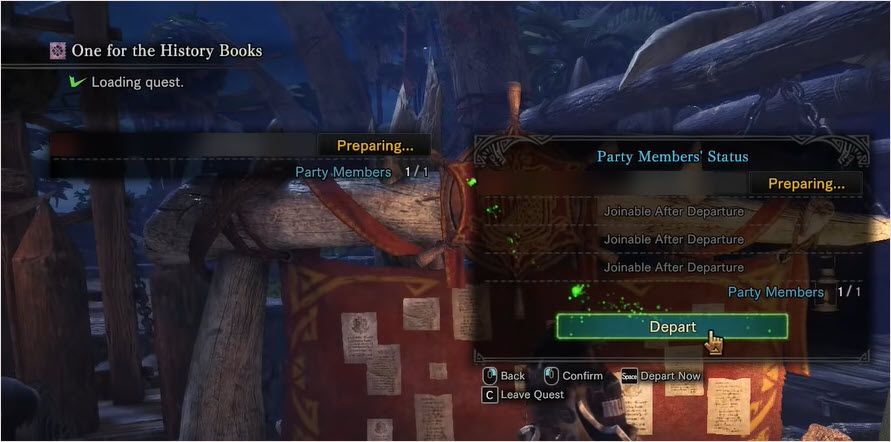
- When you find monsters, the game will tell you that You can now use the SOS flare.

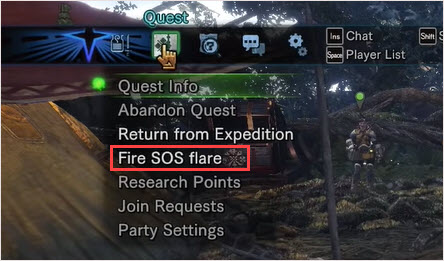
- But to use SOS flare, make sure you’re at a safe spot. Then press the Esc key, go to Quest and click Fire an SOS Flare.
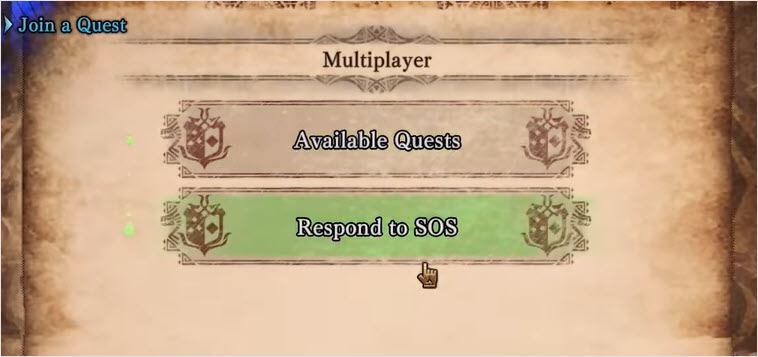
- After that, your friends can go to the Quest Board, click Join a Quest>Respond to SOS.
- Make sure your friends are in your online session. Then post the quest on the board for them to join.
For PS4 players
Step 1: Get online.
- Make sure you’re on an online session. You can Create an Online Session or you can Search for an Online Session through a quick Matchmake one.
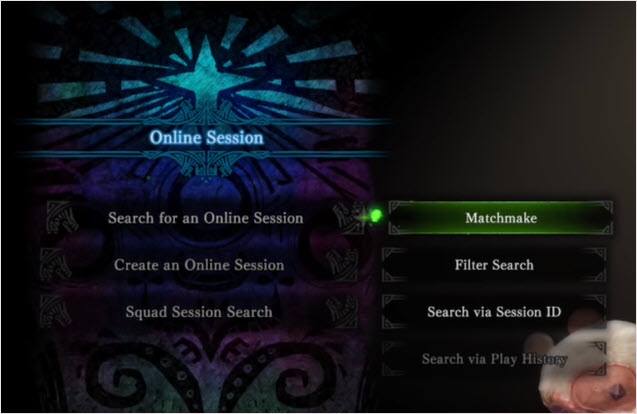
If you want to play with your friends, you’d better create one by yourself. - Click Create an Online Session.

- You can edit your session preferences.
If you want to set as public, choose Private Session and choose No, then anybody can join your session.
If you want it to be private, choose Private Session and choose Yes. Then the session will be private and you need to send the Session ID to your friends.
Choose Finish to save the change.
Step 2: Invite your friends
- Hit the Pause button and go to the Communication tab. Choose Invite a Friend.
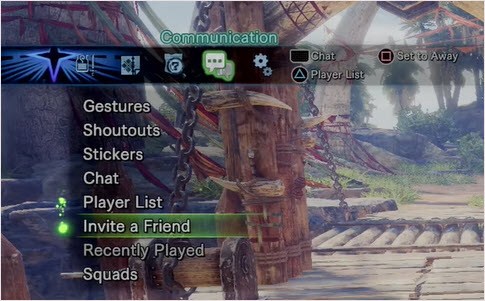
Note: You can’t see your friends until you head into a quest or enter the gathering hub on the fourth floor.
Step 3: Post a quest on the Quest Board.
- Head down to the Quest board. Choose Post a New Quest.

- Click Assigned.

- In the open window, you can decide how many players in a squad and set a passcode.

- Click Yes. You’ll see QUEST ACCEPTED on your screen.

If you want to join other people’s quest.
- Choose Join a Quest.
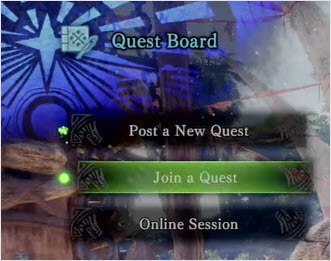
- See what’s on the board. Join one to kill beasties.
Bonus tip for PC players: Update your drivers
To get a better gaming experience, it is very important to update your device drivers. Windows 10 doesn’t always give you the latest version. But with outdated or wrong drivers, you may encounter games won’t launch issues, black screen issues, and other problems. Also, updating your drivers in time could help your devices make full use of their features.
There are two ways you can update your driver: manually and automatically.
Option 1 – Manually– You’ll need some computer skills and patience to update your drivers this way, because you need to find exactly the right the driver online, download it and install it step by step.
OR
Option 2 – Automatically (Recommended)– This is the quickest and easiest option. It’s all done with just a couple of mouse clicks – easy even if you’re a computer newbie.
Option 1 – Download and install the driver manually
You can download graphics drivers from the manufacturer official website. Search for the model you have and find the correct driver that suits your specific operating system. Then download the driver manually.
Option 2 – Automatically update drivers
If you don’t have time or patience to manually update your graphics drivers, you can do it automatically with Driver Easy.
Driver Easy will automatically recognize your system and find the correct drivers for it. You don’t need to know exactly what system your computer is running, you don’t need to risk downloading and installing the wrong driver, and you don’t need to worry about making a mistake when installing.
You can update your drivers automatically with either the FREE or the Pro version of Driver Easy. But with the Pro version it takes just 2 clicks (and you get full support and a 30-day money back guarantee):
- Download and install Driver Easy.
- Run Driver Easy and click the Scan Now button. Driver Easy will then scan your computer and detect any problem drivers.
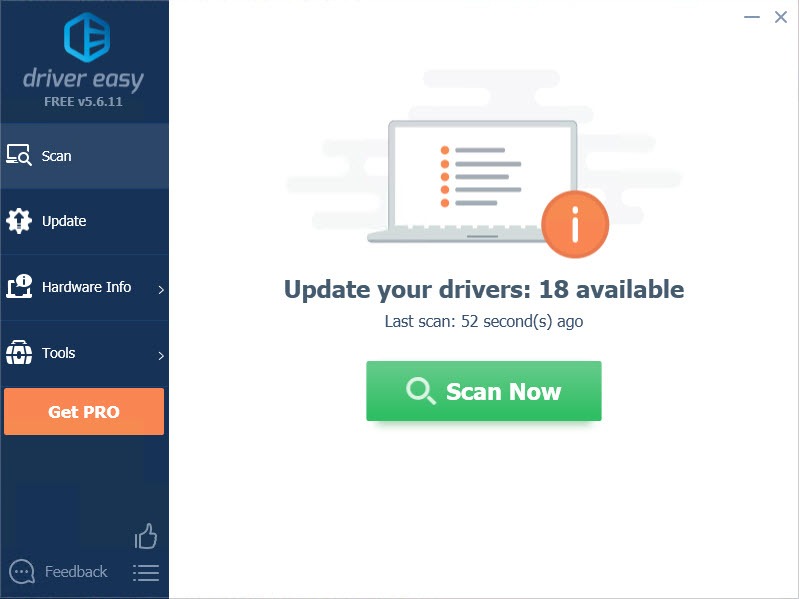
- Click the Update button next to the flagged driver to automatically download the correct version of that driver, then you can manually install it (you can do this with the FREE version).
Or click Update All to automatically download and install the correct version of all the drivers that are missing or out of date on your system. (This requires the Pro version which comes with full support and a 30-day money back guarantee. You’ll be prompted to upgrade when you click Update All.)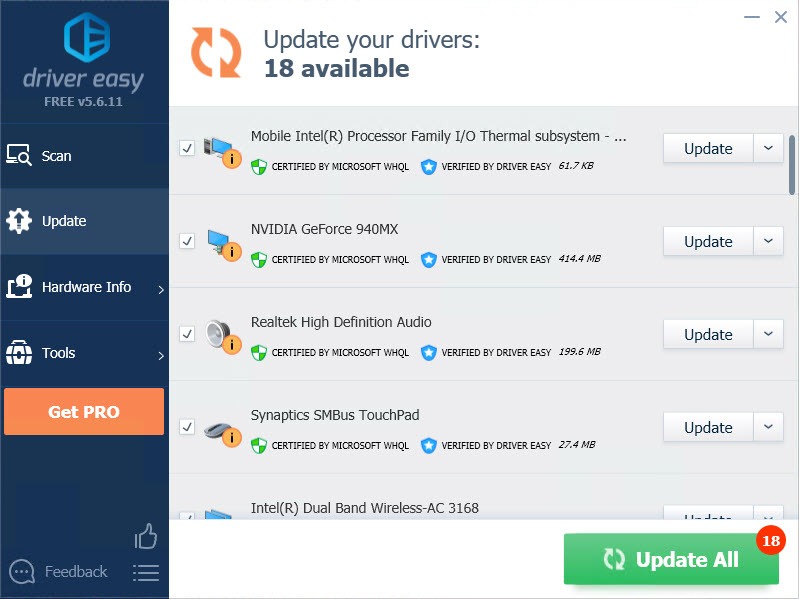
Be sure to attach the URL of this article if needed for more expedient and efficient guidance.
Hopefully this helps. Feel free to comment below if you have any questions.


