


How to screenshot on Windows
How to screenshot on Android
Don’t know how to take a screenshot on your Dell laptop computer? It is very easy! The following are the methods we’ve put together to help you capture your screen on your Dell computer. Just choose the one that best suits your need!
Try these methods:
- Use Snagit (Recommended)
- Take a screenshot with the Windows screenshot feature (Free but limited)
1. Use Snagit to take a screenshot
To take a screenshot on your Dell laptop, we recommend using Snagit.
Snagit is a screenshot program with image editing and screen recording. You can use it to take a screenshot quickly, you can edit the screenshot easily with its advanced image editing tools, and you can even capture videos.
Taking a screenshot with Snagit takes just a few clicks:
1) Download and install Snagit.
2) Run and sign in the program, then click the Capture button.
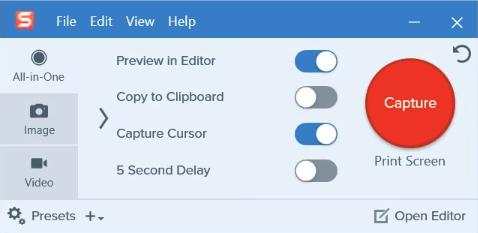
3) Hover over windows or regions to auto-select the area, then click it to capture the area. Or click and drag to select a custom area.
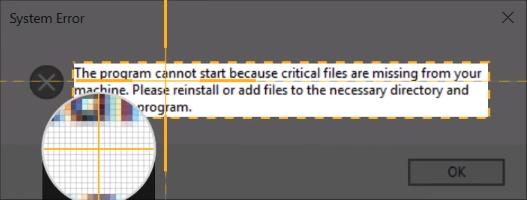
4) Click the camera icon on the toolbar to save your screenshot as an image.

5) Edit your image on the pop-up Snagit Editor. You can add shapes, text, effects, or make adjustments to your image.
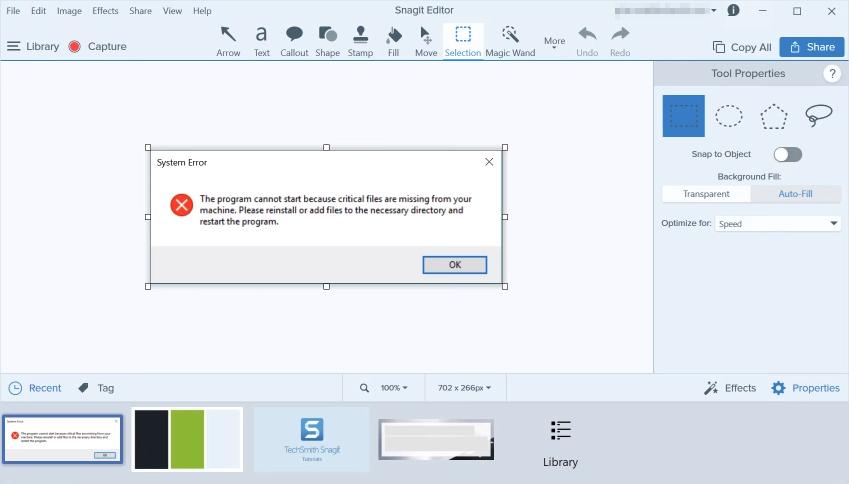
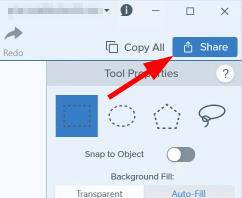
6) Save your image. Or click the Share button in the upper right corner to share it.
2. Take a screenshot with the Windows screenshot feature
You can choose this option if you only need to take a simple screenshot on your Dell laptop, and edit the image manually.
I. Take a screenshot of the whole screen
To take a screenshot of the whole screen of your Dell laptop or desktop:
1) Press the Print Screen or PrtScn key on your keyboard (to capture the entire screen and save it to the clipboard on your computer).
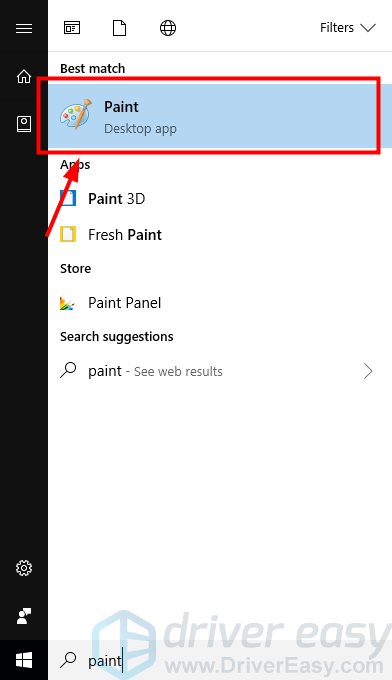
2) Click the Start button in the lower-left corner of your screen and type “paint“. Then open the Paint application in the results. (Or you can open the graphics editing program you would like to use.)
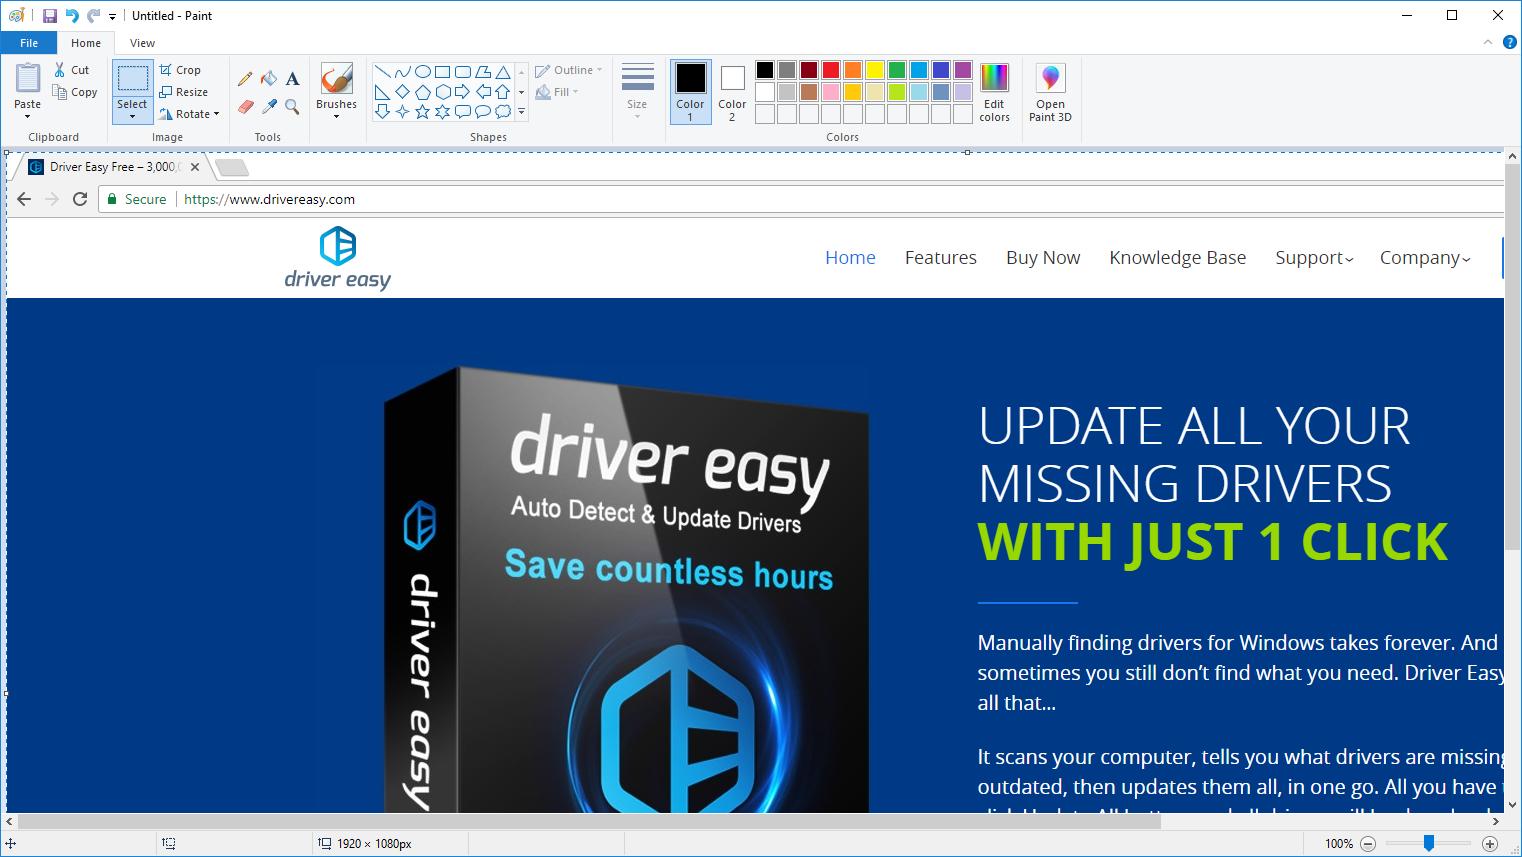
3) Paste the screenshot to the program (press the Ctrl and V keys on your keyboard at the same time).
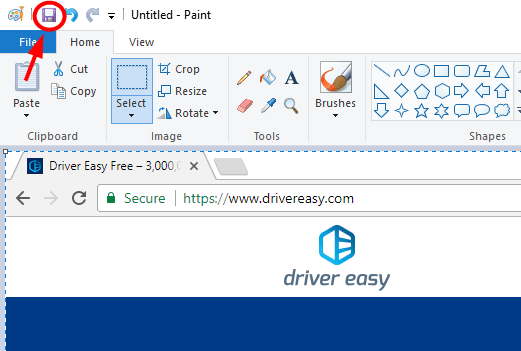
4) Click Save to save the screenshot as an image on your computer.
That’s it. You have taken a screenshot of the whole screen and saved it on your Dell computer.
If you’re on Windows 8/10, there’s a simpler method:
1) Press the Windows logo or Win key and the Print Screen or PrtScn key on your keyboard at the same time. (Your screen will dim for a moment.)
2) Open File Explorer (press the Windows logo key and E on your keyboard at the same time), then go to This PC > Pictures > Screenshots (C:Users[YOUR NAME]PicturesScreenshots) and you’ll find the screenshot you’ve taken there.

Take a screenshot on a Dell tablet
If you are using a Dell Windows tablet computer, you can press the Windows button and the volume down (-) button on your tablet at the same time to take a screenshot of the whole screen.
II. Take a screenshot of an active window
You can also take a screenshot of the active window (the window currently on the top and in use) on your Dell computer. Here’s how you can do it:
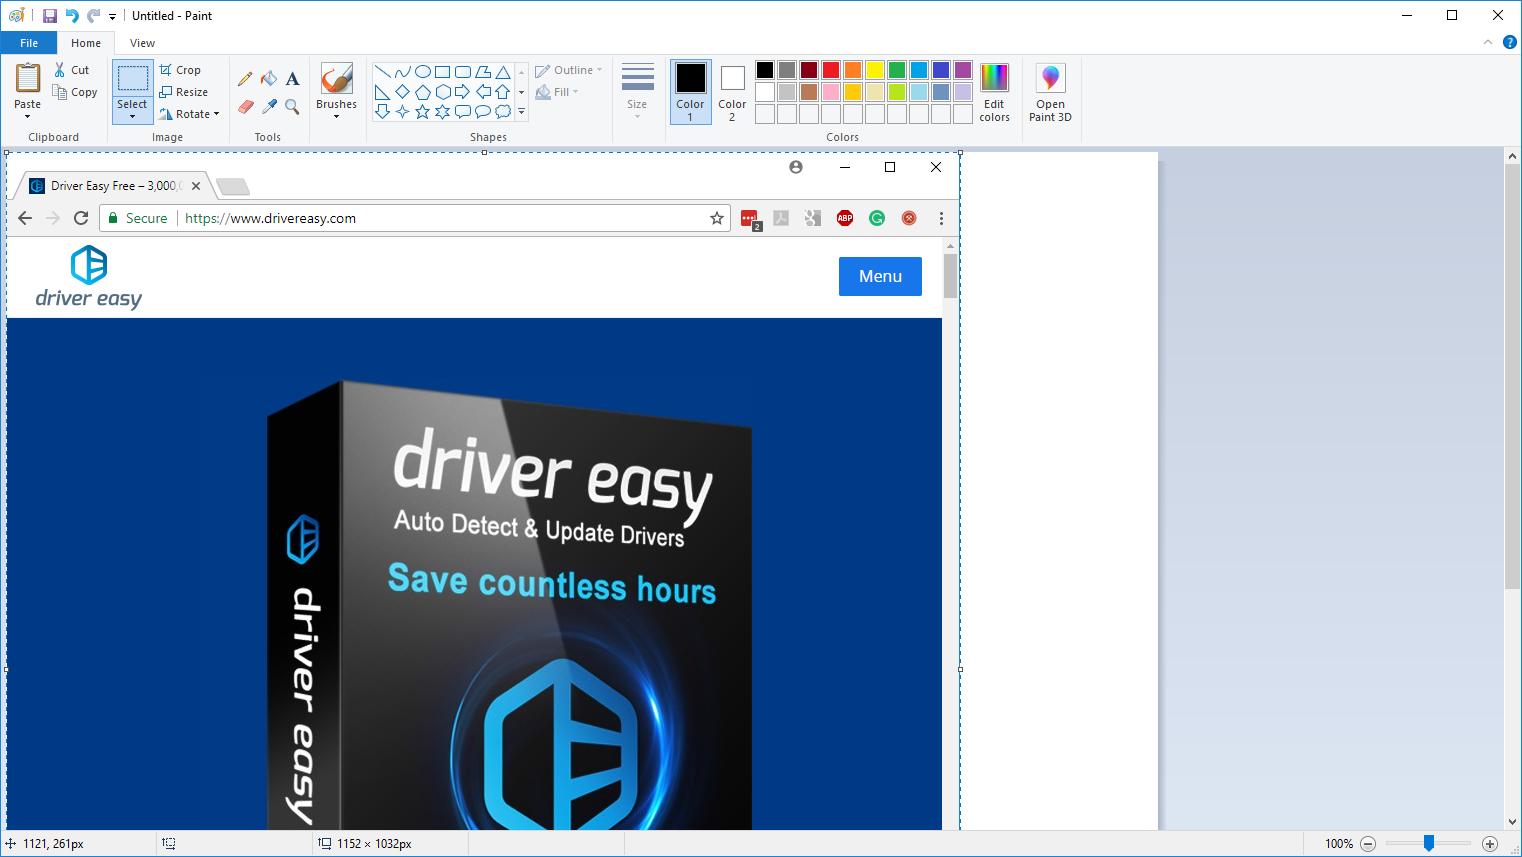
1) Press the Alt key and the Print Screen or PrtScn key on your keyboard at the same time (to capture the active window and save it to the clipboard on your computer).
2) Click the Start button in the lower-left corner of your screen and type “paint“. Then open the Paint application in the results. (Or you can open the graphics editing program you would like to use.)
3) Paste the screenshot into the program (press the Ctrl and V keys on your keyboard at the same time).
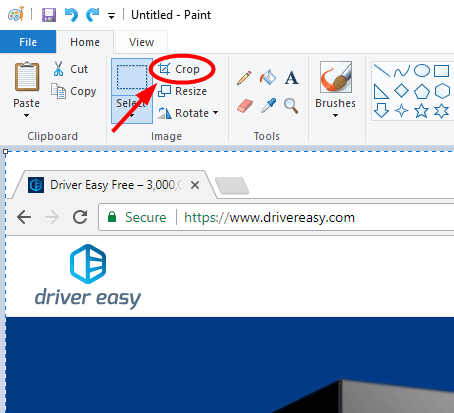
4) If the canvas size is larger than your image, click Crop to crop the canvas.
5) Click Save to save the screenshot as an image on your computer.
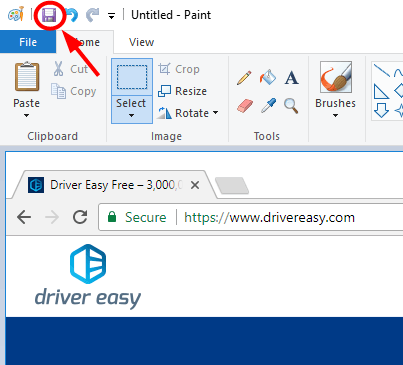
The active window is now captured and saved to your computer.
III. Take a custom screenshot
Snipping Tool is a Windows built-in screenshot tool. You can use it to capture your screen and do some simple editing. To do so:
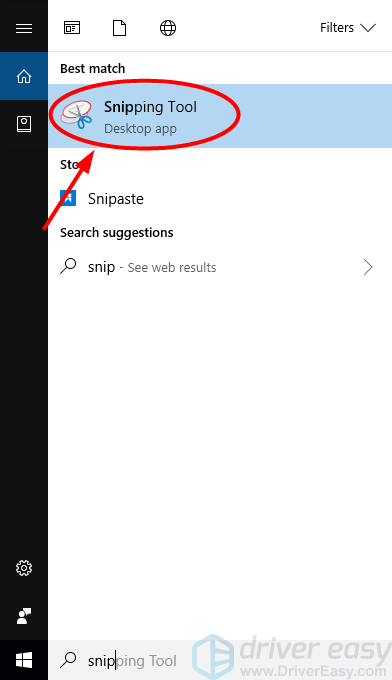
1) Click the Start button in the lower-left corner of your screen and type “snip“. Then click Snipping Tool in the list of results.
2) On Snipping Tool, click New.
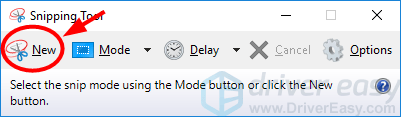
3) Click and drag your mouse across the region of your screen you’re going to select. Then release the mouse button.

4) Click the Save Snip icon to save the screenshot.
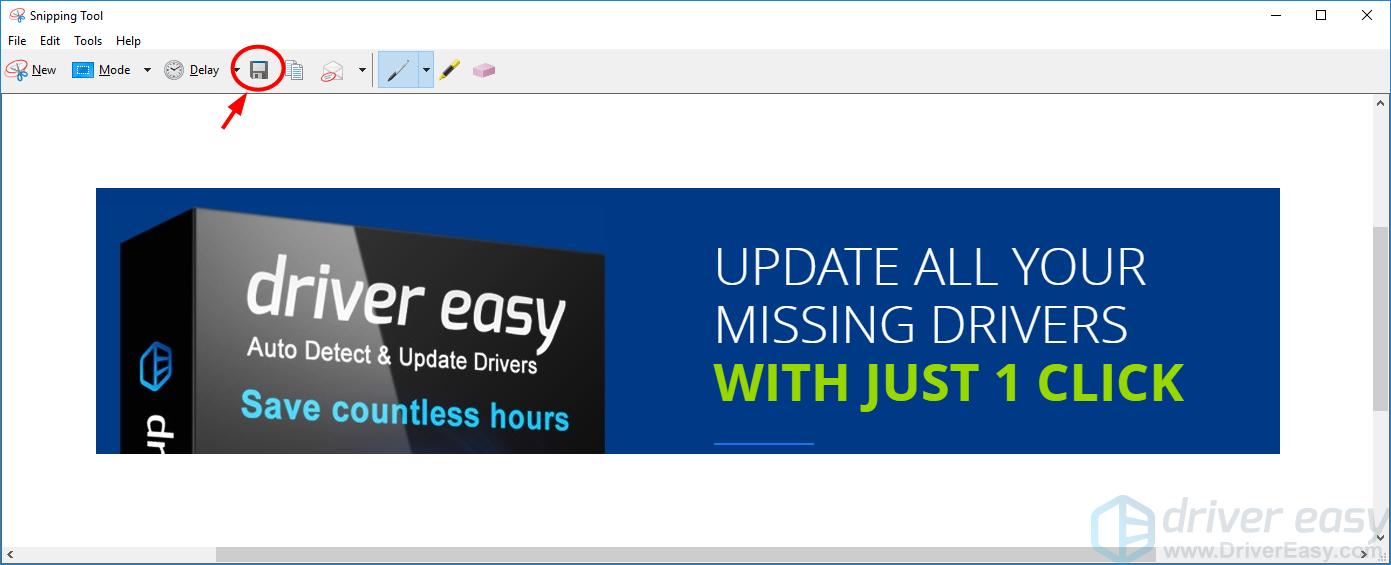
The screenshot will be saved to the place you choose.
I am using Dell laptop right now and Free Screen Recorder Online of AceThinker works well on my device.
The keyboard shortcut key is my favorite method especially if I need to do a quick screenshot. But when I need to take a screenshot with a specific size. I use the Snipping Tool. I would also like to suggest using iMyVid Free Online screen recorder if you need to record your screen. It is effective in giving you HD result too. thanks for sharing other tools too, i will try snagit!
I am using Win 10 now, maybe it is also a good choice for us to use Game Bar, as it is the built-in recorder. If Win 7 or Win 8, we need to use the third part screen recorder, such as Snagit, OBS, Joyoshare VidiKit, or VLC…
how can i save screenshots automatically?
Thanks you!!! This was very easy to follow! And made my day!
Once you save the screenshot, how do you send it someone?
IF U WANT TO SEND TO WHATSAPP CHAT.. U CAN OPEN GOOGLE WHATSAPP WEB AND OPEN UR WHATSAPP IN COMPUTER OR LAB …THE SCREENSHOT WILL BE THERE IN YOUR FILE.
hello! i am on windows 8, but the method of pressing the windows button and the volume down button does not work. i did it a bunch of times, but when i looked in my screenshots folder, nothing. i am not very good at tech, so i can not figure it out. i need to take one as fast as i can tho. please help!
i wish that you can find a way to fix it. my battery is having problems if that helps…
thankyou for your detailed information. Here is my problem: I am able to take a screenshot on my dell voistro 1000, but the image is always black in the screenshot folder. Same is true if I go ahead and past this image into Paint.
And with Snipping Tool, the screen is gray
What is going on?
Hi Robert,
Perhaps it’s a software interruption issue. You should check the programs installed on your computer, particularly those running in the background when you’re taking screenshots. Try temporarily disabling the suspicious programs to see if this fixes your issue.