Are you feeling cramped when you’ve got several windows open on your desktop? If you have a second monitor but don’t know how to set it up, you’ve come to the right place! Just follow the steps below and then you will have your second monitor added to your PC.
- Connecting your second monitor to your PC
- Updating your graphics card driver to the latest version
- Configuring your multiple displays setting
Step 1: Connecting your second monitor to your PC
Before connecting your second monitor to your PC, you need to know what ports your PC and your second monitor have.
1) Please ensure that the video port on your PC matches an available video port on your second monitor, like Displayport (DP), HDMI, VGA, and DVI.

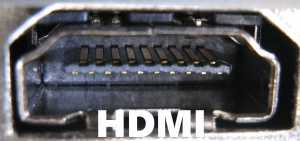

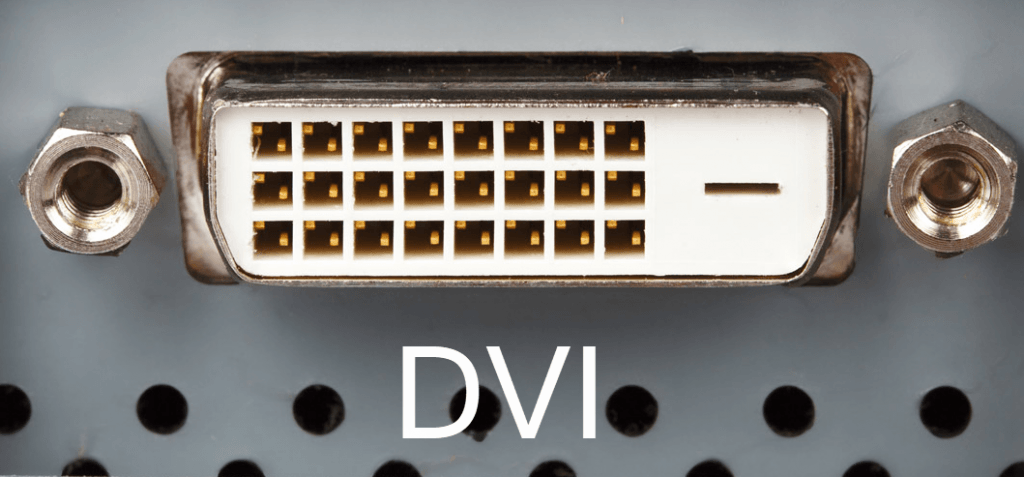
2) Connect your second monitor to your PC with a compatible cable. That cable is usually provided by the monitor manufacturer.
Step 2: Updating your graphics driver to the latest version
It is important to ensure that your graphics driver has been updated to the latest version. If not, please update your graphics driver to ensure stability and the best performance. It is recommended that you update your graphics driver with Driver Easy.
Driver Easy will automatically recognize your system and find the correct drivers for it. You don’t need to know exactly what system your computer is running, you don’t need to risk downloading and installing the wrong driver, and you don’t need to worry about making a mistake when installing.
You can update your drivers automatically with either the FREE or the Pro version of Driver Easy. But with the Pro version, it takes just 2 clicks (and you get full support and a 30-day money-back guarantee):
1) Download and install Driver Easy.
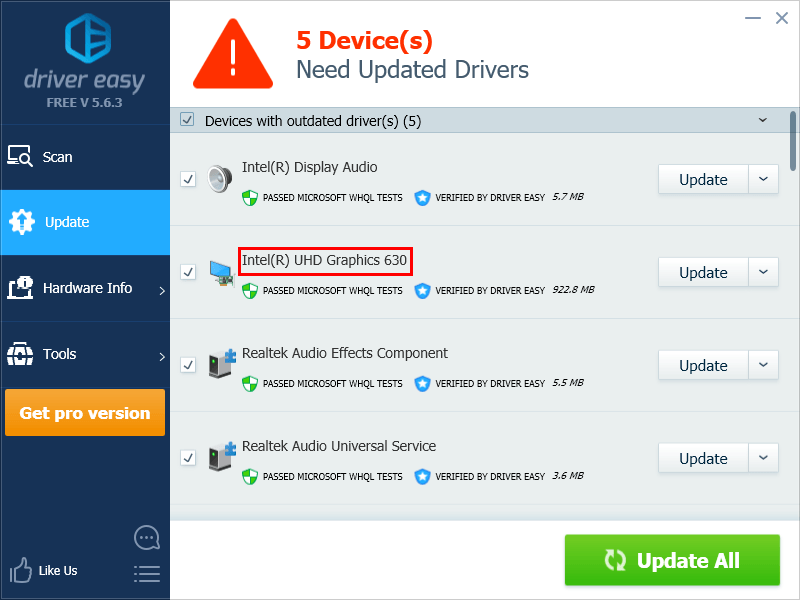
2) Run Driver Easy and click Scan Now. Driver Easy will then scan your computer and detect any problem drivers.

3) Click Update next to your graphics card to automatically download the correct version of this driver, then you can install it manually. Or click Update All to automatically download and install the correct version of all the drivers that are missing or out of date on your system (this requires the Pro version – you’ll be prompted to upgrade when you click Update All).
Step 3: Configuring your multiple displays setting
Once you’ve connected your second monitor to your PC, Windows will automatically detect your second monitor. Then you can begin to configure your multiple displays setting.
In this step, instructions for Windows 10 and Windows 7 & 8 are a little different.
- If your current operating system is Windows 7 or Windows 8
- If your current operating system is Windows 10
If your current operating system is Windows 7 or Windows 8:
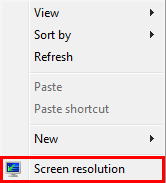
1) Right-click an empty area of the desktop and select Screen Resolution.
2) In the pop-up window, Click the drop-down lists of Display, Resolution, and orientation to configure the resolution and orientation of your monitors.

3) Select a display mode from the drop-down list of Multiple displays according to your preference.
- Duplicate these displays: to show the same screen on both monitors.
- Extend these displays: to treat your displays as one contiguous screen.
- Show desktop only on 1: to show your screen only on your primary monitor (your second monitor is disabled).
- Show desktop only on 2: to show your screen only on your second monitor (your primary monitor is disabled).

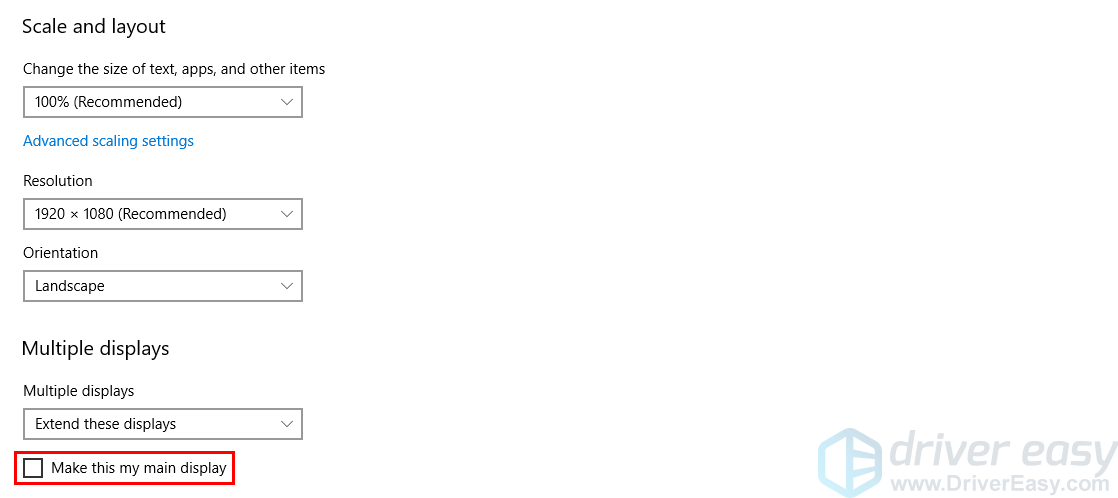
4) Click the Make this my main display option to set the current display as your main display. Your main display shows your shortcuts on your desktop. If you don’t see that option, the currently selected monitor is already the main one.

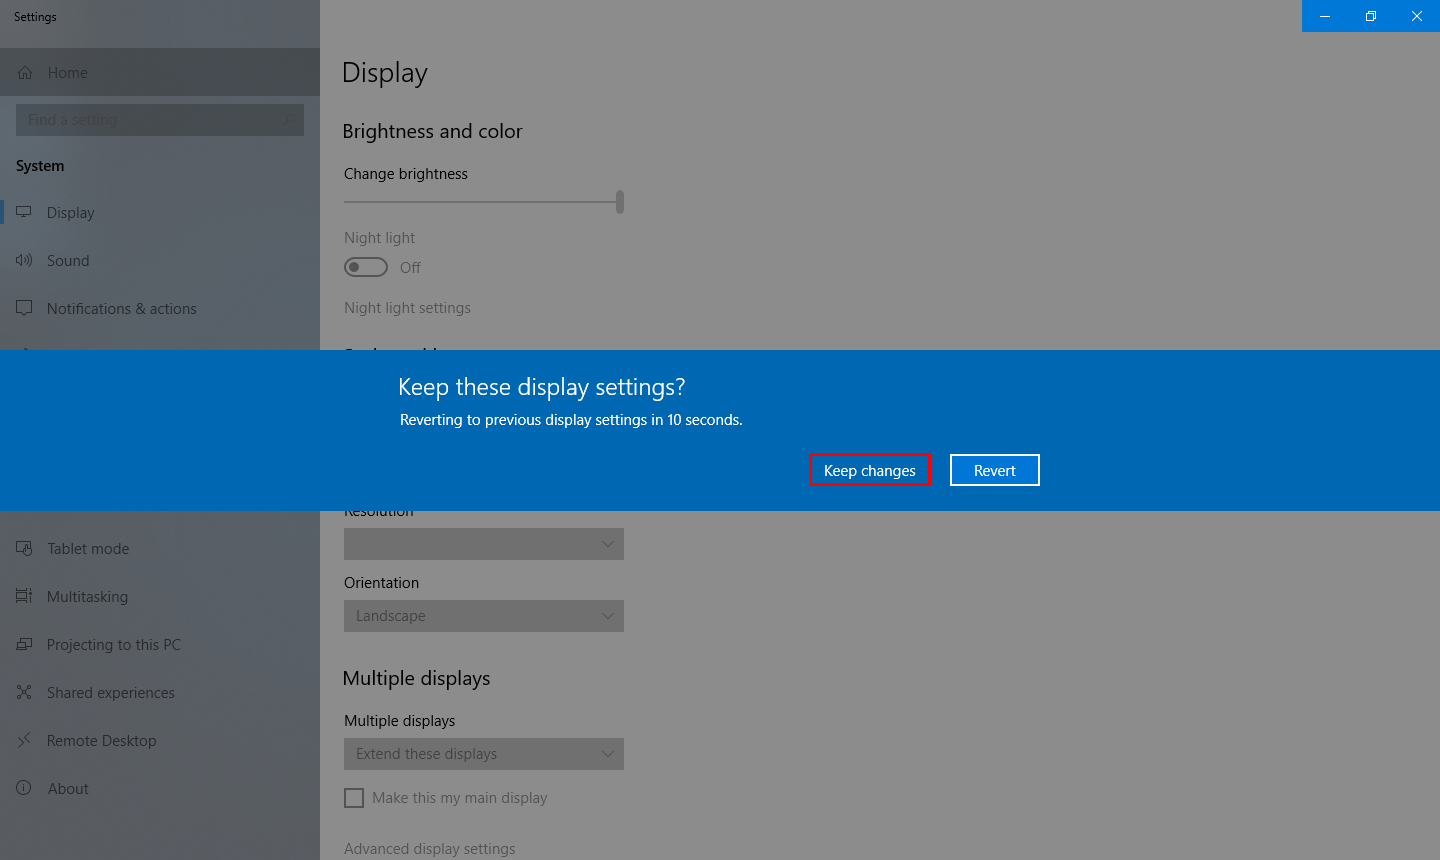
5) Click Apply and then click Keep changes to save the new setting if you’re prompted to do so.
6) Click OK to save the setting and close the window.
If your current operating system is Windows 10:
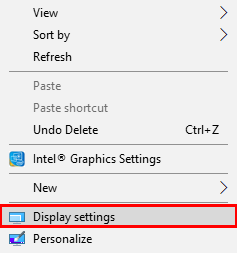
1) Right-click an empty area of the Desktop and select Display settings.
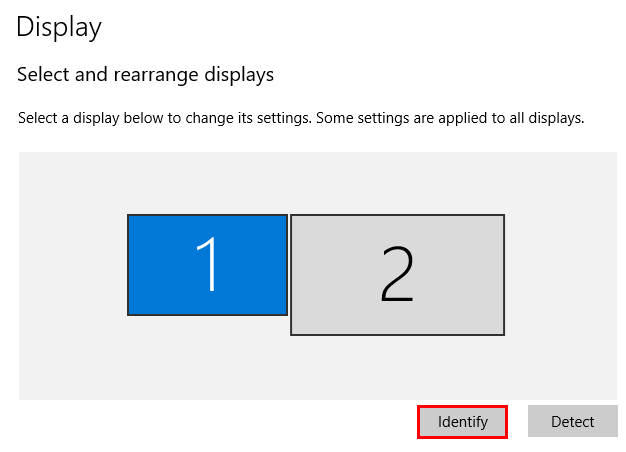
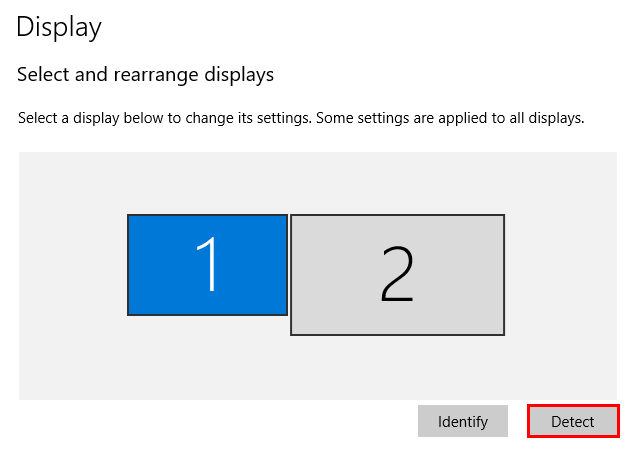
2) In the pop-up window, select a display to change its setting. Your second monitor usually is the display with the number 2. If you can’t tell which monitor is which, click identify. The number 1 will appear on your primary monitor and the number 2 on your second.
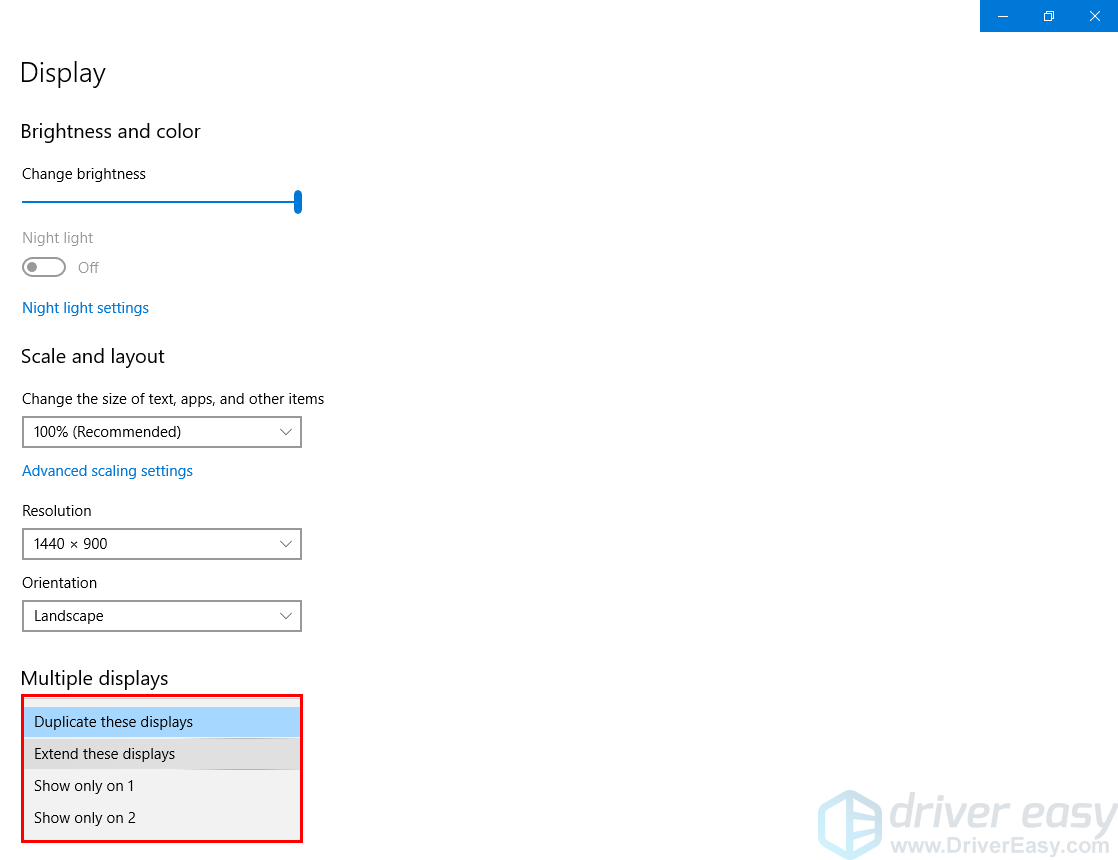
3) Select a display mode from the drop-down list of Multiple displays according to your preference.
- Duplicate these displays: to show the same screen on both monitors.
- Extend these displays: to treat your displays as one contiguous screen.
- Show desktop only on 1: to show your screen only on your primary monitor (your second monitor is disabled).
- Show desktop only on 2: to show your screen only on your second monitor (your primary monitor is disabled).
4) Click Keep changes to save the new setting if you’re prompted to do so.
Now, you can begin to enjoy your second monitor!


