If you run into the plugged in, not charging message on your laptop, don’t panic. It’s often not hard to fix at all…
3 fixes for plugged in, not charging in Windows 7 or Windows 10
Here are 3 fixes that have helped other users resolve the plugged in, not charging problem.
Fix 1: Check for hardware issues
Before addressing this laptop plugged in, not charging problem, we might have to look out for potential hardware issues.
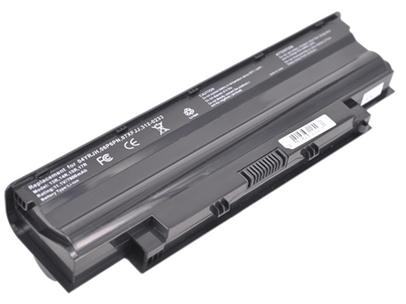
- Remove the laptop battery and insert it back in. If your laptop is using a removable battery, then this trick is for you. Be sure to power off your laptop first before the battery removal.
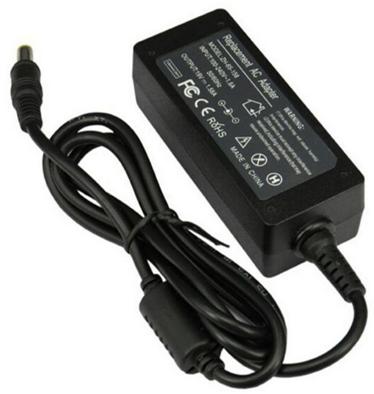
- Check your laptop charger. Turn off your laptop and disconnect the charger. Then check if there’s any physical damage on the cable or connector.
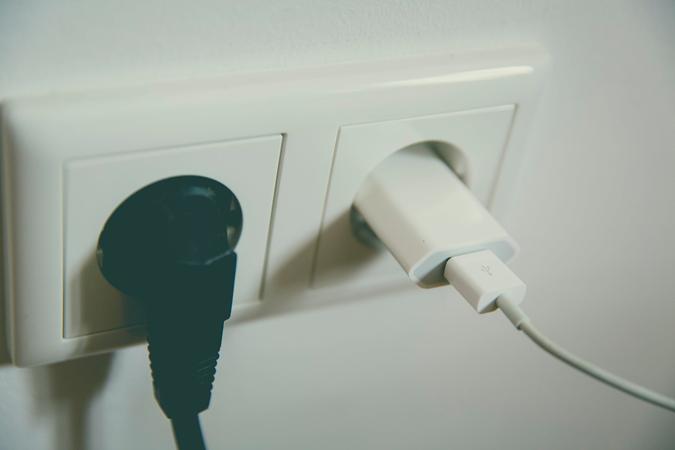
- Plug your charger to a wall socket. Sometimes a nonworking battery happens because of an extension cord.
- Avoid overheating. You might want to get a cooling fan or move your laptop to a well-ventilated place. After that, try to re-charge your laptop again and see if it charges properly. If yes, then congrats! If the battery is still not charging, please move on to Fix 2, below.
Fix 2: Update your battery driver
This problem may occur if you are using the wrong battery driver or it’s out of date. So you should update your battery driver to see if it fixes your problem. There are two ways to reinstall your battery driver: manually and automatically.
You can manually reinstall your battery driver via Device Manager. Connect your laptop to the Internet and uninstall the driver from your laptop. This requires time and computer skills.
If you don’t have the time, patience or skills to update the driver manually, you can do it automatically with Driver Easy.
Driver Easy will automatically recognize your system and find the correct drivers for it. You don’t need to know exactly what system your computer is running, you don’t need to be troubled by the wrong driver you would be downloading, and you don’t need to worry about making a mistake when installing. Driver Easy handles it all.
You can update your drivers automatically with either the FREE or the Pro version of Driver Easy. But with the Pro version it takes just 2 steps (and you get full support and a 30-day money back guarantee):
1) Download and install Driver Easy.
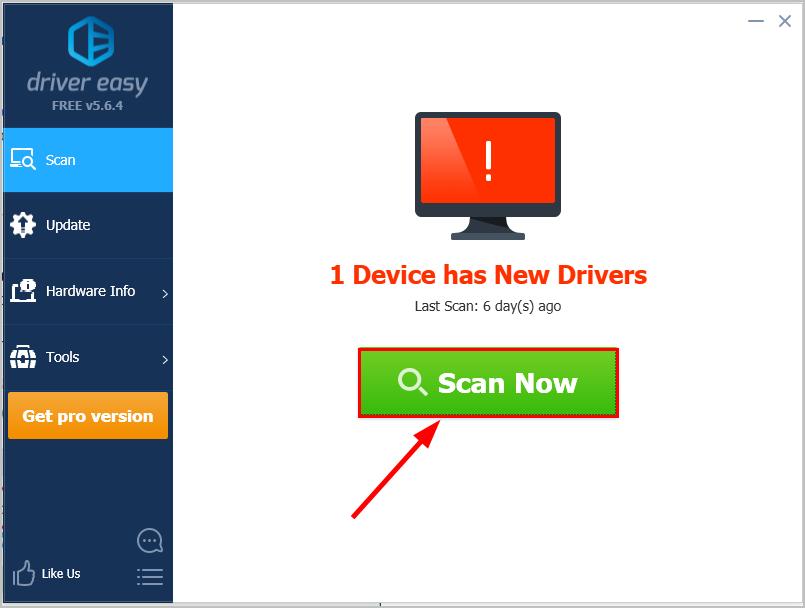
2) Run Driver Easy and click the Scan Now button. Driver Easy will then scan your computer and detect any problem drivers.
3) Click Update All to automatically download and install the correct version of ALL the drivers that are missing or out of date on your system (this requires the Pro version – you’ll be prompted to upgrade when you click Update All).
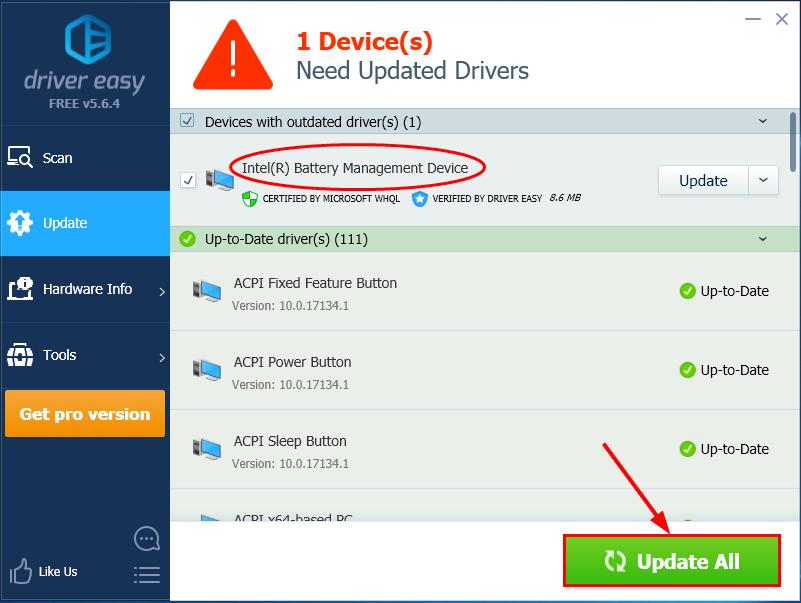
4) Restart your computer for the changes to take effect.
5) Check to see if the plugged in, not charging problem has been resolved. If yes, then great! If the issue persists, please try Fix 3, below.
Fix 3: Update your BIOS
BIOS (Basic Input/Output System) performs the hardware initialization and jumpstarts the processes during the booting process of your computer. So we can try updating our BIOS to see if it sorts out our laptop plugged in not charging issue.
- On your keyboard, press the Windows logo key and R at the same time, then copy & paste msinfo32 into the box and press Enter.
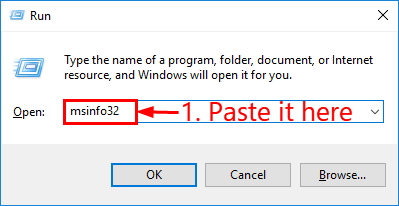
- In the information in BIOS Version/Date and go to the manufacturer’s official website.
- Check out the Support (or Download) section and search for the latest BIOS update.
- Download the file and install it properly.
- Check your laptop battery again and see if the plugged in, not charging problem has been fixed.
Hopefully you have successfully resolved the plugged in, not charging issue by now. If you have any questions, ideas or suggestions, please let me know in the comments. Thanks for reading!


