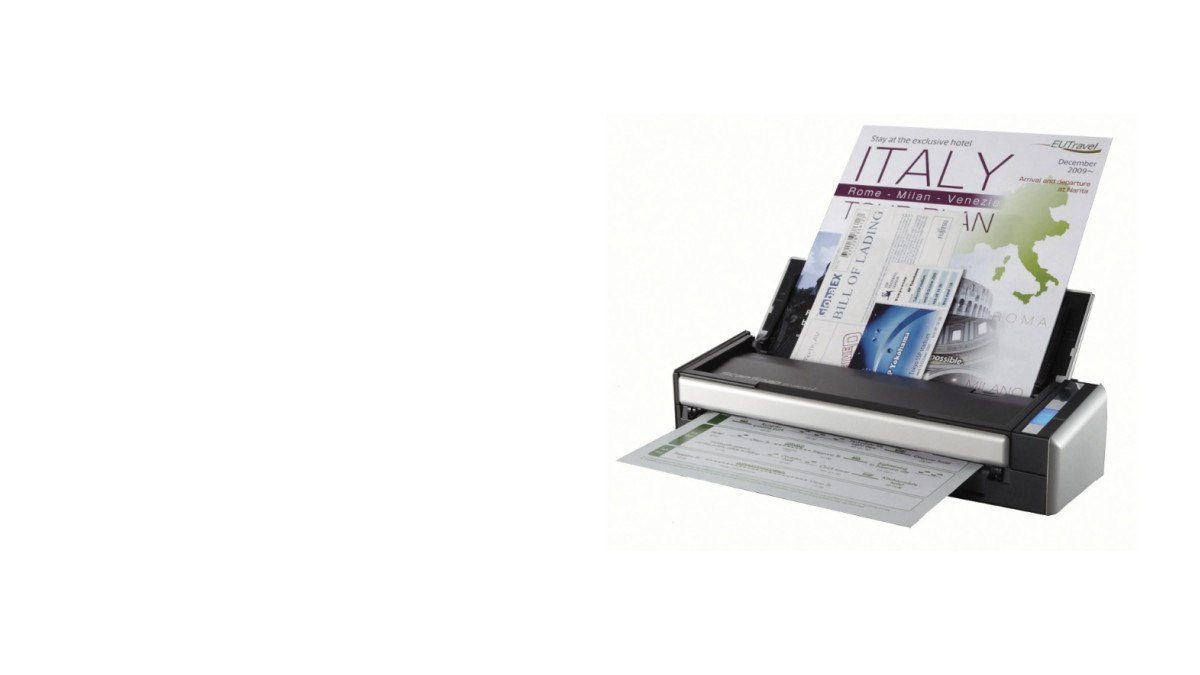
It’s always important to have the latest drivers for your scanner to keep it in tiptop shape and improve the overall computer performance. In this post, we’re showing you 2 easy ways to get the latest ScanSnap S1300i drivers.
2 options to update ScanSnap S1300i drivers
Both methods below work in Windows 10, 8.1 and 7. And as the method list suggests, you don’t have to try both. Just decide if you want to do it manually or automatically and take your pick:
Option 1: Update ScanSnap S1300i driver automatically (Recommended)
If you don’t have the time, patience or skills to update the driver manually, you can do it automatically with Driver Easy.
Driver Easy will automatically recognize your system and find the correct drivers for it. You don’t need to know exactly what system your computer is running, you don’t need to risk downloading and installing the wrong driver, and you don’t need to worry about making a mistake when installing. Driver Easy handles it all.
You can update your drivers automatically with either the FREE or the Pro version of Driver Easy. But with the Pro version it takes just 2 clicks (and you get full support and a 30-day money back guarantee):
- Download and install Driver Easy.
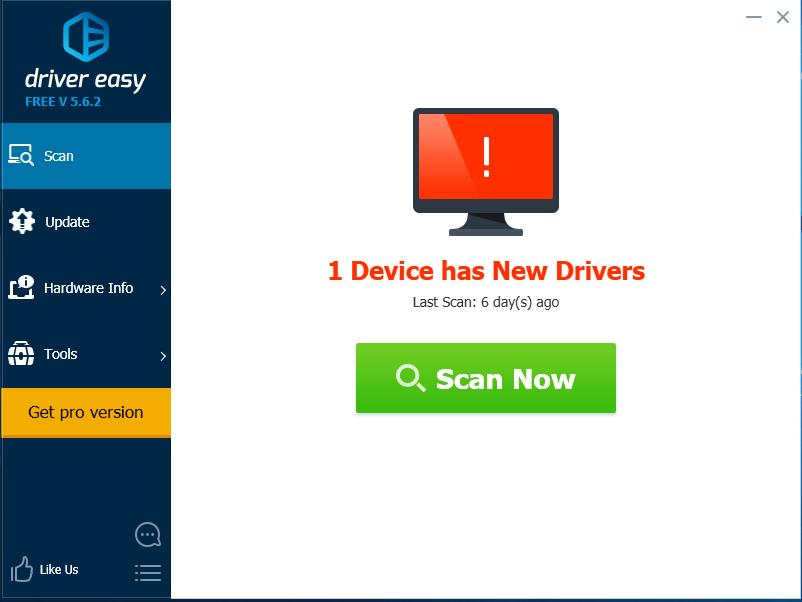
- Run Driver Easy and click the Scan Now button. Driver Easy will then scan your computer and detect any problem drivers.
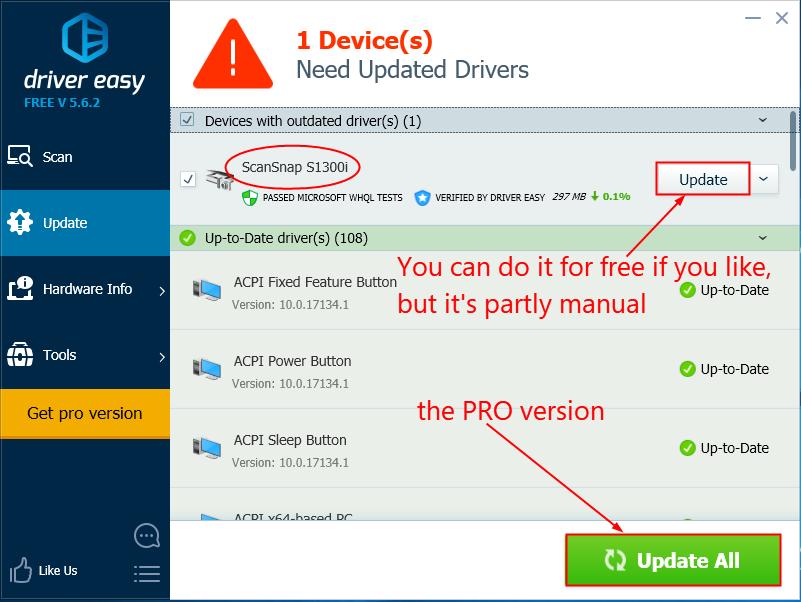
- Click Update All to automatically download and install the correct version of ALL the drivers that are missing or out of date on your system (this requires the Pro version – you’ll be prompted to upgrade when you click Update All).
- Restart your computer for the changes to take effect.
Option 2: Update ScanSnap S1300i driver manually
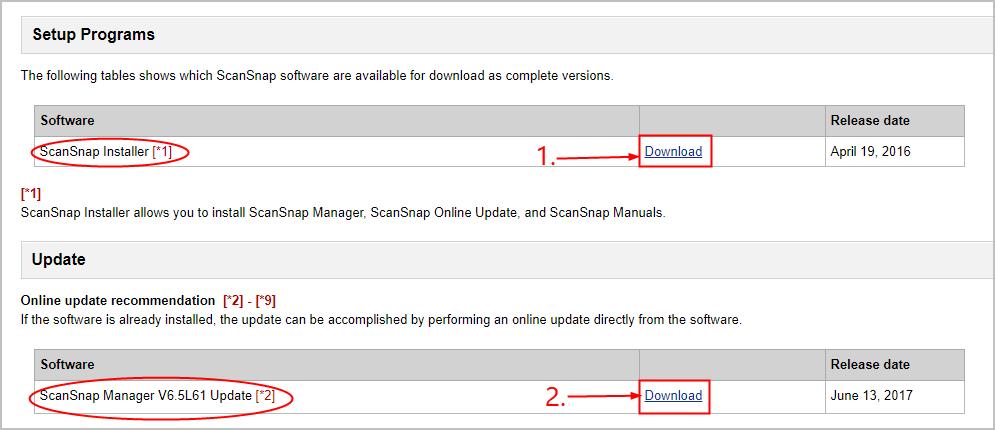
According to Fujitsu’s official website, the ScanSnap S1300i driver is packaged into ScanSnap Manager (which we will download in the steps). And we might also need to have ScanSnap Installer in the first place to make sure we can install ScanSnap Manager.
- Go to ScanSnap Software Downloads.
- Select ScanSnap S1300i, choose your OS, and then click Display software list.
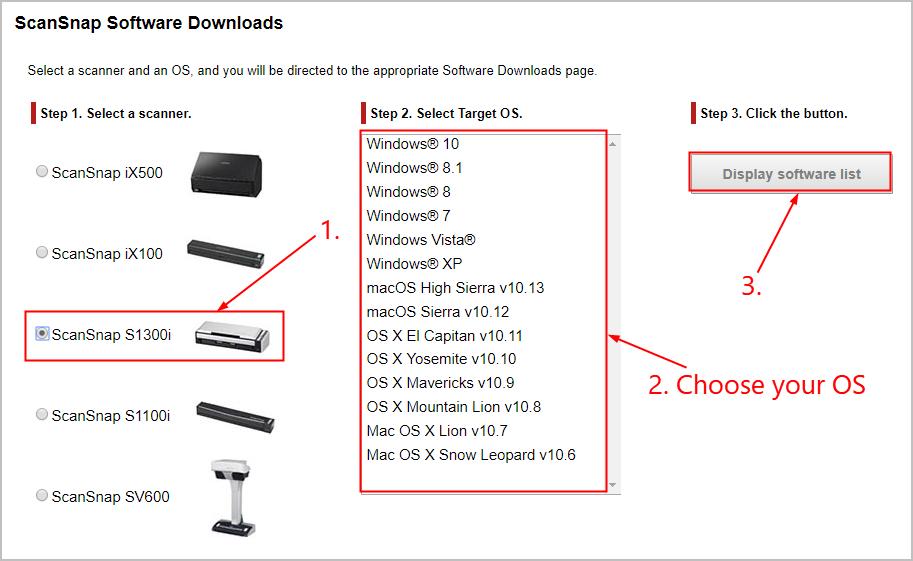
- Click Download in ScanSnap Installer and Download in ScanSnap Manager.
- Double-click on the downloaded ScanSnap Installer file and follow the on-screen instructions to finish the install.
- Restart your compuetr for the changes to take effect. Then double-click on the downloaded ScanSnap Manager and follow the on-screen instructions to finish the install.
- Restart your computer for the changes to take effect.
Now congrats! You’ve already updated your ScanSnap S1300i scanner driver successfully on your computer. Feel free to drop a comment below if you have any further questions.


