If you find very slow upload speeds, don’t worry, the below methods may help.
Before starting, check your internet speed first.
You can check your Internet speed on the websites where can scan and tell the exact Internet speed. Just search internet speed test in your browser and choose one to test.
Then you can know whether your actual Internet speed matches your plan. If your Internet speed is too slow, you can call your ISP for suggestions or switch to a better plan.
Try these methods:
You don’t have to try them all; just work your way down the list until you find the one that works for you.
- Check Your Router’s Firmware
- Use a VPN
- Stop bandwidth-hogging programs
- Change the DNS server in your PC
- Update your drivers
Method 1: Check Your Router’s Firmware
To increase your upload speed, your router’s firmware is playing an important role. So, remember updating your modem and router firmware. If you don’t have the latest, you may not be keeping up with the ISP’s upgrades.
Method 2: Use a VPN
The upload speed is often related to your ISP. You ISP might limit your internet speed. If you’re tired of the low speed, you can change your Internet Service Provider or change your service plan.
But if you don’t want to change ISP, there’s another method you can try–-get a VPN.
A good VPN (Virtual Private Network) can lead you passing by the ISP to reduce the speed loss and avoid the restrictions. And help you avoid video buffering issue. It can protect your privacy as well.
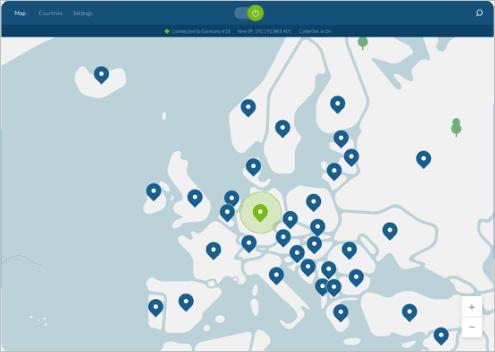
You can use the VPN you already have, if you don’t have one, it’s recommended to use NordVPN.
NordVPN can bypass geo-restrictions to get all add-ons desired, keeps you protected from snooping eyes, and secures your data to keep your online activity private. It’s safe and easy to use!
Method 3: Stop bandwidth-hogging programs
While you’re downloading, you should turn off the bandwidth-hogging programs in your computer, such as the loading webpages, videos that are playing, or applications that require WiFi speed. In doing so, you can prevent some other applications or services from eating up your Internet, so you can have a faster download speed.
In addition, you’ll get a slow download speed if your computer is updating software or services in the background, so you’re recommended to set your computer to notify you before downloading any updates.
Method 4: Change DNS server in your PC
We access the information online through domain names. The web browsers, however, access Internet resources by IP (Internet Protocol) addresses.
DNS (Domain Name System) is the tool that translates the domain names to IP addresses so that your browser can load Internet resources.
Google Public DNS provides you with a speed boost and increased security. Try changing the DNS server in your PC to the Google Public DNS addresses to see if Netflix lagging issue can be resolved. Here is how to do it:
- On your keyboard, press the Windows logo key and R at the same time to open the Run dialog. Then type control and press Enter to open the Control Panel.

- View the Control Panel by Category. Click View network status and tasks.

- In the pop-up window, click Change adapter settings.

- Right-click your current network and then select Properties.

- Double-click Internet Protocol Version 4(TCP/IPv4) to view its properties.

- Select Obtain an IP address automatically and Use the following DNS server addresses. For the Preferred DNS server, enter the Google Public DNS address: 8.8.8.8; for the Alternative DNS server, enter the Google Public DNS address: 8.8.4.4. Then click Ok to save the changes.

- Restart your PC and check the upload speed.
Method 5: Update your drivers
Drivers are the bridge to communicate devices with the operating system. The failure to update the driver in time will affect your computer’s performance. So updating the drivers in time can help your device run smoothly.
There are two ways to update drivers:
Option 1 – Manually – You’ll need some computer skills and patience to update your drivers this way, because you need to find exactly the right driver online, download it and install it step by step.
OR
Option 2 – Automatically (Recommended)– This is the quickest and easiest option. It’s all done with just a couple of mouse clicks – easy even if you’re a computer newbie.
Option 1 – Download and install the driver manually
You can go to your video card manufacturer’s official website, find the driver for your system version and download them manually.
Once you’ve downloaded the correct drivers for your system, double-click on the downloaded file and follow the on-screen instructions to install the driver.
Option 2 – Automatically update drivers
If you don’t have the time, patience, or computer skills to update the driver manually, you can do it automatically with Driver Easy.
Driver Easy will automatically recognize your system and find the correct drivers for it. You don’t need to know exactly what system your computer is running, you don’t need to risk downloading and installing the wrong driver, and you don’t need to worry about making a mistake when installing.
You can update your drivers automatically with either the FREE or the Pro version of Driver Easy. But with the Pro version it takes just 2 clicks (and you get full support and a 30-day money back guarantee):
- Download and install Driver Easy.
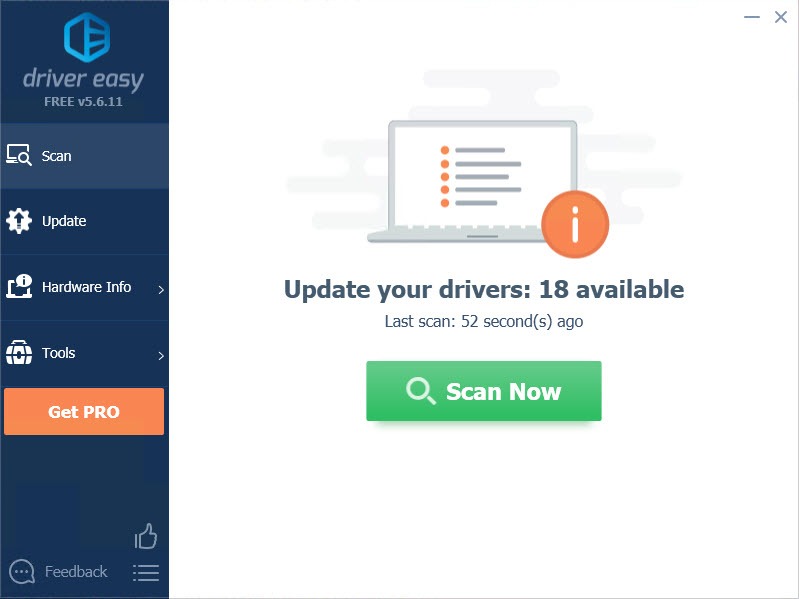
- Run Driver Easy and click Scan Now button. Driver Easy will then scan your computer and detect any problem drivers.

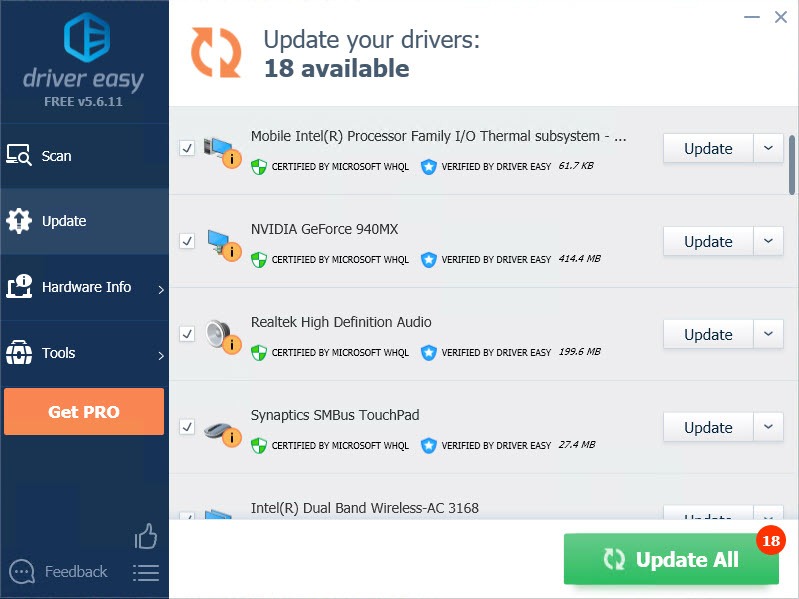
- Click the Update button next to the driver to automatically download and install the correct version of this driver (you can do this with Free version).
Or click Update All to automatically download and install the correct version of all the drivers that are missing or out of date on your system (this requires the Pro version – you’ll be prompted to upgrade when you click Update All).

We hope this post can meet your needs. If you have questions or suggestions, please leave a comment below.


