Every time when you start your computer, if you get error message saying “Failed to create Conexant Audio Factory, The SmartAudio will now exit”, you can find the solutions here how to fix this issue.
The error message may also appear like this: A Conexant audio device could not be found. The application will now exit.

There are three methods to fix the problem. You may not have to try them all; just work your way down the list until you find the one that works for you.
Method 1: Start CxUtilSvc service
Method 2: Uninstall the Conexant audio driver
Method 3: Update the Conexant audio driver
Method 1: Start CxUtilSvc service
This issue would occur if service “CxUtilSvc” is not running when you start Windows. “CxUtilSvc” is short for “Conexant Utility Service”. It is developed by Conexant Systems, Inc, the manufacturer of Conexant sound card. So if this service isn’t started, you would run into the error. You can check and see if the service starts. Start it if necessary then the problem issue should resolve.
Following steps are for your reference how to start service “CxUtilSvc”.
1. Press Win+R (Windows key and R key) at the same time. A Run dialog will appear.
2. Type services.msc in the run box. Click on OK button. Then Services window will open.
3. In Services window, check the list for “CxUtilSvc” and double click on it. The Properties window will open.
4. In Properties window, click on the Start button if the service is stopped.
Change the Startup Type value to Automatic.
5. Click on Apply and OK button.
6. Restart your computer, and check to see if the error message appears.
Method 2: Uninstall the Conexant audio driver
The error would also occur due to driver issues. The audio driver you have installed may be corrupted or incompatible with your operating system. To resolve the problem, you can try uninstalling the Conexant audio driver.
You can follow steps below to uninstall the Conexant driver.
1. Press Win+R (Windows key and R key) at the same time. A Run dialog will appear.
2. Type devmgmt.msc in the run box. Click on OK button. Then Device Manager window will open.
3. Expand category Sound, video and game controllers. Under this category, you will find Conexant High Definition SmartAudio Drivers. Right-click on it and then select Uninstall.
4. In the Uninstall window, check the box next to Delete the driver software for this device. Then click on OK button.
5. After uninstalling the driver, restart the computer, and check to see if the error message appears.
Method 3: Update the Conexant audio driver
If uninstalling the driver doesn’t work, you can update the Conexant driver to the latest version.If you don’t have patience, time or computer skills to update the driver manually, you can do it automatically with Driver Easy.
Driver Easy will automatically recognize your system and find the correct drivers for it. You don’t need to know exactly what system your computer is running, you don’t need to risk downloading and installing the wrong driver, and you don’t need to worry about making a mistake when installing.
You can update your drivers automatically with either the FREE or the Pro version of Driver Easy. But with the Pro version it takes just 2 clicks (and you get full support and a 30-day money back guarantee):
1) Download and install Driver Easy.
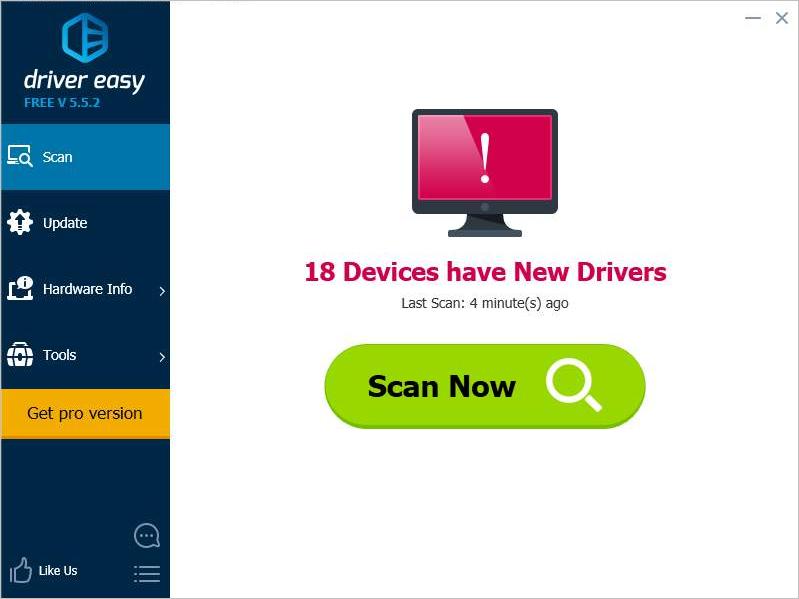
2) Run Driver Easy and click Scan Now button. Driver Easy will then scan your computer and detect any problem drivers.

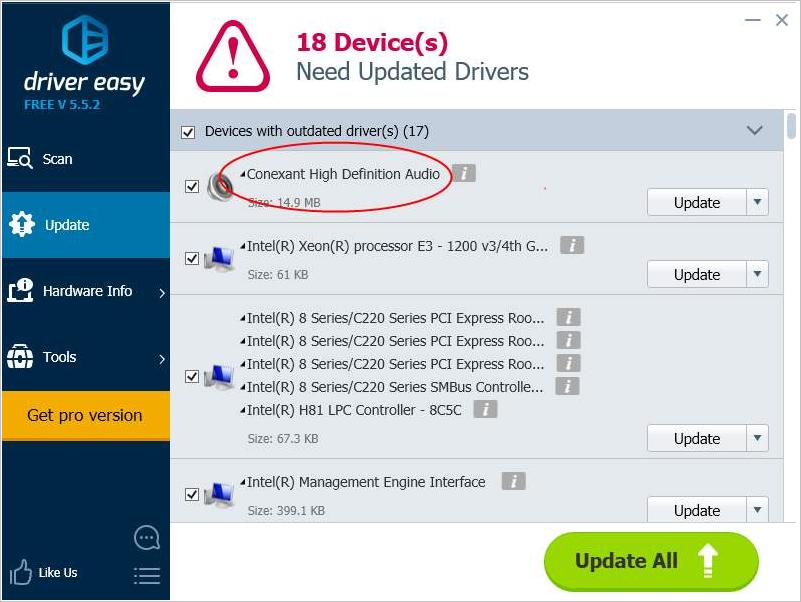
3) Click the Update button next to the Conexant audio driver to automatically download and install the correct version of this driver (you can do this with the FREE version). Or click Update All to automatically download and install the correct version of all the drivers that are missing or out of date on your system (this requires the Pro version – you’ll be prompted to upgrade when you click Update All).

Hopefully the tips above helps you resolve this issue. If you have any questions, please feel free to leave your comments below.


