


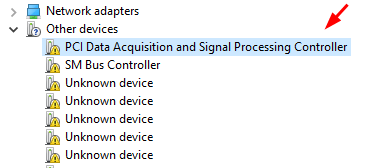
Seeing a “PCI Data Acquisition and Signal Processing Controller” entry with a yellow exclamation mark in Device Manager? Don’t worry. You’re not alone. This often shows up after a Windows update or clean install and usually points to a missing or outdated chipset-related driver.
Despite how technical the name sounds, fixing this issue is straightforward. In this guide, we’ll show you exactly how to update the driver and get everything working again. Read on…
Update your chipset driver manually
📝 Important: PC manufacturers (like Dell, HP, Lenovo, etc.) often customize chipset drivers for their systems. For best results—and to keep those custom features—it’s always better to download drivers from your manufacturer’s website rather than directly from Intel or AMD (unless you built your own PC).
Updating chipset drivers manually can be a bit daunting—especially if you’re not familiar with your system’s hardware. That’s because chipset drivers often come with confusing names, multiple versions, or even bare .inf files instead of a user-friendly installer. But if you’re up for it, here’s how to do it step by step:
- Visit your PC or motherboard manufacturer’s support site.
- Use your exact model number to find the correct driver page, usually under the Support or Drivers & Downloads section.
- Look under the Chipset category and download the latest driver that matches your Windows version. If you don’t see a “Chipset” section, check under Motherboard, System Devices, or just Drivers.
Tip: While downloading the chipset driver, it’s a good idea to grab the network driver for your system — just in case you run into connection issues after installation. - If the download includes an installer (e.g., .exe or .msi file), just run it and follow the prompts. You may need to restart your PC to complete the process.
Dealing with .inf files or driver folders?
If your download doesn’t come with a setup file (.exe or .msi), don’t worry. You can still install it manually using Device Manager:
- Open Device Manager.
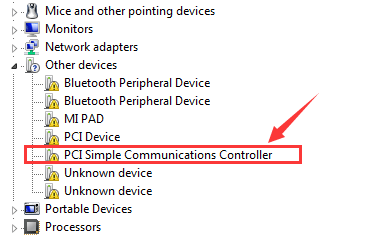
- Right-click the device with a yellow exclamation mark (like “PCI Data Acquisition and Signal Processing Controller”).
- Choose Update driver > Browse my computer for drivers.
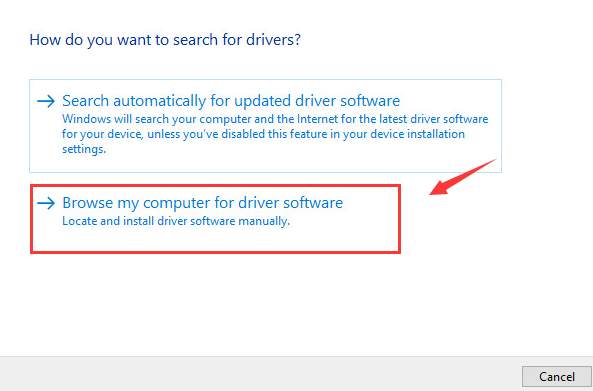
- Select the folder containing the .inf files, then follow the prompts.
- Restart your computer to apply the changes.
The better way: Update your chipset driver automatically
Manually updating chipset drivers can be confusing, even for experienced users. Between unfamiliar driver names, missing installers, and complicated .inf files, it’s easy to run into errors. If you’d rather skip all the hassle, you can do it automatically with Driver Easy.
Driver Easy will automatically recognize your system and find the correct drivers for it. You don’t need to know exactly what system your computer is running, you don’t need to risk downloading and installing the wrong driver, and you don’t need to worry about making a mistake when installing. Driver Easy handles it all.
All it takes is just 2 clicks:
- Download and install Driver Easy.
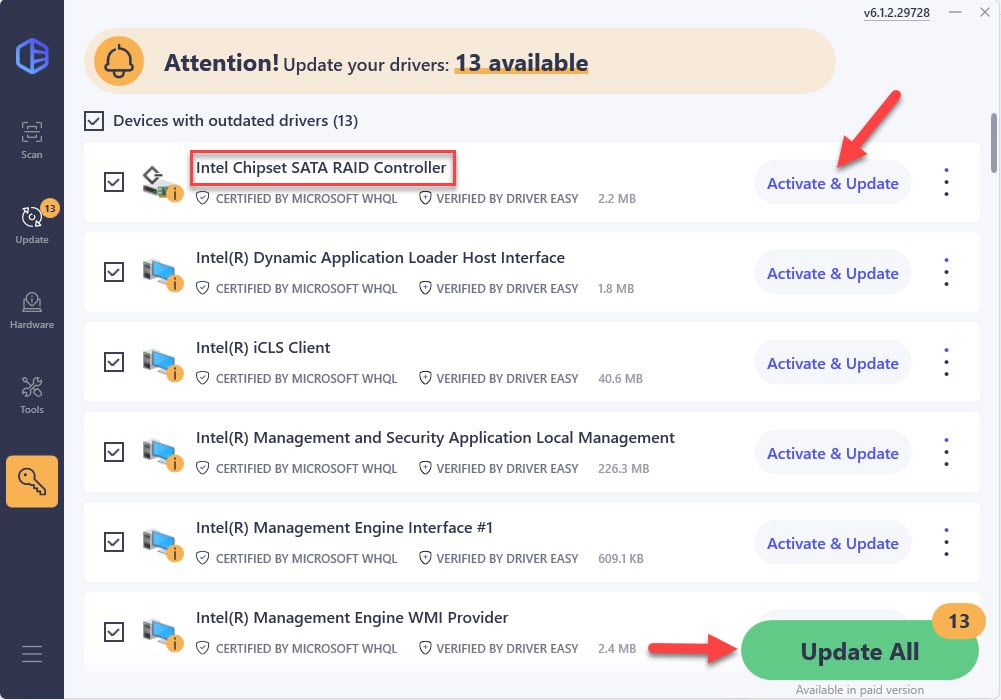
- Run Driver Easy and click Scan Now button. Driver Easy will then scan your computer and detect any problem drivers.

- Check if your chipset driver is flagged in the scan results. If it is, click Activate & Update to start a 7-day free trial or upgrade to Driver Easy Pro. Either option will automatically download and install the latest chipset driver for you.
- Restart your computer for the changes to take effect.
That’s it! Whether you choose the manual route or let Driver Easy do the heavy lifting, getting the right chipset driver installed should clear up the PCI Data Acquisition and Signal Processing Controller issue. If you have any questions or run into trouble, feel free to drop a comment below!

