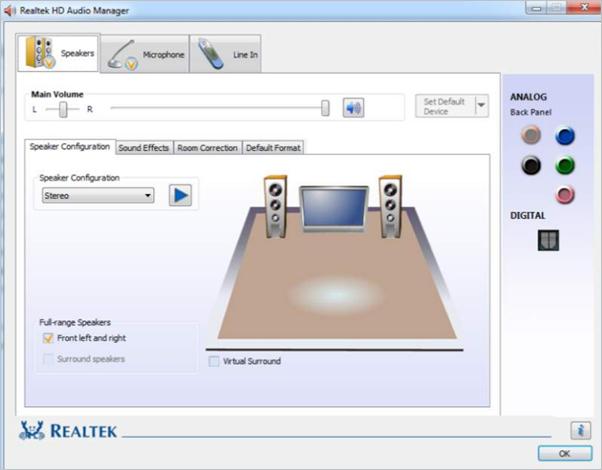
If you find Realtek HD Audio Manager missing on your computer, don’t worry. You can get it back by following the tips below.
Where to find Realtek HD Audio Manager
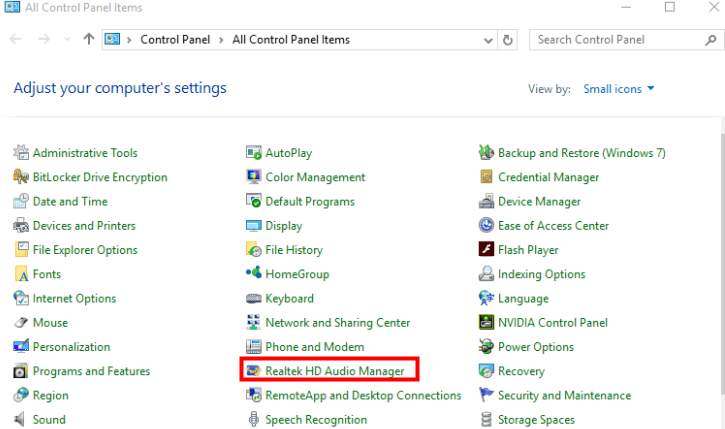
Realtek HD Audio Manager is installed along with the Realtek HD audio driver. If you’ve installed the Realtek HD audio driver on your computer, you usually can find the Realtek HD audio manager in the Control Panel.
What if you can’t find the Realtek audio manager in the Control Panel?
If you can’t find Realtek HD audio manager in Control Panel, you can try to find it in File Explorer.
- Go to C:\Program Files\Realtek\Audio\HDA.
- Double-click on RtkNGUI64.exe. Then you’ll open Realktek HD audio manager.
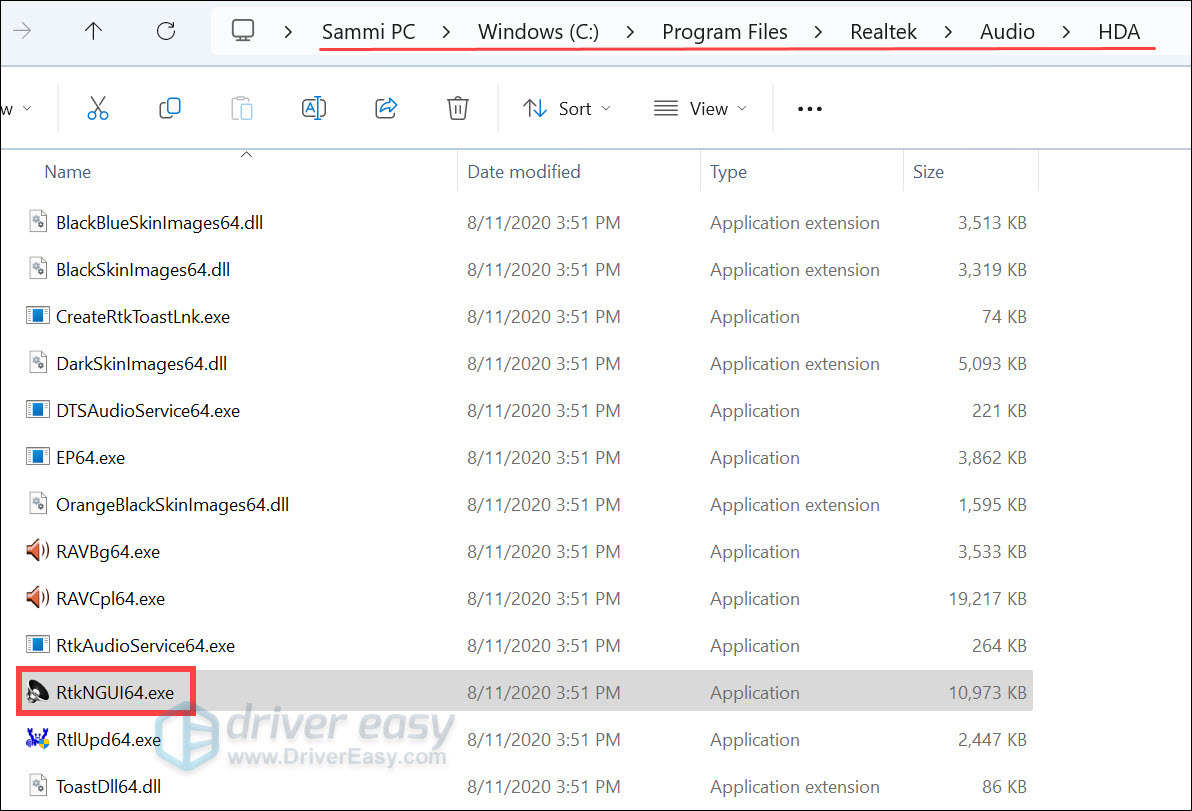
- If there is no response when you double-click it, right-click the executable and select Run as administrator.

If you still can’t find Realtek audio manager, you may need to reinstall Realtek audio manager by updating your Realtek HD audio driver.
How to Reinstall Realtek HD Audio Manager
To reinstall the Realtek HD audio manager, you need to update the Realtek HD audio driver. We’ve put together two methods below for you to download and update the Realtek HD audio driver. You can use them to update the Realtek HD audio driver.
Option 1 – Manually – You’ll need some computer skills and patience to update your drivers this way because you’ll need to find exactly the right driver online, download it, and install it step-by-step.
OR
Option 2 – Automatically (Recommended) – This is the quickest and easiest option. You’re all done with just a couple of mouse clicks – easy even if you’re a computer newbie.
Option 1 – Download and install the driver manually
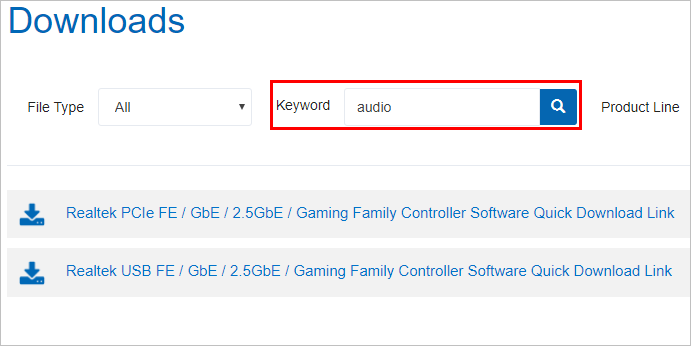
You can go to the Realtek website, find the drivers for your system version, and download them manually.
Once you’ve downloaded the correct drivers for your system, double-click on the downloaded file and follow the on-screen instructions to install the driver.
Option 2 – Automatically update Realtek audio drivers
If you don’t have the time, patience, or computer skills to download and update the driver manually, you can do it automatically with Driver Easy.
Driver Easy will automatically recognize your system and find the correct drivers for it. You don’t need to know exactly what system your computer is running, you don’t need to risk downloading and installing the wrong driver, and you don’t need to worry about making a mistake when installing.
- Download and install Driver Easy.
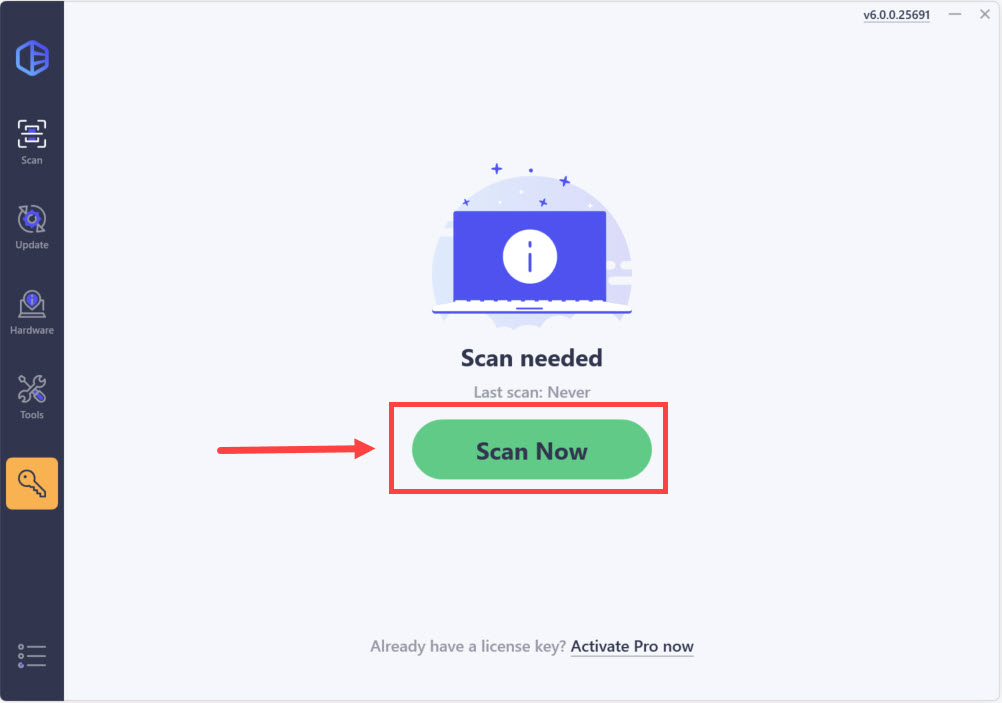
- Run Driver Easy and click the Scan Now button. Driver Easy will then scan your computer and detect any problem drivers.
- Click Update All to automatically download and install the correct version of all the drivers that are missing or out of date on your system.
(This requires the Pro version which comes with full support and a 30-day money-back guarantee. You’ll be prompted to upgrade when you click Update All. If you’re not ready to buy the Pro version, Driver Easy offers a 7-day free trial which includes access to all the Pro features such as high-speed download and one-click install. You won’t be charged anything until your 7-day trial has ended.)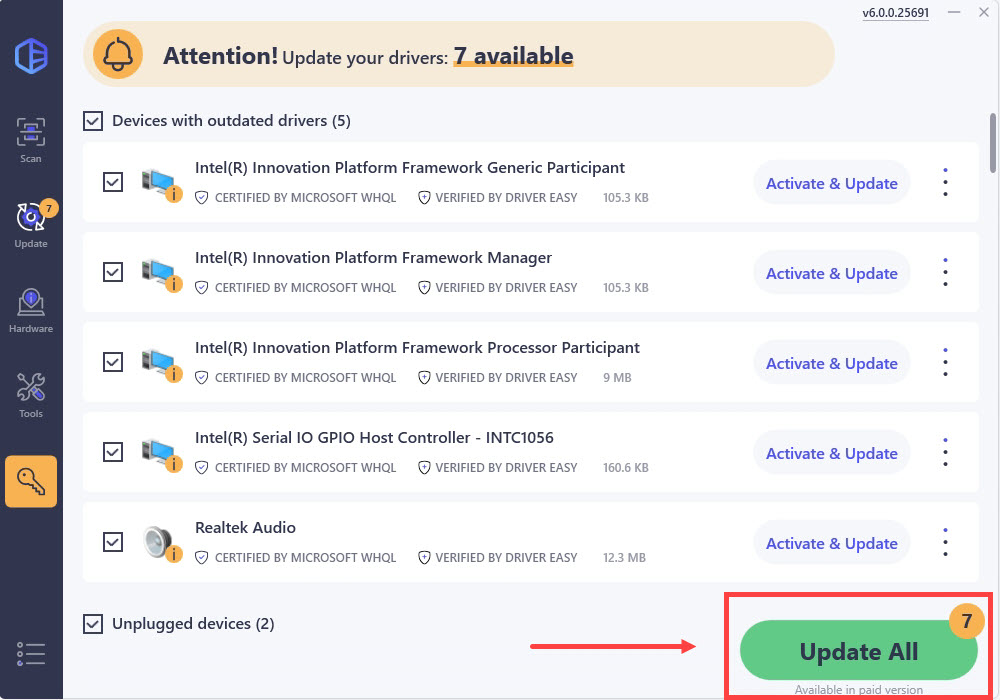
- Restart your computer for the changes to take effect.
If you need assistance, please contact Driver Easy’s support team at support@drivereasy.com.
Hopefully, you find the article helpful. If you have any questions, ideas, or suggestions, feel free to leave a comment below.


