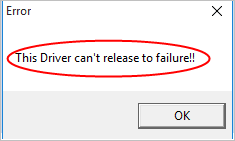
Every time when you start Windows 10, if you see error message saying This Driver can’t release to failure, don’t worry. You can fix it with one of the 3 solutions in this article. You may not have to try them all. Just work your way down until you find the one that works for you.
The cause of the problem is GIGABYTE utility (APP Center) that came along with GIGABYTE motherboards. To fix the problem, just try these 3 solutions:
Solution 1: Download the Latest version of GIGABYTE APP Center
Your current GIGABYTE APP Center might not be compatible with Windows 10. So go to GIGABYTE official download page to check and download the latest APP center, then install it on your computer.
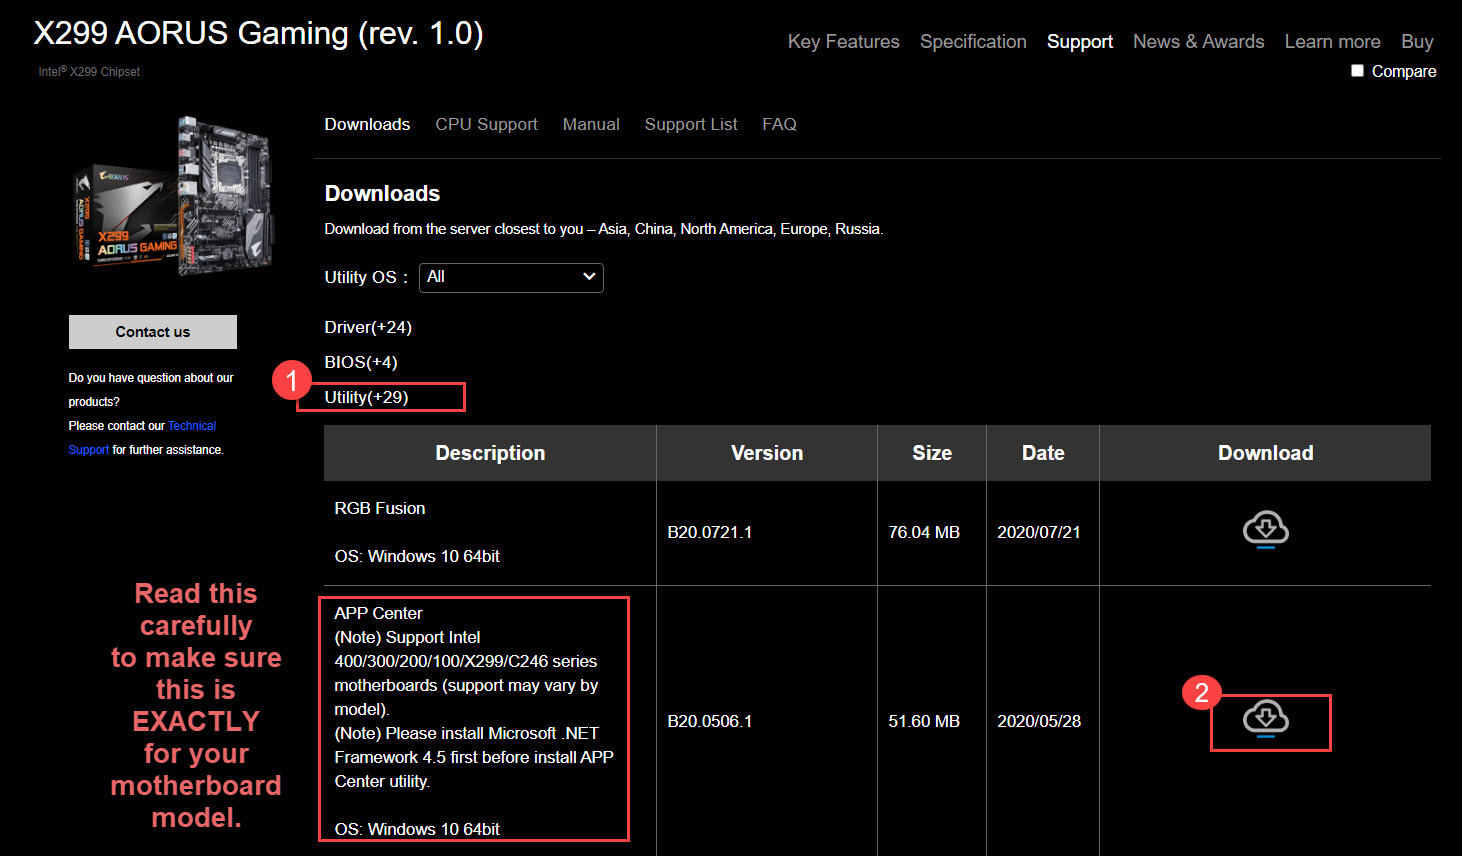
1. Go to the GIGABYTE utility download page.
2. Search for the App Center by Motherboard.

3. Enter Keywords in the search box and start searching.
Alternatively, you can choose Advanced Search (search by Socket, Chipset and Model) to find the matching App Center.
4. Click Download next to the App Center exactly for your motherboard.

5. Run the installation file and follow the on-screen instructions to install.

Hope this solves your This Driver can’t release to failure issue. If unfortunately this solution doesn’t do the trick for you, don’t worry. Check out our next solution below.
Solution 2: Uninstall GIGABYTE APP Center
Go to Programs and Features to uninstall the whole GIGABYTE APP Center. After that, the problem should resolve.
1) Press the Win key + R to invoke the Run box.
2) Copy & paste appwiz.cpl into the box and press enter

3) Right click the GIGABYTE APP Center and select Uninstall.
Solution 3: Update GIGABYTE drivers
In some cases, problematic GIGABYTE drivers can be the culprit. The steps above may resolve it, but if they don’t, try to update the drivers. If you’re not confident playing around with drivers manually, you can do it automatically with Driver Easy.
Driver Easy will automatically recognize your system and find the correct drivers for it. You don’t need to know exactly what system your computer is running, you don’t need to risk downloading and installing the wrong driver, and you don’t need to worry about making a mistake when installing.
You can update your drivers automatically with either the FREE or the Pro version of Driver Easy. But with the Pro version it takes just 2 clicks (and you get full support and a 30-day money back guarantee):
1) Download and install Driver Easy.
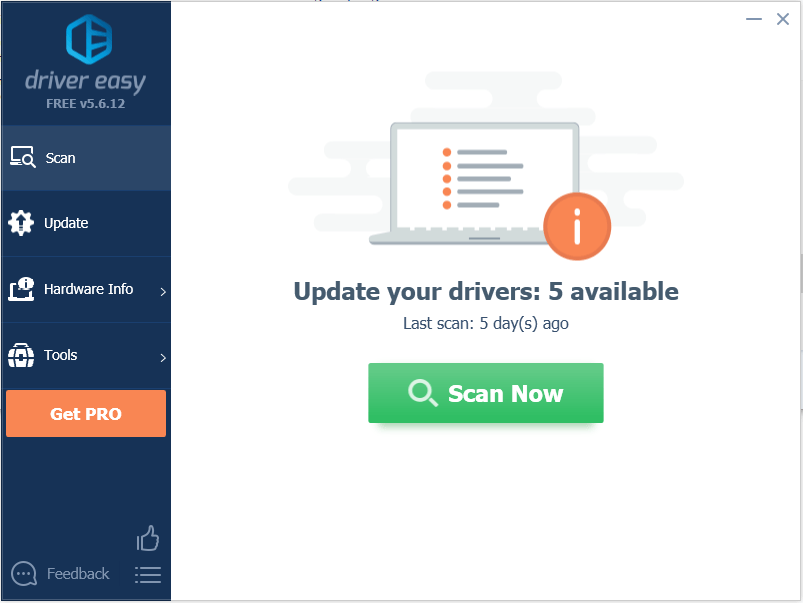
2) Run Driver Easy and click Scan Now button. Driver Easy will then scan your computer and detect any problem drivers.

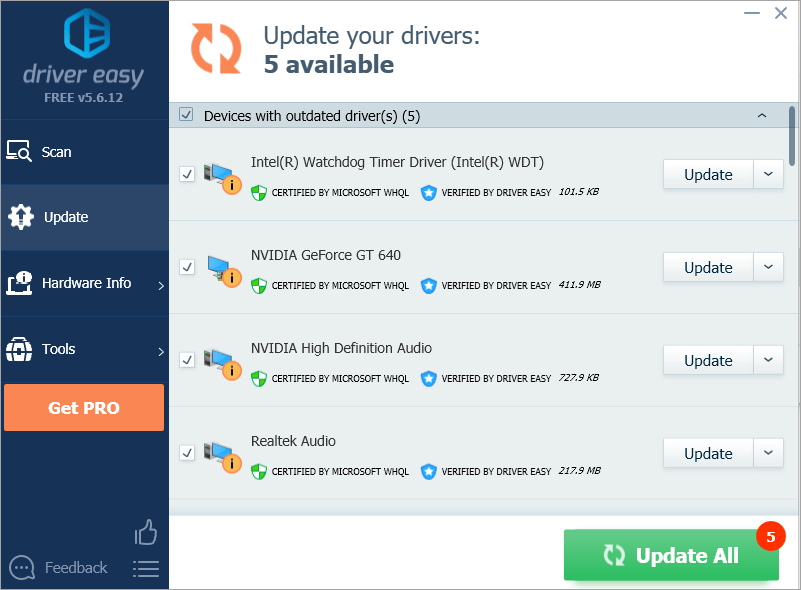
3) Click the Update button to download and install the drivers one by one (you can do this with the FREE version). Or click Update All to automatically download and install the correct version of all the drivers that are missing or out of date on your system (this requires the Pro version – you’ll be prompted to upgrade when you click Update All).

Hopefully you find this article helpful. If you have any questions, ideas or suggestions, feel free to leave a comment below.


