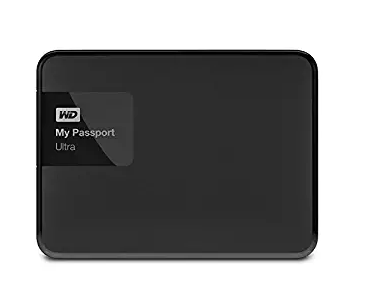
It’s popular to use WD(Western Digital) products for storing the huge amount of your files such as music, videos, photos,etc. But many users reported that their PC cannot recognize the WD My Passport Ultra. Not to worry.
Here in this post, we will be showing you the tried-and-true solutions for you to resolve WD My Passport Ultra not detected error.
Try from the top of the list until you find the one that works:
Solution 1: Try a different USB cable
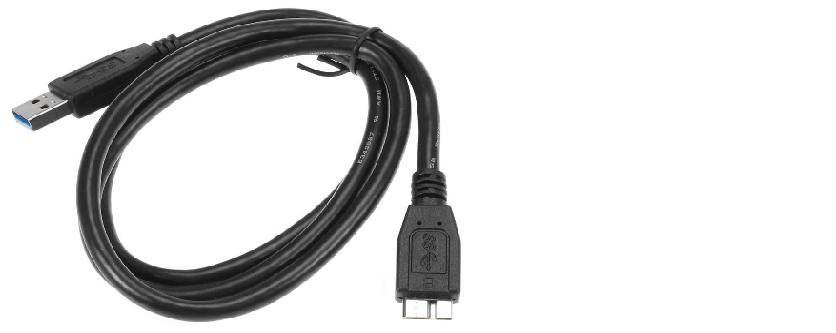
One quick fix to solve the WD My Passport Ultra not detected error is to try another USB cable to connect your WD drive to the computer. Sometimes the USB cable cannot work with every computer, thus make sure to try a new one to see if it works.

Solution 2: Change your WD drive letter and path
Every external disk connected to your computer is assigned a drive letter. It is possible that there’s a conflict with certain disks, which might prevent the system from accessing the data, hence the error. So you can try assigning a different letter for your hard drive.
Here are the steps:
- On your keyboard, press the Windows logo key and R at the same time to bring up the Run box, then type diskmgmt.msc into the box and click OK.

- In Disk Management, right-click on the faulty drive and select Change Drive Letter and Paths….

- Click Change….

- Choose a different letter for your hard drive, then click OK to confirm.

- Once finished, check if you can assess the hard drive content properly.
- If your WD hard drive doesn’t have a drive letter when in step 2, click Add instead and choose the drive letter beside Assign the following driver letter. Then click OK to save the setting.

Restart your computer to see if your WD product can be successfully detected.
Solution 3: Update your USB controller
If the USB controller on your Windows is old, corrupted, or missing, your WD product cannot be detected then. You can solve it by updating your USB controller software.
There are two ways you can get the right drivers for your USB controller: manually or automatically.
Manual driver update – You can update your USB controller software manually by going to your computer manufacturer’s website, and searching for the most recent correct driver for your USB controller. Be sure to choose only driver that is compatible with your variant of Windows versions.
Automatic driver update – If you don’t have the time, patience or computer skills to update your USB controller driver manually, you can, instead, do it automatically with Driver Easy. Driver Easy will automatically recognize your system and find the correct drivers for your exact USB controller, and your variant of Windows versions, and it will download and install them correctly.
You can update your drivers automatically with either the 7 days free trial or the Pro version of Driver Easy. It takes just 2 clicks, and you get full support and a 30-day money-back guarantee with the Pro version:
- Download and install Driver Easy.
- Run Driver Easy and click the Scan Now button. Driver Easy will then scan your computer and detect any problem drivers.

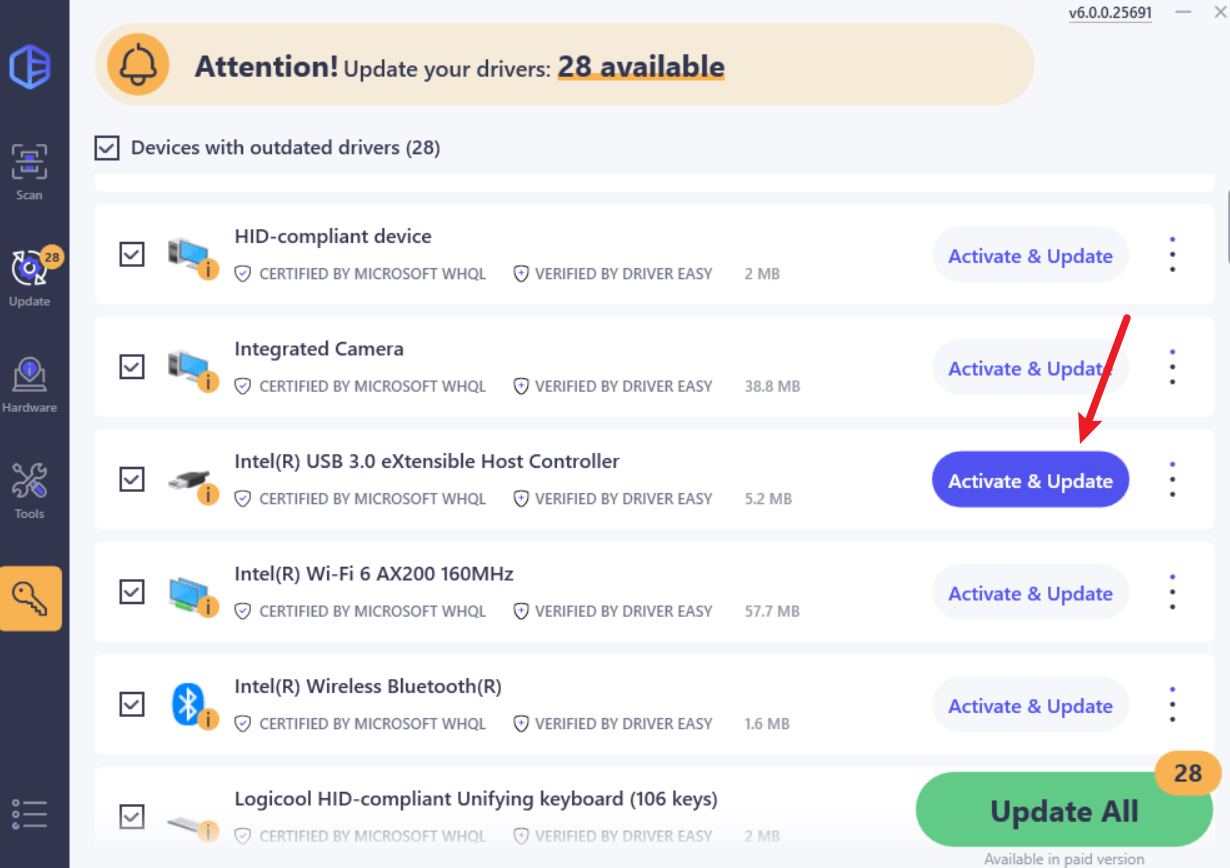
- Click the Activate & Update button next to the flagged device to automatically download and install the correct version of this driver.
Or click Update All to automatically download and install the correct version of all the drivers that are missing or out of date on your system (You’ll need the Pro version for this – when you select Update All, you’ll get a prompt to upgrade. If you’re not prepared to purchase the Pro version yet, Driver Easy provides a 7-day trial at no cost, granting access to all Pro features like fast downloads and easy installation. No charges will occur until after your 7-day trial period ends.)
- Restart your computer and check to see if Windows can successfully detect your WD device.
Hopefully you find this article helpful. If you have any questions, ideas or suggestions. Feel free to leave a comment below.


