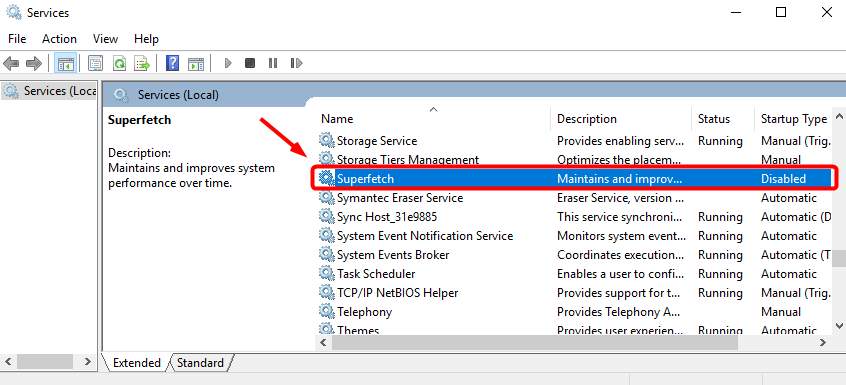
What is Superfetch?
To make it easier to understand, Superfetch is a service that helps to decrease boot time and make must-load programs more efficiently. Let’s take an example and you can see for yourself how does Superfetch work exactly. Picture this: you just boot your PC. Then you double-click one of your Word documents. It takes about 5 seconds to open. Then you double-click another Word document, this time, it takes just about 2 seconds. You see, Superfetch pre-loads certain apps based on your usage patterns, and the pre-load files are stored in your RAM. In doing so, you’re able to open your programs or apps so much faster and thus with better user experience. Or so Microsoft claims. As mentioned, you may find that Superfetch takes up much of your CPU usage and makes your PC slow to use. Read on and see what you should about it.Should I Disable or Enable Superfetch?
Well, before you move on to disable or enable your Superfetch service, you should know that there is no hard proof whether Superfetch service would increase your PC performance in general. If you open and close certain apps or programs a lot then you should leave Superfetch enabled. If Superfetch service takes up too much of your CPU or Memory usage to the point where it significantly slow down your PC, then you should definitely disable it. You should also know that Superfetch service is fairly easy to disable or enable. You may need to test both options to know for sure what to do.How can I Disable Superfetch?
If you decide to disable Superfetch, especially when it takes up massive CPU or Disk usage on your system, here is how you do it: 1) On your keyboard, press Windows key and X at the same time, then chooseCommand Prompt (Admin).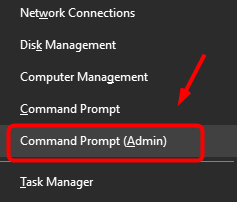
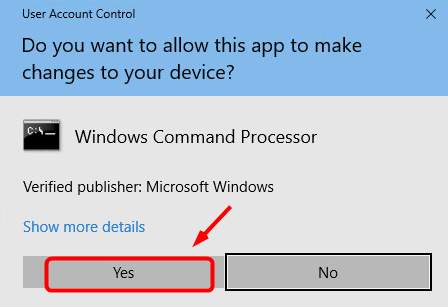
net.exe stop superfetch
4) Hit Enter on your keyboard.
 Wait for a few minutes to see if your computer starts performing better.
If disabling Superfetch doesn’t help you solve your massive CPU or Disk usage, it may be caused by a device driver.
You can automatically update all your device drivers to the latest correct version with Driver Easy.
Driver Easy will automatically recognize your system and find the correct drivers for it. You don’t need to know exactly what system your computer is running, you don’t need to risk downloading and installing the wrong driver, and you don’t need to worry about making a mistake when installing.
You can update your drivers automatically with either the FREE or the Pro version of Driver Easy. But with the Pro version it takes just 2 clicks (and you get full support and a 30-day money back guarantee):
1) Download and install Driver Easy.
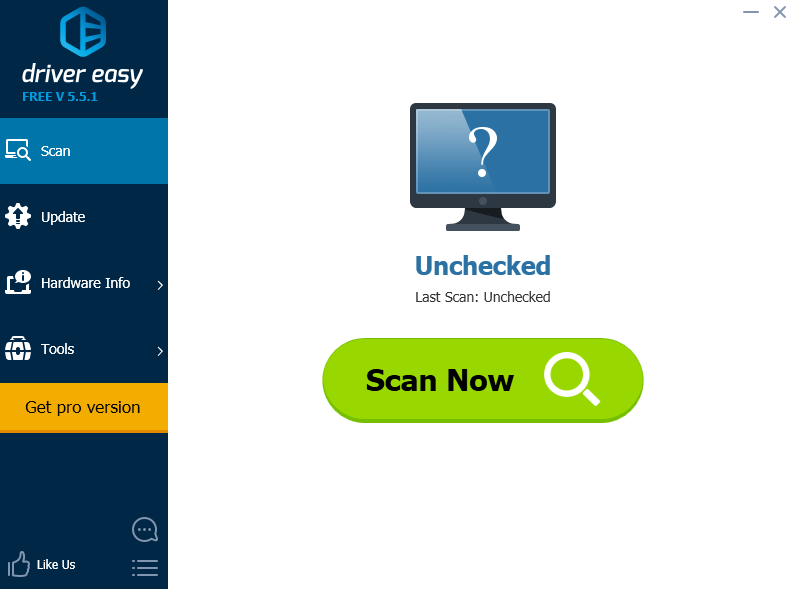
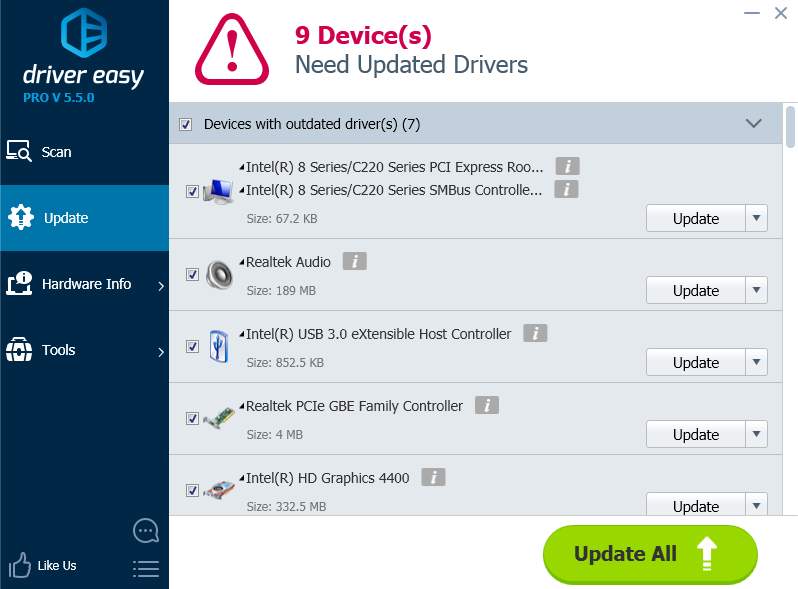
2) Run Driver Easy and click Scan Now button. Driver Easy will then scan your computer and detect any problem drivers.
How can I Enable Superfetch?
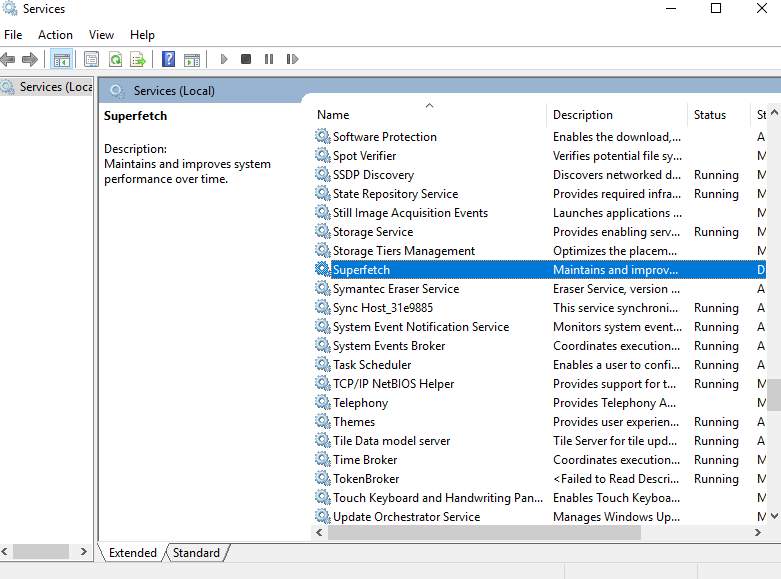
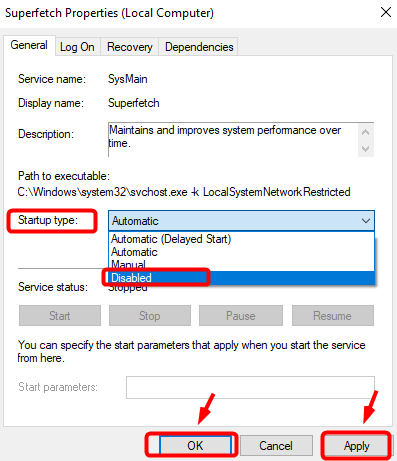
If disabling Superfetch does more harm to your PC than good, you should consider getting it back. Here is how you do it: 1) On your keyboard, press Windows logo key and R at the same time. Then type in services.msc and press Enter button.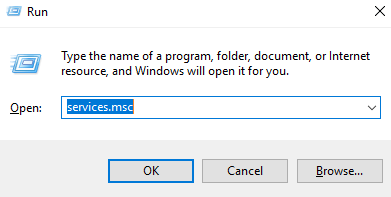
0 Comments
Most Voted


