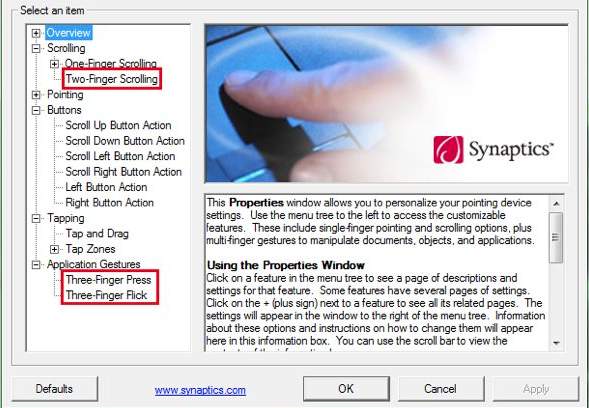
For laptop users, you must be pretty clear about this device on your laptop” Synaptics touchpad. On some models of the laptops, touchpad is really helping their users a lot with their designed gestures.
But at times, you might find the touchpad you have is not working quite agile as it used to be. In such case, the first thing come to your mind is to get the driver for your Synaptics touching pad or other pointing devices updated.
In this post, we will introduce some of the most effective ways to get your Synaptics pointing devices updated on Windows 10 and 11.
1: Update via Device Manager
2: Update Manually
3: Update Automatically (Recommended)
Method 1: Update via Device Manager
You should always consider getting your drivers update via Device Manager if you are to update drivers. But there is no guarantee that you are getting the latest version of the driver you need in this way.
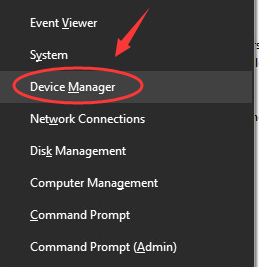
1) Press Windows key and X at the same time, then choose Device Manager.
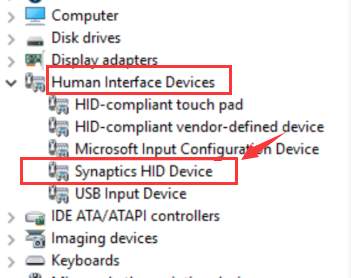
2) Locate and expand category Human Interface Devices, and then double click the Synaptics device driver that you can see here.
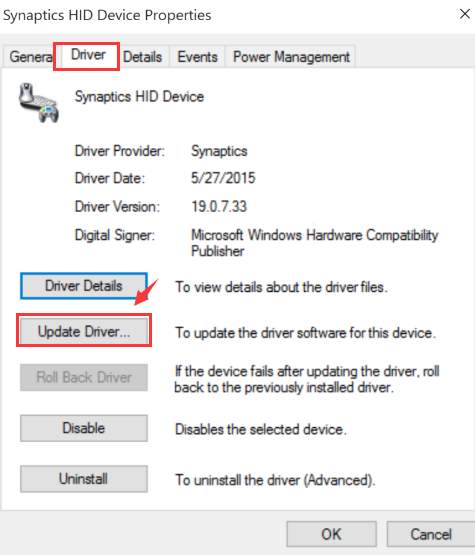
3) Go to Driver tab, then choose Update Driver….
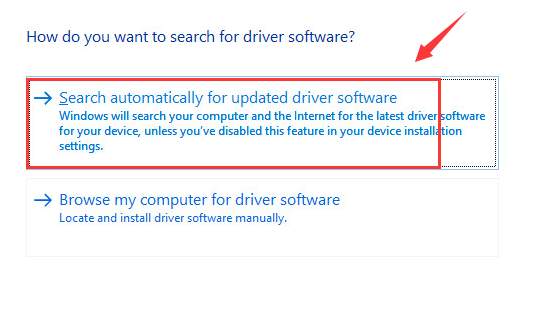
4) Choose Search automatically for updated driver software.
5) Just as mentioned earlier, there is no guarantee that you can get the latest version of device driver in this way. So if you are seeing the otification below:

please consider getting your drivers updated in some other way.
NOTE: Synaptics touchpad device drivers are customized and supported by notebook manufacturers to meet specific requirements for their individual products.
To make sure that you install the correct driver for your Synaptics device, it is highly recommended that you go to the manufacturer website of your laptop or notebook and search for the drivers needed there.
Here, we are to choose another way. We are to download the Synaptics drivers first and then install by ourselves.
1) Go to Synaptics website, Drivers section. Choose accordingly the correct driver for your device and then click the Download button on the right corner to get the driver downloaded to your computer.

2) As mentioned earlier, notebook manufacturer might make some changes to the generic driver from this website so as to meet their individual product requirements.
To ensure that the driver is installed correctly without causing you much trouble, it is highly suggested that you make a restore point first before the installation.
How to enable and create a restore point on Windows 10 and 11?
3) When the restore point is created, and the file is done downloaded, we can move on to the installation of the device driver.
4) The file you downloaded is a .zip file, you should un-zip it first, and then double click the setup file in it to run the installation as instructed.
Method 3: Update Automatically (Recommended)
If you don’t have the time, patience or computer skills to update your drivers manually, you can do it automatically with Driver Easy.
Driver Easy will automatically recognize your system and find the correct drivers for it. You don’t need to know exactly what system your computer is running, you don’t need to risk downloading and installing the wrong driver, and you don’t need to worry about making a mistake when installing.
All it takes just 2 clicks:
1) Download and install Driver Easy.
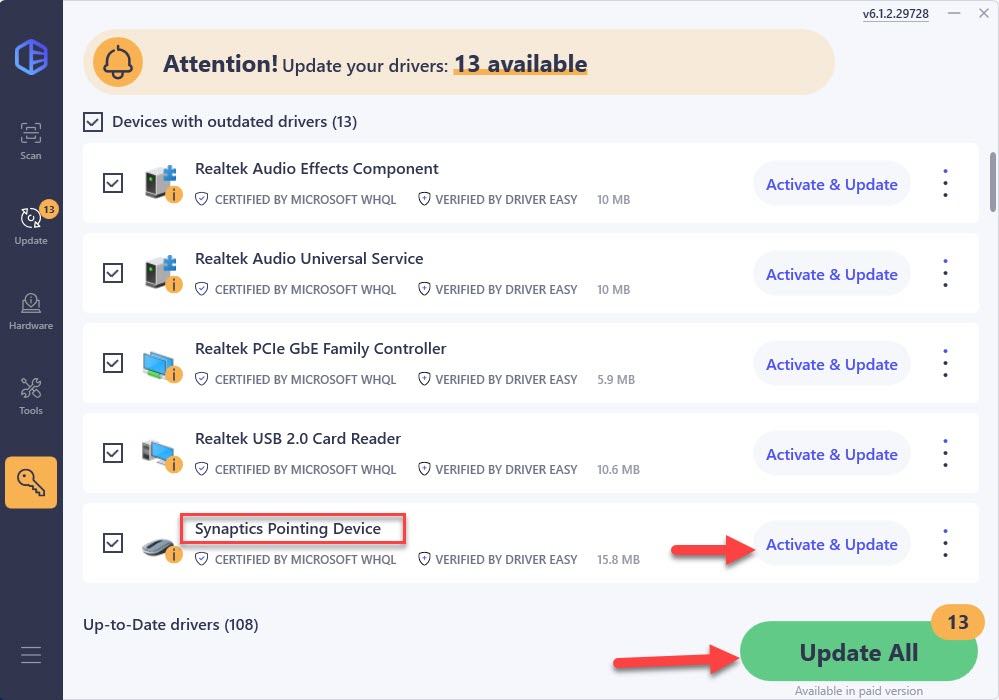
2) Run Driver Easy and click Scan Now button. Driver Easy will then scan your computer and detect any problem drivers. 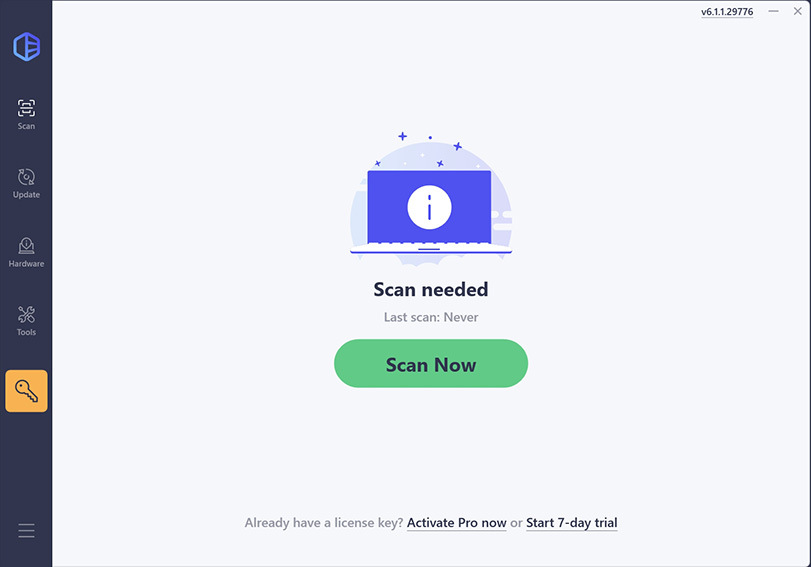
3) Check the scan results to see if your Synaptics device is flagged as outdated. If yes, you can update it automatically using either the Free Trial or Pro version.
