It’s essential to keep your Intel drivers up-to-date so that your computer can run in tip-top shape and nip all sorts of common problems like computer flickering, freezing, sound not working issues in the bud.
In this post, we’re going to show you 3 methods to get the latest Intel drivers.
3 options to update Intel drivers
There’re 3 ways for you to update your Intel drivers in Windows 10, 8.1 and 7. Just browse through the list and take your pick:
- Update Intel drivers from Device Manager
- Update Intel drivers from manually
- Update Intel drivers automatically (Recommended)
Option 1: Update Intel drivers from Device Manager
Updating drivers from Device Manager in our Windows can be a quick option. But one flaw in this method is that Windows can fail its job in keeping up with Intel’s drivers, hence returning you with no driver releases available messages. You can jump into Option 2 or Option 3 to work around this problem.
So, to update our Intel drivers from Device Manager:
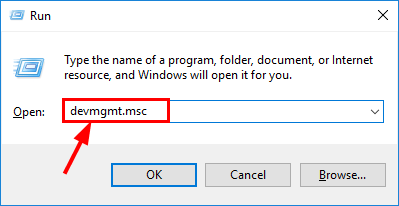
- On your keyboard, press the Windows logo key
 and R at the same time, then type devmgmt.msc into the box and press Enter.
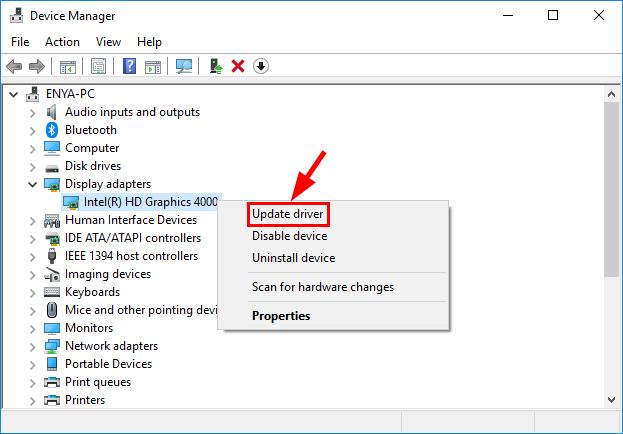
- Right-click on the Intel driver in need of an update and click Update driver.
- Click Search automatically for updated driver software.
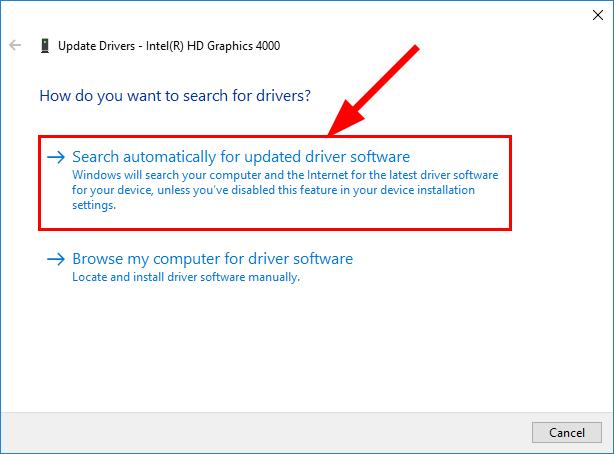
Your Windows will try its best to find the latest Intel driver available for your computer. Then wait a bit and see if you’re offered a driver update:
- If yes, follow the on-screen instructions, skip step 6 and restart your computer to finish the update process.
- If no, proceed with step 6).
6) You see the following result:
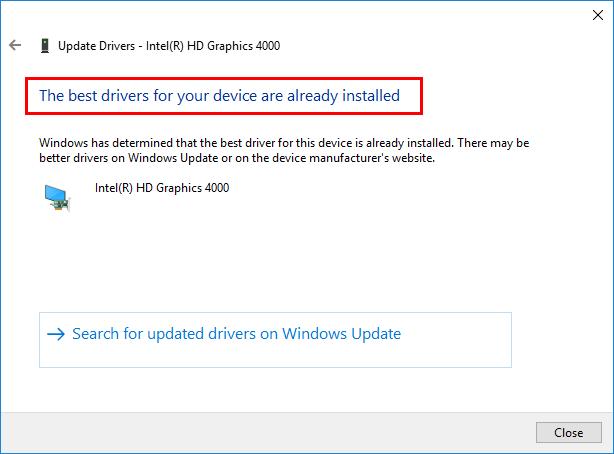
It means Windows can’t find you an up-to-date Intel driver and that you might have to check other methods to get it.
Option 2: Update Intel drivers manually
In Method 2, we’re to download our Intel driver directly off the official website and install it on our own. And unless you know the exact Intel drivers in need of an update & the variant of your Windows Operating System, it can present certain levels of difficulty.
- Go to Intel download center.
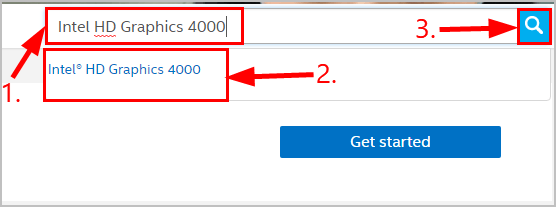
- Type the model of your Intel product in the search box, and click on the model of your Intel product once it pops up underneath. Then click on the search icon
 .
.
Click on the result that matches for your Windows OS.
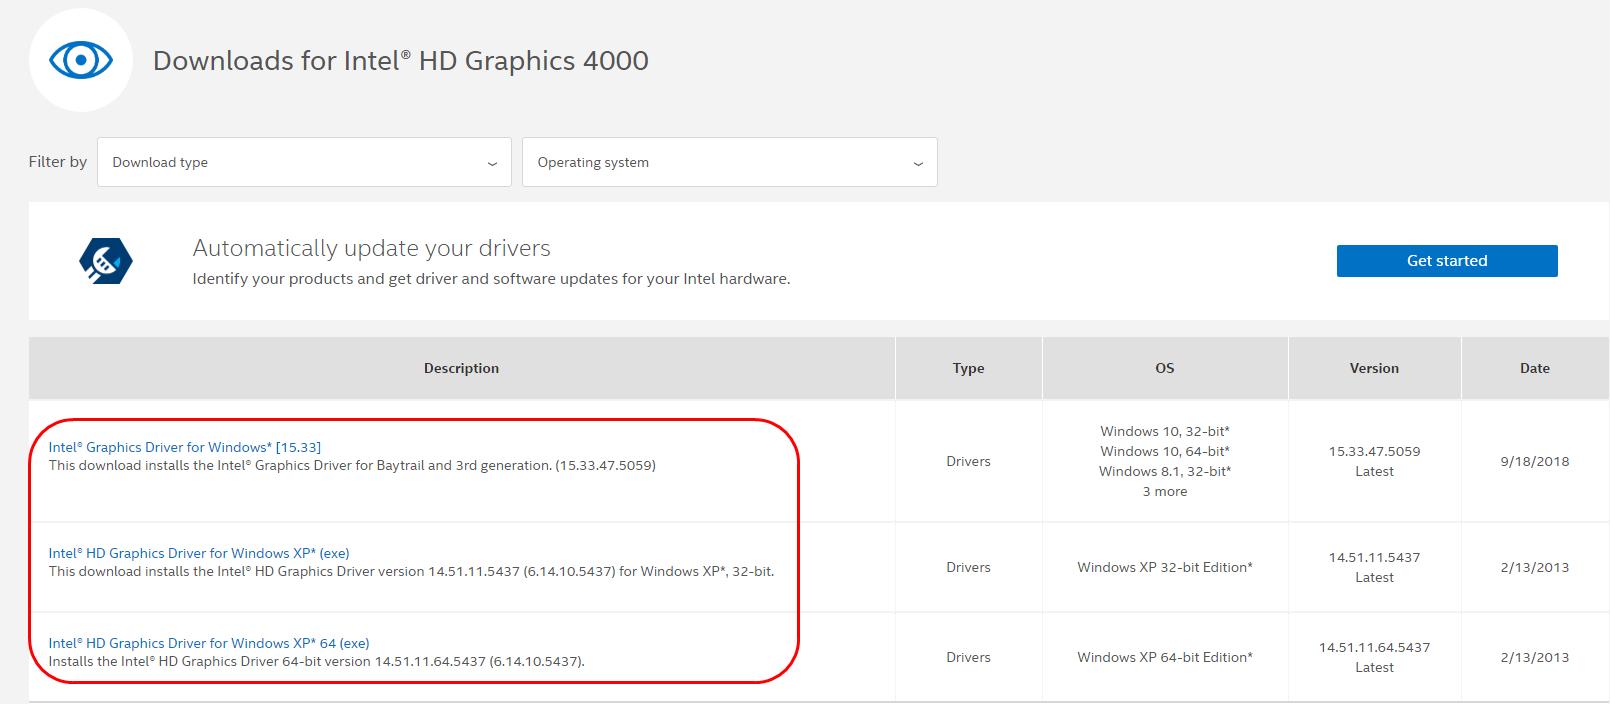
4) Choose the right .exe file to download. Then double-click on the downloaded file and follow the on-screen instructions to finish the update.
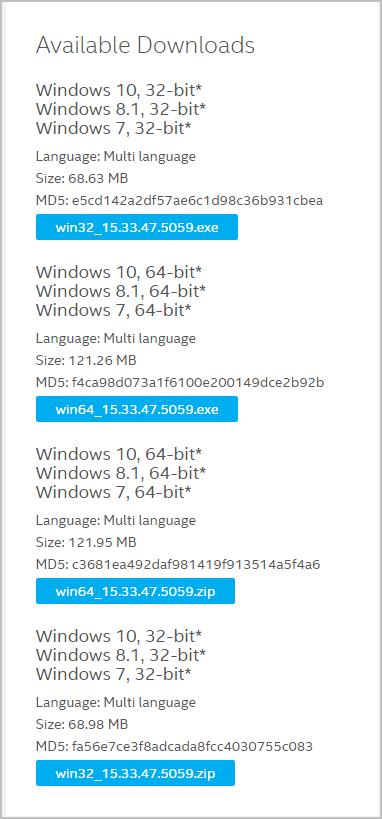
5) Restart your computer for the changes to take effect.
Option 3: Update Intel drivers automatically (Recommended)
If you’re not confident playing around with drivers manually, you can do it automatically with Driver Easy.
Driver Easy will automatically recognize your system and find the correct drivers for it. You don’t need to know exactly what system your computer is running, you don’t need to risk downloading and installing the wrong driver, and you don’t need to worry about making a mistake when installing. Driver Easy handles it all.
You can update your drivers automatically with either the FREE or the Pro version of Driver Easy. But with the Pro version it takes just 2 clicks (and you get full support and a 30-day money back guarantee):
- Download and install Driver Easy.
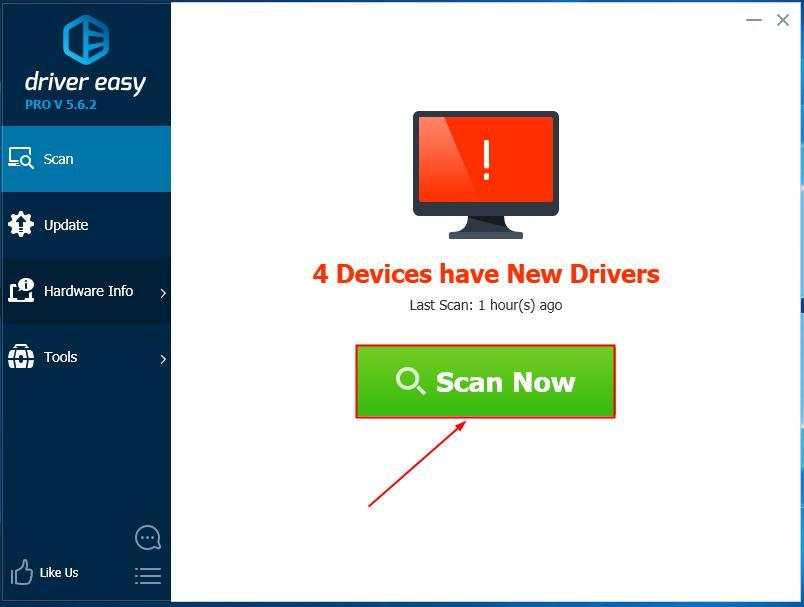
- Run Driver Easy and click the Scan Now button. Driver Easy will then scan your computer and detect any problem drivers.
- You can upgrade to the Pro version and click Update All to automatically download and install the correct version of ALL the drivers that are missing or out of date on your system.
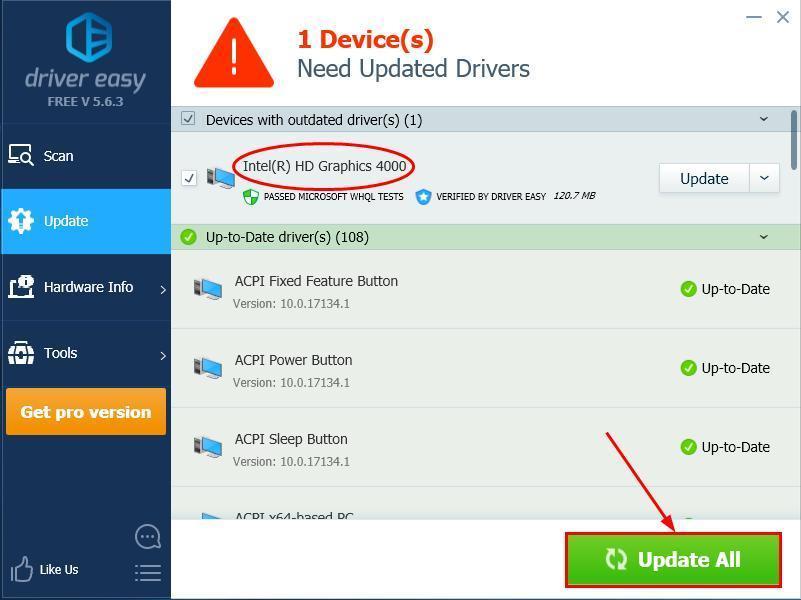 You can also click Update to do it for free if you like, but it’s partly manual.
There you go – 3 easy ways to get the latest Intel drivers for your Windows 10/8/7. Hope this helps and feel free to drop us a comment if you have any further questions.


