


If you’re dealing with a blue screen of death (BSOD) error saying VIDEO SCHEDULER INTERNAL ERROR, you’re not alone. Many Windows users have reported this issue. The good news? It’s usually fixable — and we’ll walk you through how.
4 fixes for Video Scheduler Internal Error
Here are 4 fixes for you to try to fix the Video Scheduler Internal Error. You don’t need to try them all; just work your way down and find the one works for you.
The screenshots in this guide are taken on Windows 10, but the steps also apply to Windows 11. The interfaces may look slightly different, but the instructions stay the same.
- Check for possible system file and hard drive corruption
- Update device drivers
- Update available Windows Updates
- Reinstall faulty drivers
- Other workarounds
1: Check for possible system file and hard drive corruption
Corrupted system files or faulty hard drive is the most likely reason for the Video Scheduler Internal Error error. To check if your system files or hard drive is at fault:
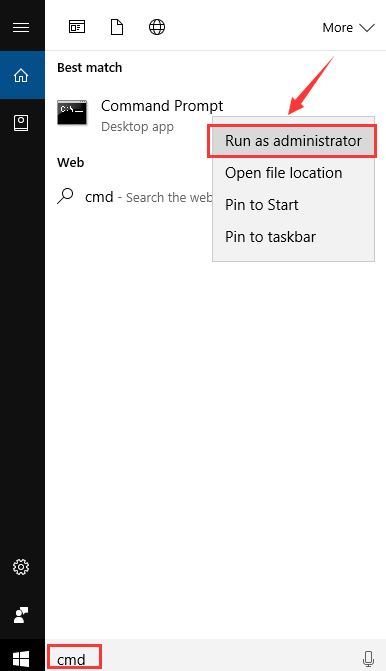
1) On your keyboard, press the Windows logo key  and type cmd. Right-click Command Prompt and click Run as administrator.
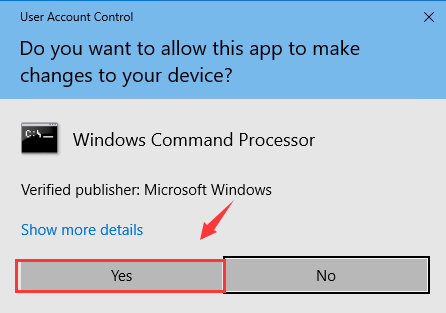
Click Yes to continue.
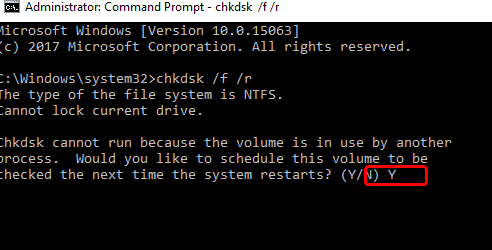
2) Type chkdsk /f /r, then press Enter on your keyboard.
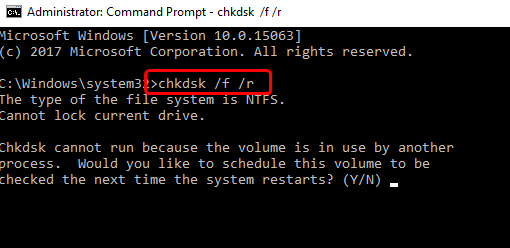
3) Press Y on your keyboard.
4) Restart your computer so Windows will perform a hard disk check.
5) After the restart, press the Windows logo key and type cmd. Right-click Command Prompt and click Run as administrator.
6) Type sfc /scannow and press the Enter key on your keyboard.
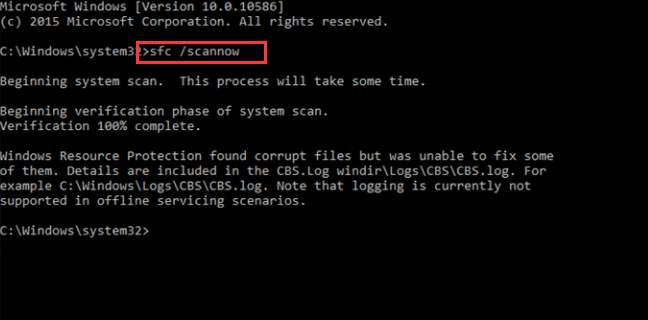
Wait for a while with patience so Windows will help you detect if there is any faulty files in your system and help get rid of them.
7) See if the Video Scheduler Internal Error is gone now.
2: Update device drivers
The Video Scheduler Internal Error error can also be caused by an outdated, incorrect or corrupt system driver. You should verify that all your devices have the right driver, and update those that don’t.
There are two ways you can get the right drivers for system devices: manually or automatically.
Manual driver update – You can update your device drivers manually by going to the manufacturer’s website for your hardware devices, and searching for the most recent correct driver for each. Be sure to choose only drivers that are compatible with your variant of Windows 10.
Automatic driver update – If you don’t have the time, patience or computer skills to update your system drivers manually, you can, instead, do it automatically with Driver Easy. Driver Easy will automatically recognize your system and find the correct drivers for your exact video card and monitor, and your variant of Windows 10, and it will download and install them correctly:
1) Download and install Driver Easy.
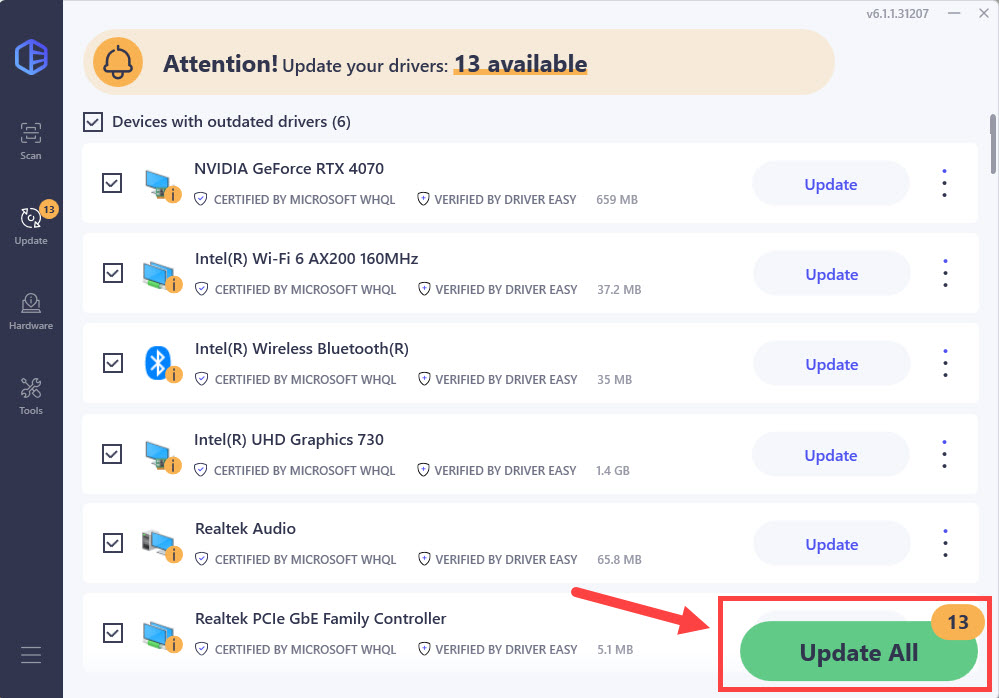
2) Run Driver Easy and click the Scan Now button. Driver Easy will then scan your computer and detect any problem drivers.

3) Click Update All to automatically download and install the correct version of all the drivers that are missing or out of date on your system (this requires the Pro version which comes with full support and a 30-day money-back guarantee. You’ll be prompted to upgrade when you click Update All).
Alternatively, you can start a 7-day Free Trial, which gives you access to all premium features. After the trial, you can upgrade to the Pro version.
3: Install available Windows Updates
Outdated or faulty system patches is another big reason why you’re having a blue screen of error like Video Scheduler Internal Error. You can upgrade your system patches to fix it. Here is how:
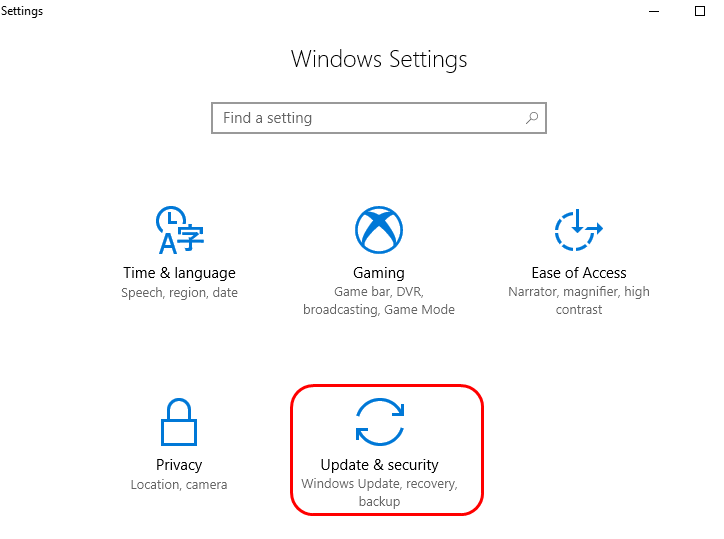
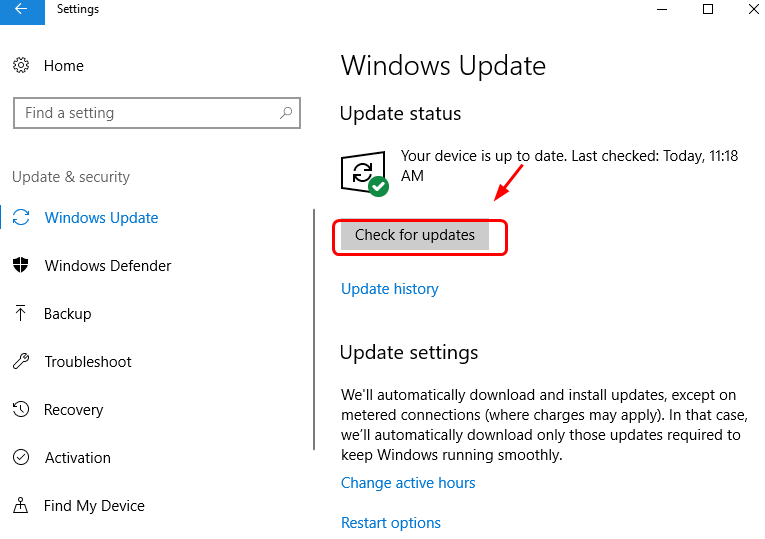
1) On your keyboard, press the Windows logo key and I at the same time. Click Update & security.
2) Click Check for updates.
3) See if the Video Scheduler Internal Error is fixed now.
4: Reinstall faulty drivers
Faulty drivers could be the cause of Video Scheduler Internal Error as well. To fix it:
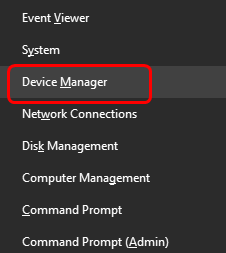
1) On your keyboard, press the Windows logo key and X at the same time, then click Device Manager.
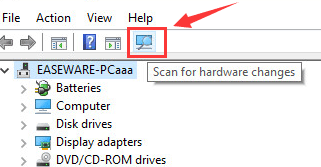
2) Click Scan for hardware changes.
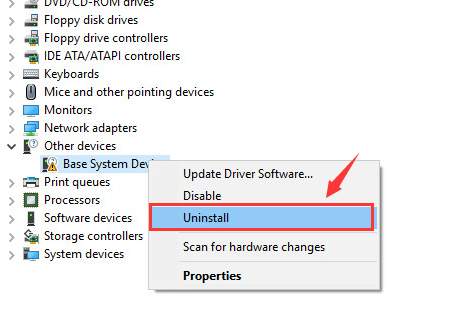
3) See if you can spot any device driver with some unusual mark next to it, such as a yellow exclamation mark, a question mark etc.
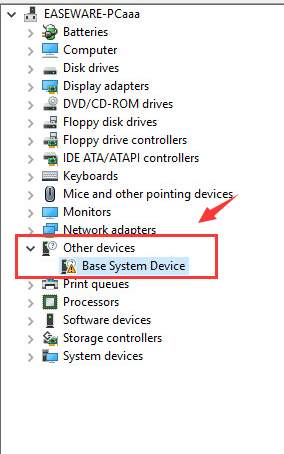
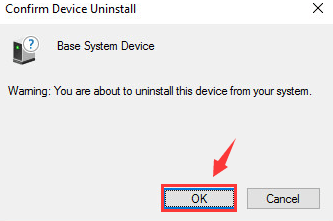
4) If you see such a device, or devices, right-click it or them and click Uninstall.
When prompted with the confirmation, click OK to continue.
5) Search on the support website of the manufacturer of this device driver, download and install the driver manually.
If you don’t have the time, patience, or tech skills to update your display card driver manually, let Driver Easy handle it for you. It saves you time, spares you the hassle, and it’s risk-free to try — you get a 30-day money-back guarantee and 24/7 professional support.
Other Workarounds
1) Undo whatever changes you recently made to your system. For example, if you’ve recently added certain hardware to your PC, remove it. If you’ve installed some programs, uninstall them or get them upgraded to the latest versions available.
3) If none of the above methods work, you might want to check your hardware to see if it’s the culprit. Check to see if your graphics card is at a good state. If it’s broken, get a new one.
Sometimes, there might be an incompatibility problem between your system and certain hardware. You might want to remove such hardware to stop this problem from happening again.
4) A refresh or reset on your version of Windows is your last resort. For more information as to how to reset your Windows 10, please refer to this post here.

More often than not its due to a hardware issue, specifically power delivery to the gpu or rather a lack there of along with the stability of the delivery. If comfortable enough with electrical surface mount components, check for any potentially missing components, especially caps. Turning down clock speeds and disabling hardware acceleration can help limp it along, but ultimately this is not a good one to get.
Can also be caused by heavy videocard bending in its slot – lie the tower on its side and see if it fixes. Ensure adequate airflow if you try this.
Fix #1, step #4 – restarted laptop. It’s been “scanning and repairing drive” at 10% complete for over half an hour. Do I let it keep trying? Can I safely stop this process?
3 Months later.. is it still scanning and repairing? 😛
What ended up happening?
Lol. I left it running overnight. By the morning it was working, but it kept giving me trouble, so I ended up taking it to the geeks.
Ok. This works if you can operate on the PC eventually. But my PC restart on every 5 seconds give or take.
Updated drivers, windows, scanned for errors, used driver easy and rolled back still getting the BSOD video scheduler error. Laptop is not even a year old could it be possible the problem is having a dedicated Nvdia video card and the standard Intel GPU?
Well it will probably help if i update from versiom 1540 to version 1709 🙂
The first fix my bluescreen problem but it make my pc run very laggy when playing games that i’ve played before. Help me
Did you create a restore point if so you can restore it from when your system is working fine if not you can follow this steps actually work for me..
Solution 1. Reinstall the driver if you have A discrete GPU
Solution 2. Install motherboard chipset if you have integrated GPU.
Hi there! On my side, I’ve tried everything you can imagine about the drivers, memory test, regedit changes, installing and uninstalling, modifying graphic card controls, re-installing Windows and more and more… What works for me was to make some changes to the overclocking frequency of my graphic card. Finally, everything seems to work fine now.
Where did you change that. I can’t find a solution for this, I’ve tried everything
How? and what changes did you make?
Where????
how i can do this
I have been having BSoD issues since I first built my pc. When It would go to sleep it would return and crash. I turned sleep off and “fixed” the problem. Now every great once and awhile It has been giving me “video_scheduler_interal…” I just ran thru this trouble guide and performed everything and no faults found. I also did a fresh install of windows once already. Build a custom Pc they said..
For the first fix, I also have an E:/ Drive which is where I save all my games to. Since I got this BSoD while playing a game and I have not recently installed anything new would there be any point to running chkdsk e: /f /r?
Hi, John.
You can try that as well.
Hi,
Does it take a long time in scanning and repairing drive? I’m stuck st 12% for an hour now. I fear it might have destroyed it. I followed the cmd process. Please reply.
chkdsk c: /f /r
Scan not moving forward from 10 percent.