


1. Unplug your external devices
Sometimes, your PC’s external devices can be the cause of the black screen problems, for example, when you have too many external devices plugged in. Unplug all your external devices and then plug them back on one by one. This helps you determine which device is causing the problem. Once you find out the faulty device, you need to contact its manufacturer and see if they can provide support.2. Reinstall display card driver
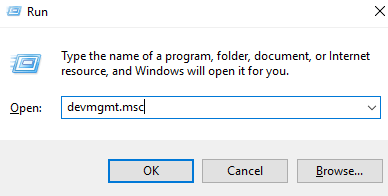
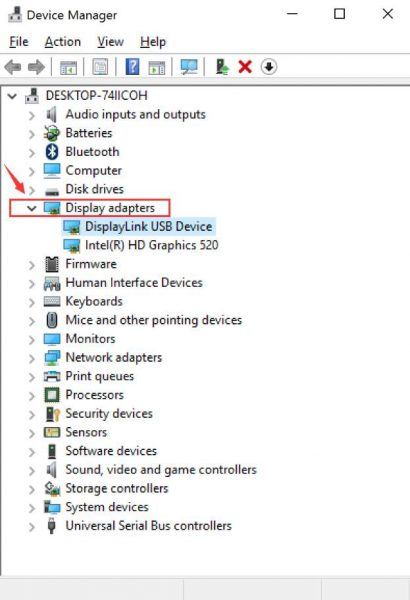
Note: You should do the uninstall in Safe Mode. Faulty display card drivers can be the cause of this problem as well. You can reinstall the correct display card driver to your system and get this problem solved: 1) On your keyboard, press the Windows logo key and R at the same time. Type devmgmt.msc and press Enter.
 3) Click Driver and Uninstall.
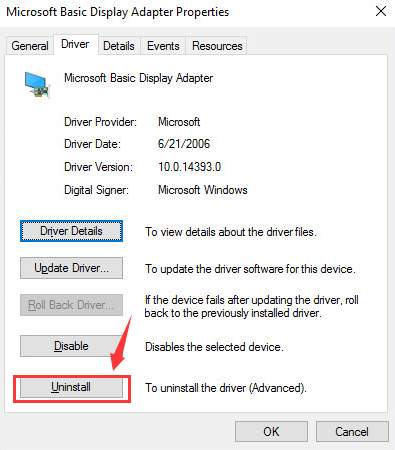 4) Click Yes.
 5) Restart your PC.
3. Update display card driver
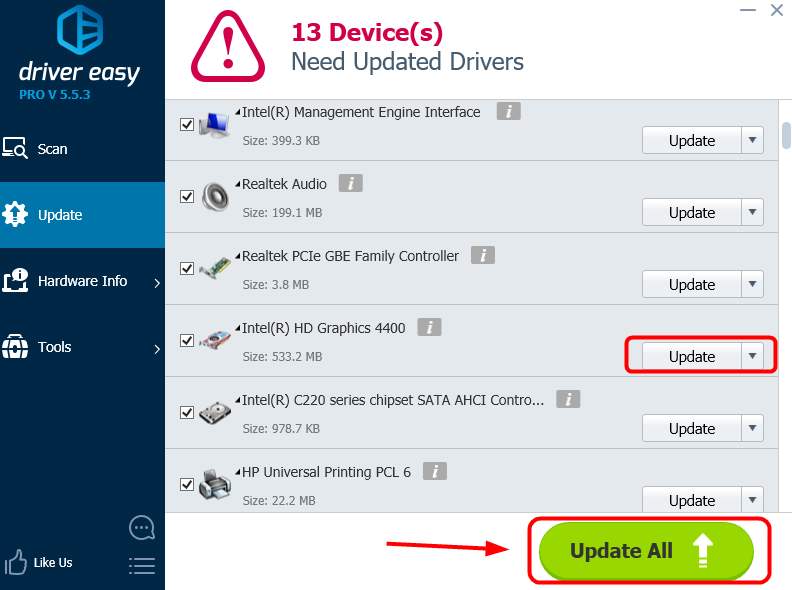
If the above method doesn’t help, you need to check if there is newer version of driver for you display card. If you don’t have the time, patience or computer skills to update your drivers manually, you can do it automatically with Driver Easy. Driver Easy will automatically recognize your system and find the correct drivers for it. You don’t need to know exactly what system your computer is running, you don’t need to risk downloading and installing the wrong driver, and you don’t need to worry about making a mistake when installing. You can update your drivers automatically with either the FREE or the Pro version of Driver Easy. But with the Pro version it takes just 2 clicks (and you get full support and a 30-day money back guarantee): 1) Download and install Driver Easy. 2) Run Driver Easy and click the Scan Now button. Driver Easy will then scan your computer and detect any problem drivers.
3
3 people found this helpful
I noticed that this article is very close to a common issue that many people are experiencing but may not be the exact issue that you or even I was recently experiencing. The problem I was just recently having was due to another annoying Windows 10 update which reverted some of the settings in the Display Settings settings. So it has become apparent that when current Windows update team makes major update packets they forget to make files that keep your current settings where they are, how lovely.
So here the issue I was experiencing which is an easy fix but it becomes annoying very quickly when you already did this when you installed Windows 10 the first time and every other major Windows 10 update. The recent Windows 10 update reverted my settings back to initial install settings because I have done this 3 times now since installing Windows 10 and I have the process memorized. If all of the above fixes do not apply to your computer, not your windows phone, then this is most likely what will fix your black screen of death problems:
#1 Right Click any unoccupied space on main background picture
#2 Left Click Display Settings
#3 Left Click Power & Sleep
#4 Left Click Additional power settings
#5 If you have not done so yet you should set your settings to High performance. This is to prevent the screen/monitor from going into power save mode, this is in most instances what is causing the screen to go into the Black Screen Of Death Mode. But it is only part of what is making it happen, continue to prevent all possible issues.
#6 After setting the power plan High performance then click on Change plan settings. (It does not matter which Change plan settings you choose but I recommend the one on the High performance section but it changes the settings for each one.) Now change Turn off the display to Never, also change Put the computer to sleep to Never.
#7 Remeber to left click Save Changes, or it was all for nothing.
#8 Congratulations you’re done.
Here’s the faster version for the more technically advanced:
Right Click Desktop
Screen>DisplaySettings>Power&Sleep>AdditionalPowerSettings>
Set to – HighPerformance>ChangePlanSettings>TurnOffTheDisplay-Never>PutTheComputertoSleep-Never
Thank you mate!
It is common sense to know we cannot see anything on the screen.