


Nothing’s more frustrating than your system suddenly restarting in the middle of an intense gaming battle, an important work presentation, or a creative project you’ve been pouring hours into. One moment, you’re fully immersed in the action or flow, and the next—your screen goes black, and you’re staring at the Windows login screen. It’s not just annoying; it can cost you progress, time, and even your hard-earned achievements. If you’re looking for any advice on troubleshooting, you’ve come to the right place.

Understanding the potential causes for your issue
There are a variety of factors that could cause random restarts in Windows 11. Some of the common ones include:
- Overheating issues
- Enabled “Automatic Restart”
- Outdated drivers
- Software conflicts
- Malware or corrupted system files
- Faulty hardware
How to stop random restarts
To identify the underlying issue, you can try the following fixes:
- Make sure your computer isn’t overheating
- Disable automatic restart
- Update your device drivers
- Update Windows
- Check for corrupted files
- Perform a clean boot
- Reset your PC
1. Make sure your computer isn’t overheating
When your computer overheats, your system will shut down to prevent heat damage. Then why is the computer overheating? Actually, dust buildup that blocks fans, and having too many applications running simultaneously can both lead to a hot device. To check if that’s what happening to your computer to prevent this from happening, perform some basic checks:
- Check for any dust on the fans: If there’s an excessive build-up of dust on the fans, clean it.
- Ensure that the processor’s fans are operating properly: The fans play a significant role in regulating internal temperatures by keeping cool air flowing through your computer. So be sure that they’re not damaged or malfunctioning. There are some tell-tale signs. Sudden and sustained fan volume changes and other strange or unusual sounds can indicate defective fans.
- Keep the number of open tabs and applications to a minimum: Every browser tab and program you open consumes memory and gobbles up RAM, raising your computer’s overall temperature. It’s advisable to keep the number of browser tabs and programs launched at the same time to a minimum.
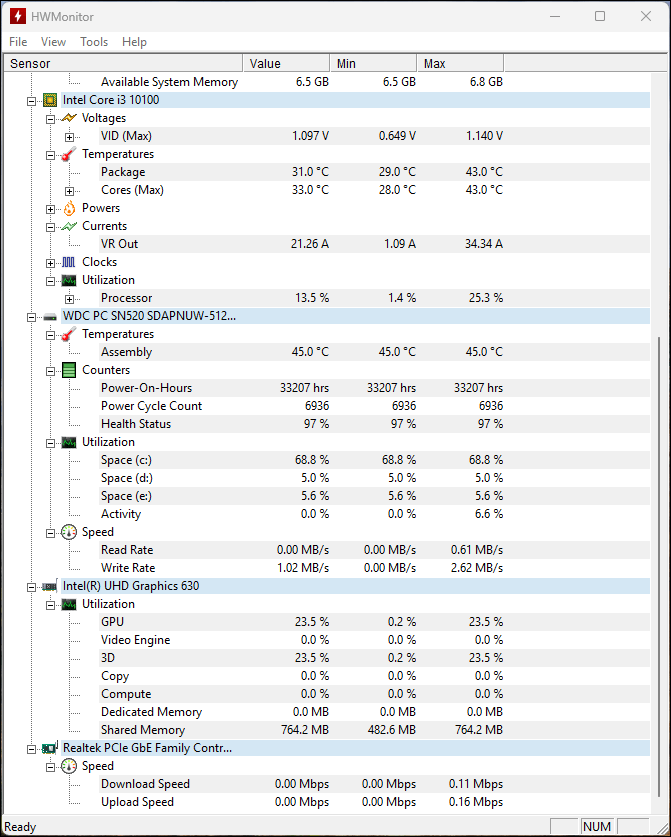
However, the best bet is to monitor and manage your computer’s temperature by installing a tool like HWMonitor and Core Temp.
It’s also essential to perform hardware diagnostics. Inspect the PSU (Power Supply Unit) to ensure it’s functioning properly.
If you’ve confirmed that your computer does not heat and the PSU is not faulty , try the other methods below.
2. Disable automatic restart
When Windows encounters a critical error, such as a system crash or hardware failure, it’s programmed to automatically restart to prevent further damage. While this feature is designed to protect your system, it can be frustrating if your computer keeps restarting without warning—especially if you’re in the middle of an important task or game. By disabling automatic restart, you have a chance to understand and address the root cause of the random restarts. To do this:
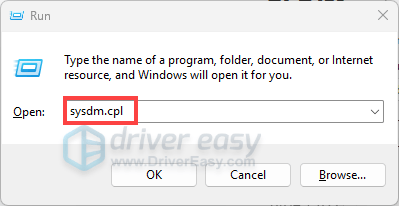
1) On your keyboard, press the Windows logo key + R to open the Run box. Type sysdm.cpl and press Enter to open the System Properties panel.
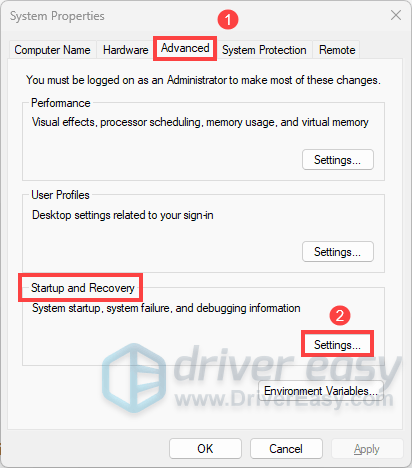
2) Head to the Advanced tab. Under Startup and Recovery, click o the Settings button.
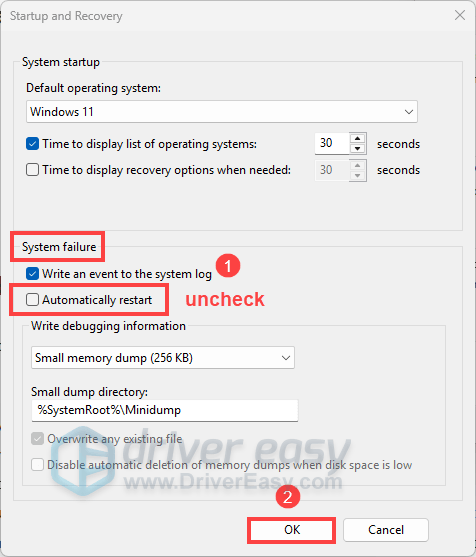
3) Under System failure, uncheck the Automatic restart option. Then click OK and close the window.
If the issue persists, continue with the other methods in this guide to resolve it completely.
3. Update your device drivers
Outdated or incompatible device drivers can often be the culprit behind random restarts in Windows 11. Why?
Device drivers act as a bridge between your hardware components (like your graphics card, network adapter, or motherboard) and your operating system. When these drivers are outdated, corrupted, or incompatible, communication between the hardware and software can break down. This miscommunication can lead to system instability, crashes, and-you guessed it-random restarts. Driver updates can fix bugs, improve performance, and resolve compatibility issues that might be causing your system to restart unexpectedly.
Here’s how you can update your device drivers to potentially resolve the random restart issue:
Option 1 – Update drivers using Driver Easy (recommended)
Manually updating drivers can feel like a daunting task—scouring manufacturer websites, identifying the right drivers, and ensuring compatibility with your system. But what if there was a way to simplify this process and make it completely hassle-free? Enter Driver Easy, a powerful tool designed to take the guesswork out of driver updates.
To use Driver Easy:
1) Download and install Driver Easy.
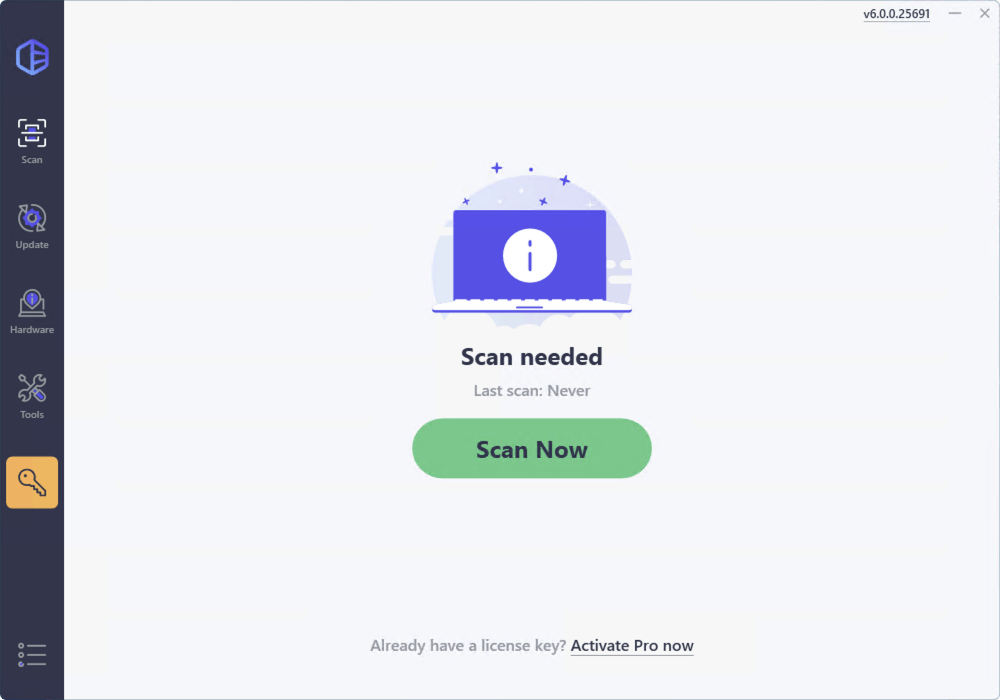
2) Launch Driver Easy and click the Scan Now button. The tool will scan your system and identify any outdated drivers.
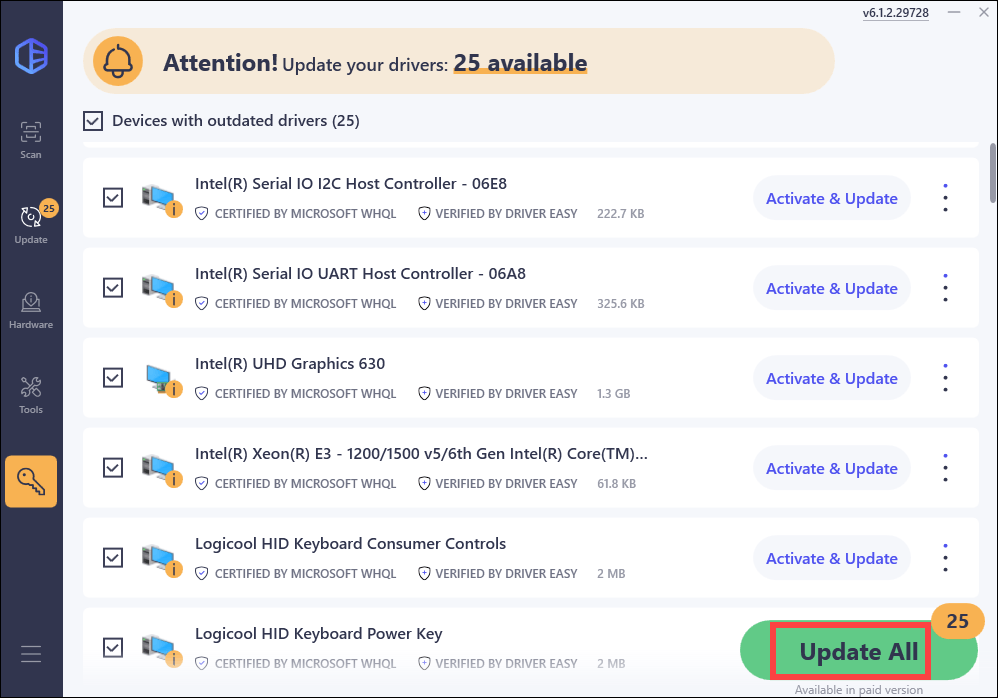
3) Click Activate & Update next to your driver or click Update All. To proceed, Driver Easy Pro is required. You can choose from the 7-day free trial and Pro Version, both of which come with full functionality, including one-click updates and high-speed downloads.
Option 2 – Update drivers via Device Manager or through the manufacturer’s website
If you’re comfortable with manual updates, Device Manager can be a solid choice. What you can do is:
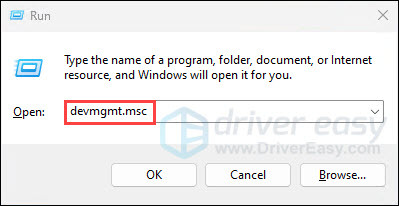
1) Press the Windows logo key + R to open the Run box. Type devmgmt.msc and press Enter. The Device Manager will open.
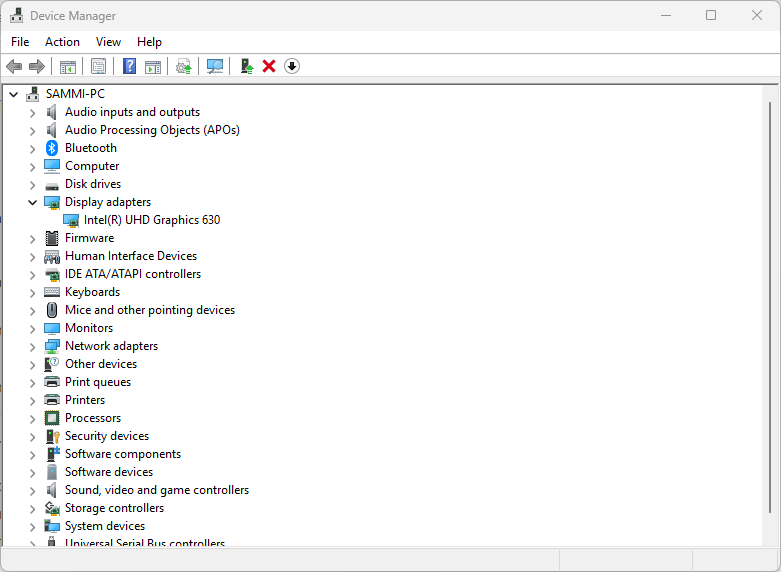
2) Expand each category, especially for graphics card and network adapter. Right-click on your device and select Update driver. Then follow the on-screen instructions to proceed.
However, Windows might not always provide the latest drivers, as it can lag behind manufacturer updates. In this case, you may need to visit the manufacturer’s website to search for, download, and install the latest driver compatible with your system.
4. Update Windows
Keeping your Windows operating system up to date is essential for maintaining system stability. Windows updates usually come with performance improvements and bug fixes that can improve the overal stability and efficiency of your system. So to resolve your issues, try downloading and installing all Windows updates:
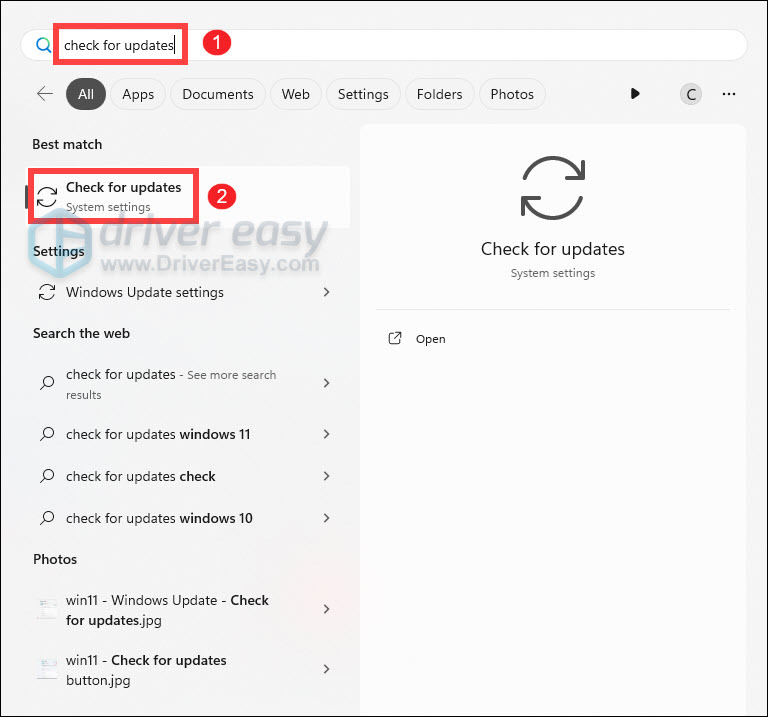
1) Press the Windows logo key to invoke the Search. Type check for updates, Then click Check for updates from the list of results.
2) Click on the Check for updates button. Windows will search for available updates and begin downloading them automatically.
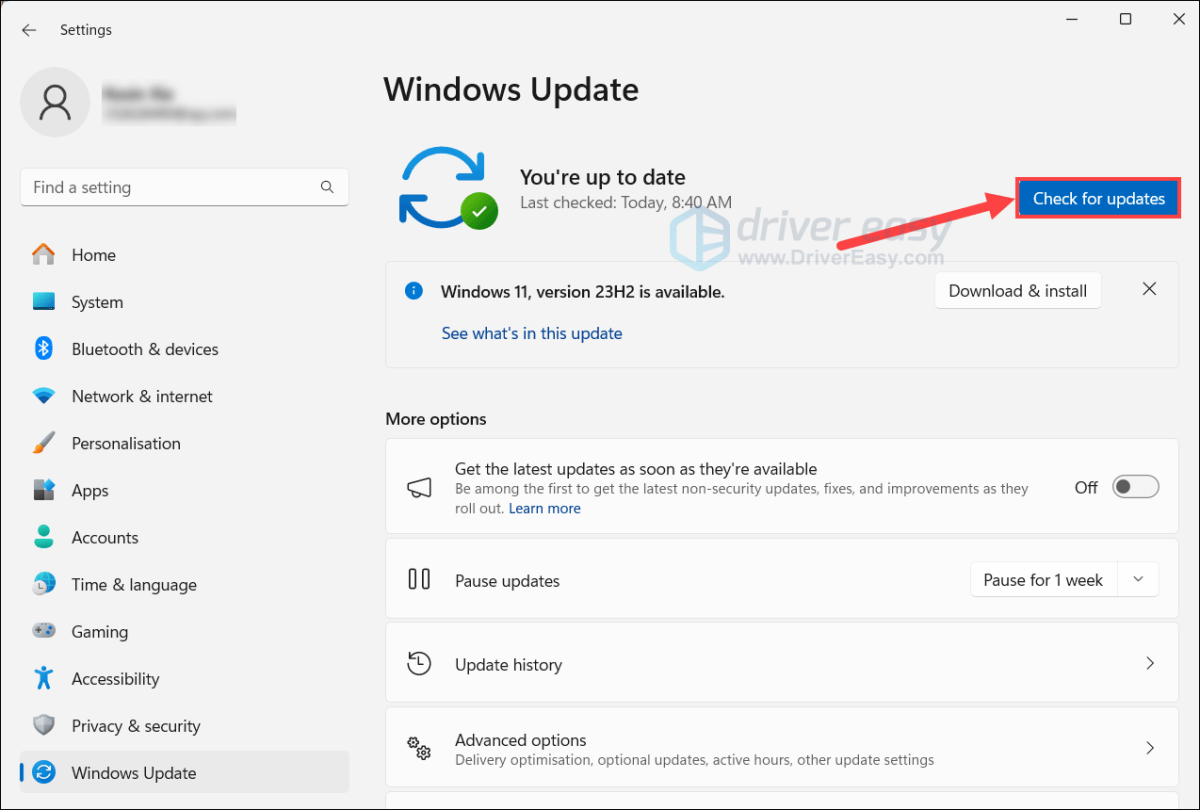
3) Once the updates are downloaded, click on Install now to begin the installation process. You may need to restart your system after the updates are installed.
If that gives you no luck, try the other methods below.
5. Check for corrupted files
Sometimes, random restarts can be caused by corrupted or missing system files. These files are essential for your operating system to function properly, and when they’re damaged, it can lead to instability and unexpected shutdowns. Fortunately, Windows 11 includes built-in tools to help you scan for and repair these issues.
Below we’ll demonstrate how you can use the System File Checker tool (SFC) to scan your system file and restore any corrupted or missing files:
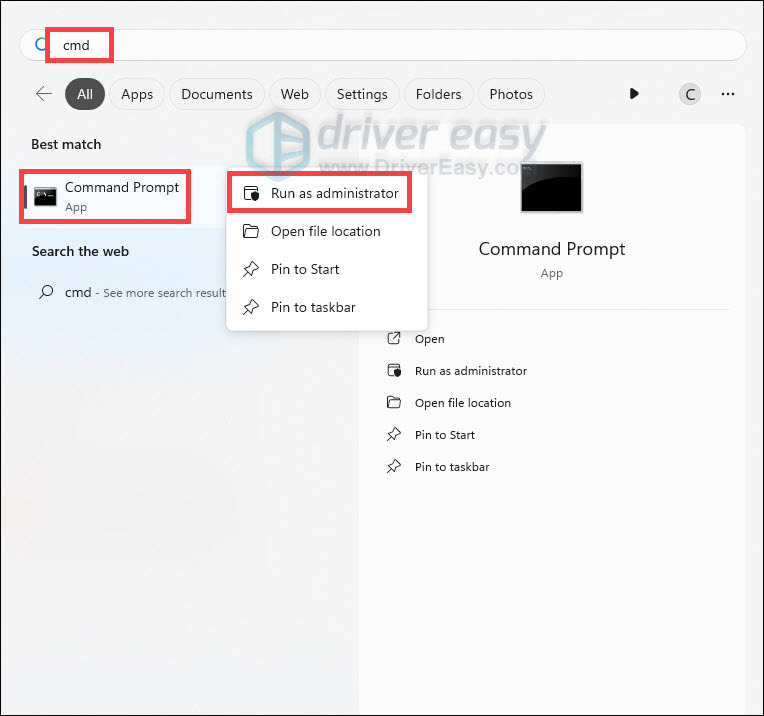
1) On your keyboard, press the Windows logo key to open the Search menu. Type cmd, right-click Command Prompt from the list of results, and select Run as administrator.
2) In the Command Prompt window, type sfc /scannow and hit Enter.
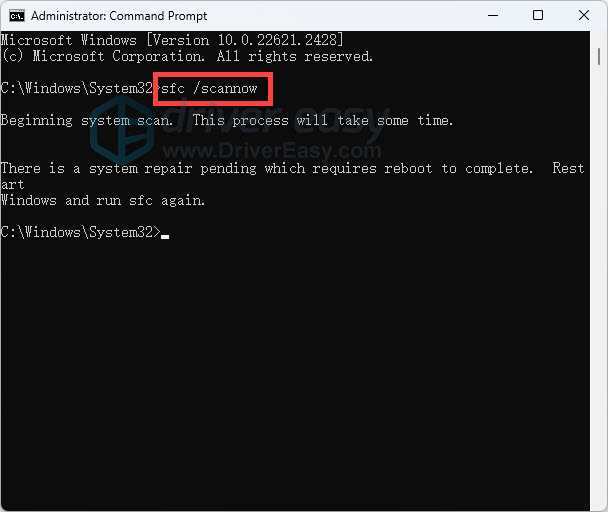
The sfc /scannow command will scan all protected system files and replace corrupted files with a cached copy. Note that you should not close this Command Prompt window until the verification is 100% complete.
After the process is finished, you may receive one of the following messages:
| sfc /scannow result | What it means |
| Windows Resource Protection did not find any integrity violations. | The SFC tool did not detect any corrupted, missing, or damaged system files on your computer. This is a good sign! It indicates that your system files are intact and functioning as they should. |
| Windows Resource Protection could not perform the requested operation. | The SFC tool encountered an issue preventing it from completing the scan. Try rebooting into safe mode, running the DISM command, and running the sfc /scannow again. *To run the DISM command, you just need to execute the following commands sequentially: DISM /Online /Cleanup-Image /CheckHealth |
| Windows Resource Protection found corrupt files and successfully repaired them. | The operation was successful. |
| Windows Resource Protection found corrupt files but was unable to fix some of them. | It has detected corrupted system files but couldn’t repair them. To address this issue, view details of the System File Checker process to find the corrupted file, and then manually replace the corrupted file with a known good copy of the file. |
6. Perform a clean boot
The issue could be caused by software conflicts or third-party applications running in the background. A Clean Boot allows you to start Windows with only the essential services and programs, helping you identify if a background application or service is causing the problem.
1) On your keyboard, press the Windows logo key + R to open the Run box. Then type msconfig and press Enter to open MSConfig.
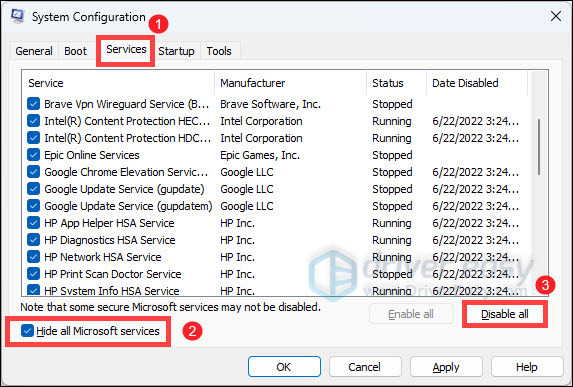
2) Select the Services tab, check the box next to Hide all Microsoft services so that you don’t accidentally disable a key process, and then click Disable all. After that, click Apply.
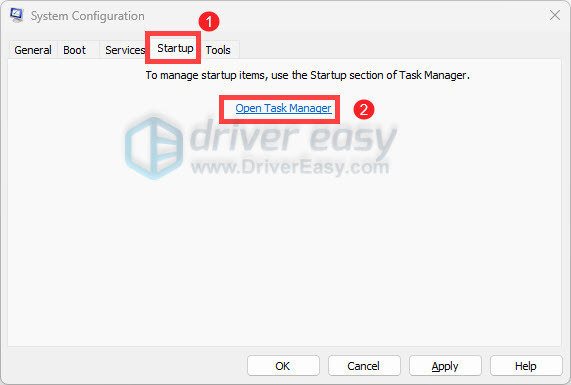
3) Click on the Startup tab and click Open Task Manager.
4) Right-click each enabled startup item and select Disable.
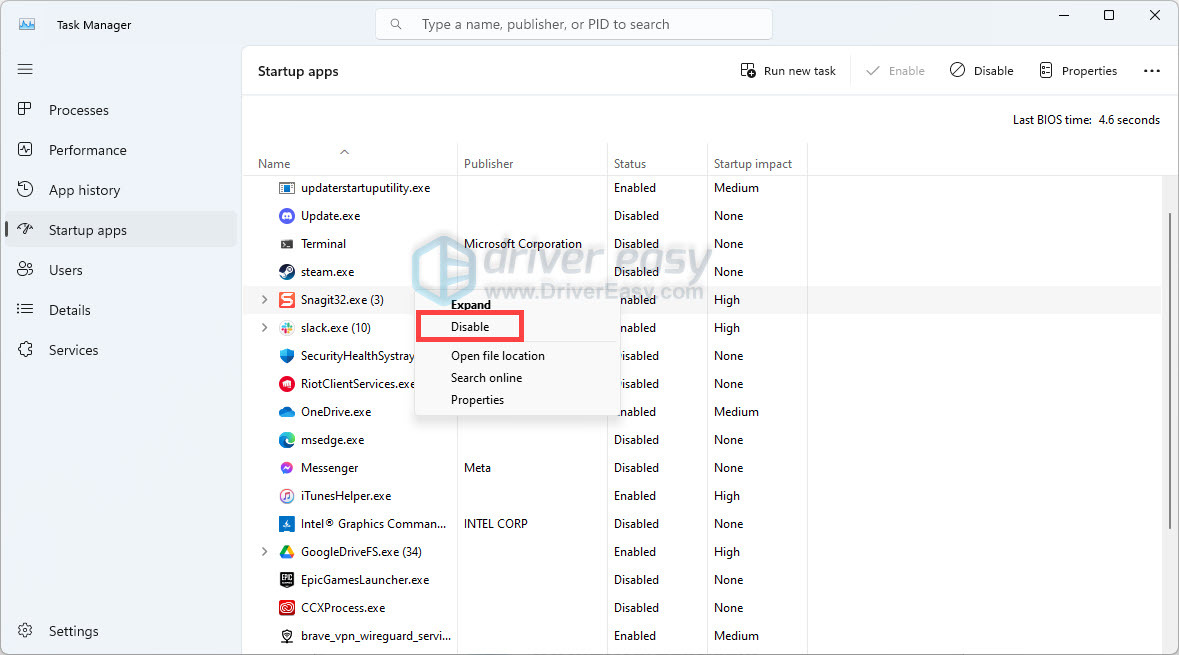
When you’re finished, close the Task Manager. Back to the Startup tab of System Configuration, click OK. When you restart the computer, it will be in a clean boot environment.
7. Reset your PC
If, unfortunately, all else fails, you may consider resetting your PC. This can be a last resort to restore stability. This method reinstalls Windows 11 while giving you the option to keep your personal files or remove everything and start fresh. It’s particularly useful if the problem is caused by deep-rooted software issues, corrupted system files, or misconfigured settings.
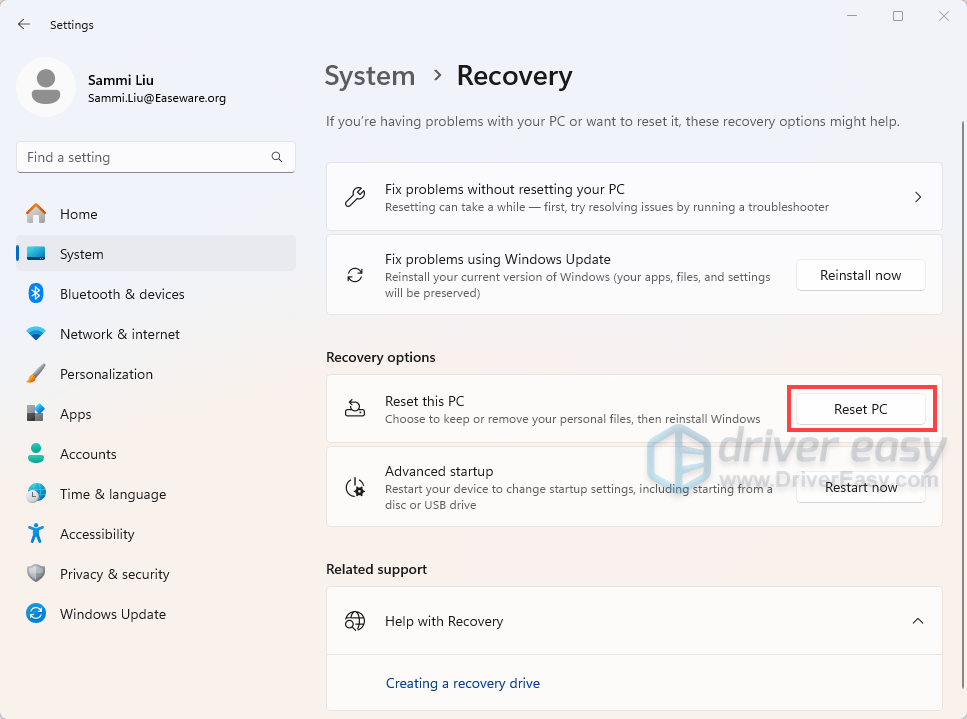
1) Press the Windows logo key + I to open Settings.
2) Go to System > Recovery.
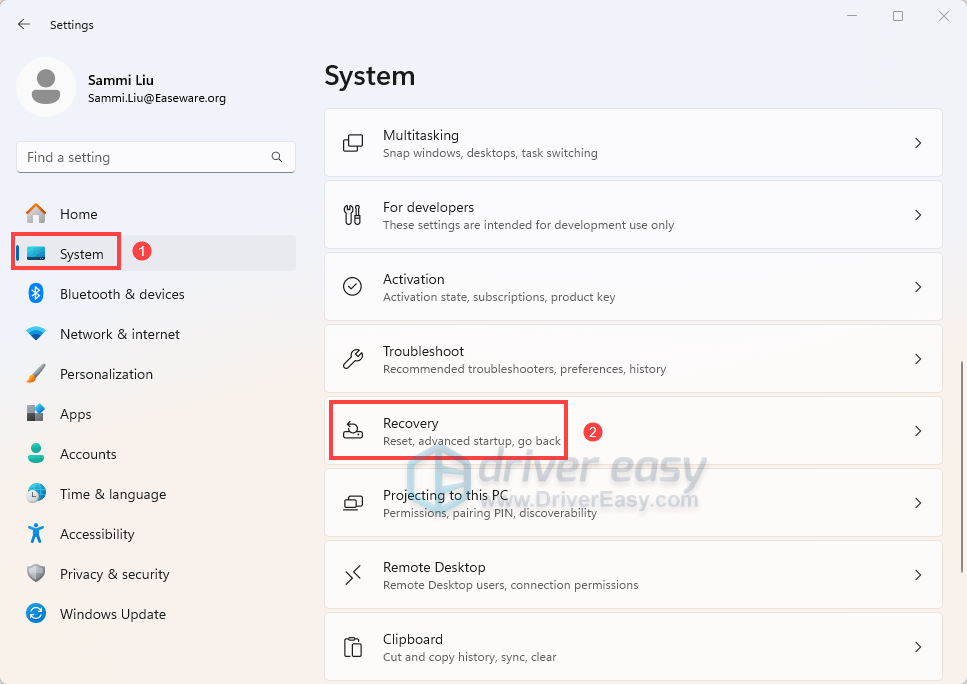
3) Select Reset PC.
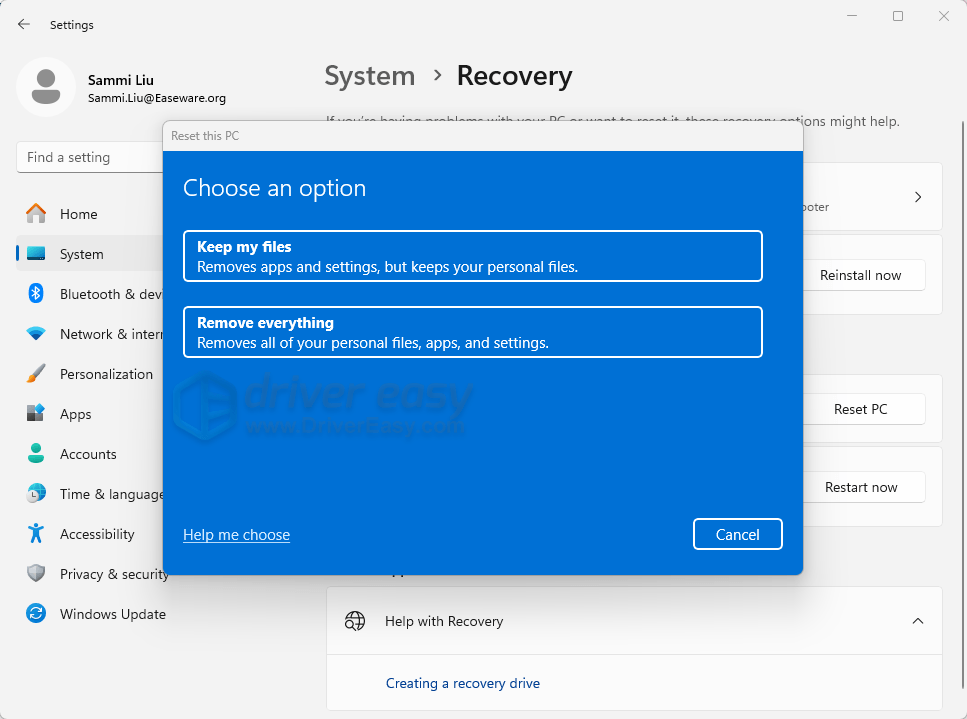
4) Choose one of the following options:
- Keep my files: Reinstalls Windows but preserves your personal files, apps, and settings. Note that some apps may need to be reinstalled.
- Remove everything: Reinstalls Windows and removes all personal files, apps, and settings. Use this option if you want a completely fresh start.
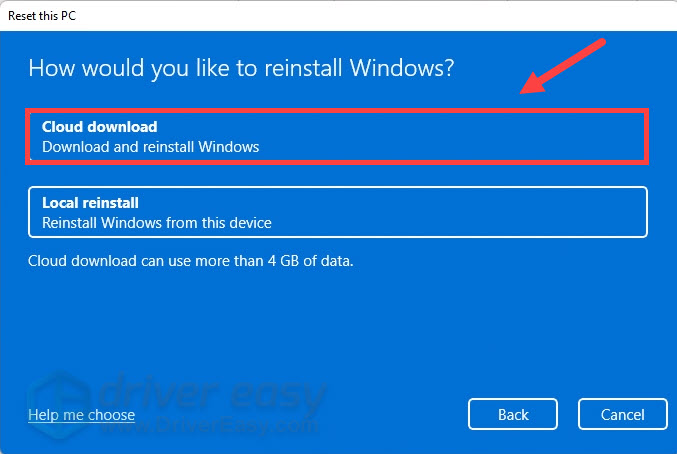
5) Click Cloud download. This will get you the latest system files. Then follow the on-screen instructions to reset your PC.
Final thoughts
Dealing with random restarts on Windows 11 can be incredibly frustrating, especially when you’re in the middle of something important. However, by systematically working through the potential causes—whether it’s overheating, outdated drivers, corrupted files, or software conflicts—you can identify and resolve the issue. Start with simpler fixes like checking for overheating or updating drivers, and gradually move to more advanced solutions like performing a Clean Boot or resetting your PC if needed. If all else fails, don’t hesitate to seek professional help.